DIY Mud Kitchen for Kids: Rustic Backyard Play Space
Table of Contents
If you’re looking for a hands-on, screen-free way to keep your kids entertained and engaged outdoors, a DIY mud kitchen for kids might be your best investment yet. These rustic backyard setups provide endless hours of creative play, allowing children to stir, pour, mix, and imagine—using nothing more than water, dirt, and their imagination.
More than just a fun pastime, mud kitchens support critical aspects of childhood development. Studies show that outdoor play enhances cognitive growth, fine motor skills, and social development. A mud kitchen encourages all of these—without requiring fancy gadgets or pricey toys. And best of all? You can build one using upcycled materials, a touch of creativity, and minimal expense.
In this blog post, we’ll explore how to design a rustic backyard play space with a mud kitchen that’s beautiful, functional, and brimming with charm. From sourcing materials and building the frame to styling and seasonal add-ons, this guide offers everything you need to craft a playful outdoor haven your kids will love.
Plan the Perfect Location for Your Backyard Mud Kitchen
The first step in building a mud kitchen is choosing the right spot. This choice impacts everything from how much mess you can manage to how well the kitchen blends with your backyard’s layout.
Factors to Consider When Selecting a Location:
| Consideration | Why It Matters | Suggestions |
|---|---|---|
| Shade and Sunlight | Prevents overheating and sunburn | Place under a tree or add a shade sail |
| Drainage | Ensures mud and water don’t pool | Slightly sloped or gravel-covered area |
| Proximity to Hose | Makes water access easier | Near outdoor faucet or garden hose |
| Visibility | Keeps playtime safe and supervised | Choose a spot within adult view |
Pro Tip:
Design the mud kitchen near your garden or compost area to encourage natural exploration. Let kids collect sticks, stones, herbs, and leaves to use in their muddy concoctions.
Build a Rustic Mud Kitchen Frame from Recycled Materials

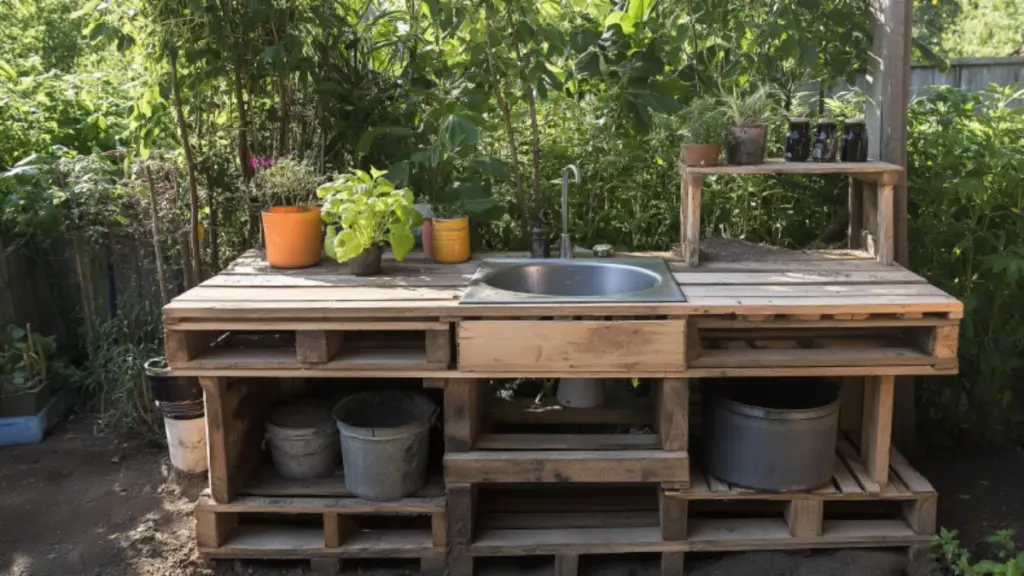
To keep your mud kitchen cost-effective and full of charm, use reclaimed or recycled wood for the frame. Old pallets, crates, and even retired furniture can be easily transformed into a structure that’s both functional and aesthetic.
Materials to Consider for a Rustic Frame:
| Material | Use in Kitchen Structure | Source Suggestions |
|---|---|---|
| Wood Pallets | Base and backsplash | Grocery stores, shipping yards |
| Crates or Drawers | Shelving and storage | Thrift stores, flea markets |
| Dresser or Sideboard | Repurposed base with drawers | Curbside furniture or old bedroom pieces |
| Tree Branches | Hooks or frame accents | Your backyard |
Step-by-Step Build Outline:
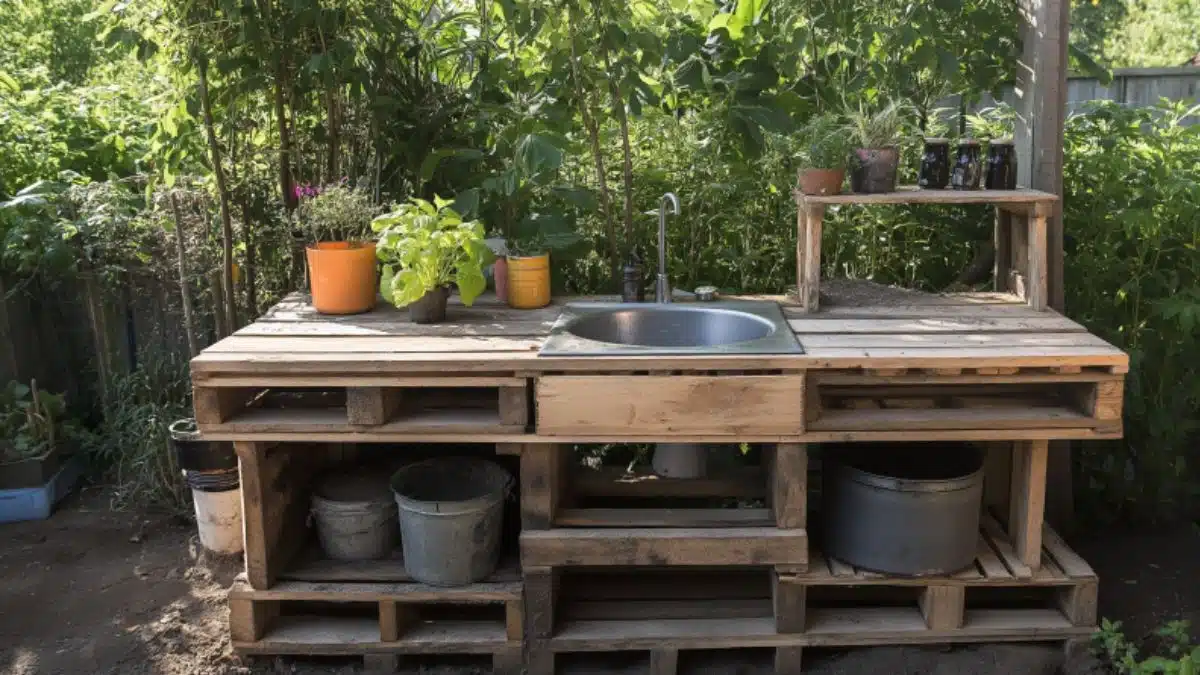
- Create the Base – Use two stacked pallets to form a countertop and frame.
- Install a Sink – Cut a hole in the top surface to drop in a metal mixing bowl or old sink.
- Build the Backsplash – Add a vertical pallet or wooden board to attach hooks and shelves.
- Add Side Supports – Reinforce structure with brackets or legs for stability.
- Paint or Seal – Apply wood sealer for durability or leave natural for a weathered look.
Customize the size to your child’s height, and feel free to let them help with sanding or painting to build excitement.
Include Functional Zones for Mixing, Storage, and Washing
Even a play kitchen benefits from organized zones. By creating distinct areas for specific tasks, you make playtime more immersive and practical.
Functional Zones to Include:
| Zone | Function | What to Add |
|---|---|---|
| Mixing Zone | Main prep area for mud recipes | Metal bowl, mixing spoons, flat surface |
| Washing Station | Clean-up and pretend dishwashing | Water jug, faucet setup, soap dish |
| Storage Shelving | Keeps tools, bowls, and supplies organized | Crates, hooks, mason jars |
| Display Space | Show off “dishes” or creations | Open shelf, tray display |
DIY Tip:
Create a faux faucet using an old tap handle, or set up a gravity-fed jug for water flow. Use an upcycled drying rack made from tree branches or install dowels to hang kitchen towels.
Style Your Mud Kitchen with Whimsical Decor

Just because it’s outside and rustic doesn’t mean it can’t be cute. A few thoughtful decor touches can turn your mud kitchen into a storybook-worthy backyard destination.
Charming Decor Ideas for a Rustic Mud Kitchen:
| Decor Item | Function/Effect | DIY Tip |
|---|---|---|
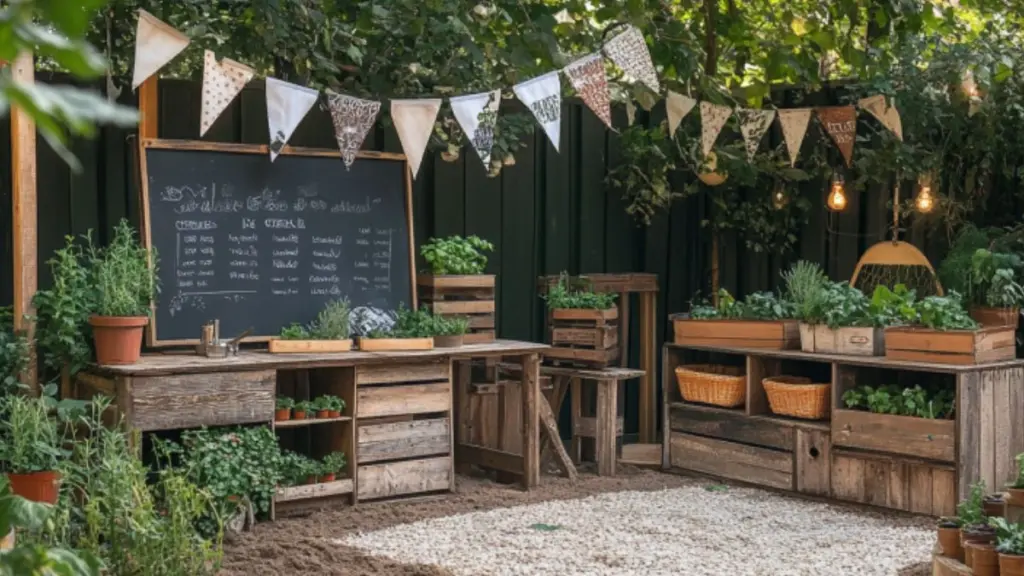
| Chalkboard Signage | Menus, labels, or inspirational quotes | Use weather-resistant chalkboard paint |
| Bunting or Garland | Adds festive flair | Make from waterproof fabric or twine |
| Planter Boxes | Grows herbs or flowers | Attach to frame with brackets |
| Colorful Handles/Knobs | Adds personality to drawers or cabinets | Repurpose vintage hardware |
Decorations don’t have to be permanent—rotate them with the seasons. A sunflower in summer, a mini pumpkin in fall, and evergreen clippings in winter add year-round joy.
Stock It with Child-Friendly Utensils and Natural “Ingredients”
The real magic of a mud kitchen is in the play itself. And that means giving kids tools to inspire pretend cooking, potion-making, and sensory exploration. Thankfully, most supplies can be found around your house or garden.
Essential Items to Include:
| Type | Examples | Where to Source |
|---|---|---|
| Kitchen Tools | Spoons, spatulas, whisks, tongs | Thrift stores, old kitchen drawers |
| Containers and Bowls | Muffin tins, mixing bowls, pie pans | Yard sales, secondhand shops |
| Natural Ingredients | Dirt, leaves, petals, pebbles, herbs | Your own backyard |
| Creativity Boosters | Food coloring, chalk dust, colored water | Supervised, age-appropriate use |
Organize a “pantry” shelf with jars or baskets labeled with fun ingredient names like “Pixie Powder” (chalk), “Garden Sugar” (sand), or “Frog Eggs” (pebbles). Let kids mix, pour, and invent their own recipes.
Make It Weatherproof and Low-Maintenance

Since your mud kitchen lives outdoors, it needs to stand up to the elements. With a few smart choices, you can extend its life and reduce the need for constant maintenance.
Weatherproofing Checklist:
| Feature | Solution | Budget Tip |
|---|---|---|
| Wood Sealing | Use outdoor wood sealant or weatherproof stain | Focus on base and countertop |
| Drainage | Add holes in sink bowl for easy draining | Drill a few holes at bottom of basin |
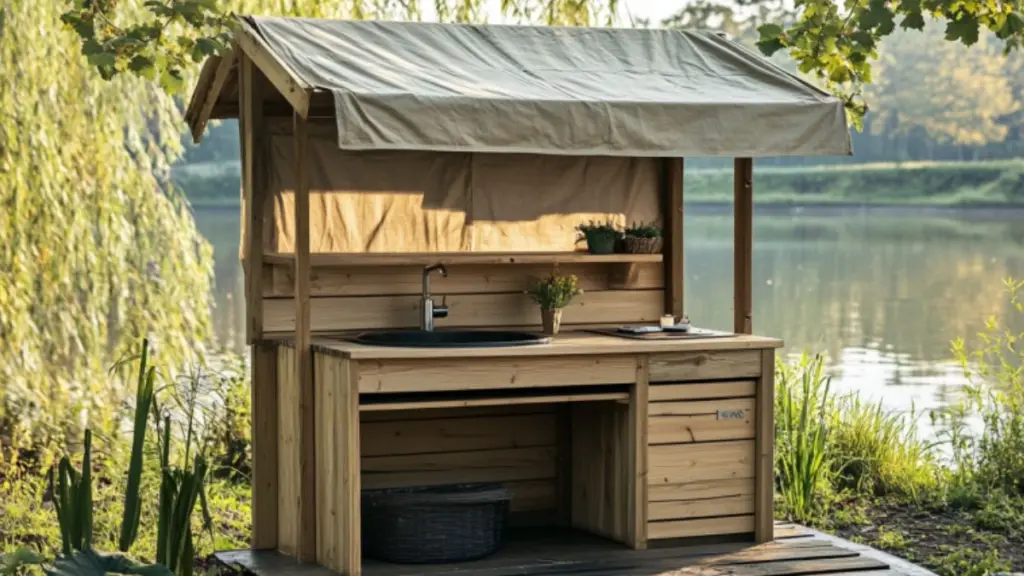
| Cover or Shade | Install tarp or umbrella over kitchen | Use an old patio umbrella or shade sail |
| Storage Bins | Use sealed bins to store tools | Label and keep under kitchen or indoors |
You can also elevate the structure on bricks or pavers to prevent waterlogging. Set a seasonal “deep clean” day and involve the kids in refreshing the space with soap, scrubbing brushes, and reorganized tools.
Conclusion
Building a DIY mud kitchen for kids offers far more than an afternoon project—it’s a gateway to nature, creativity, and imaginative exploration. A rustic backyard play space not only enhances your yard’s charm but invites children into a world of tactile, screen-free discovery. With a bit of wood, a few household finds, and a sprinkle of playfulness, your backyard can become a mud-splashed paradise they’ll never want to leave.

