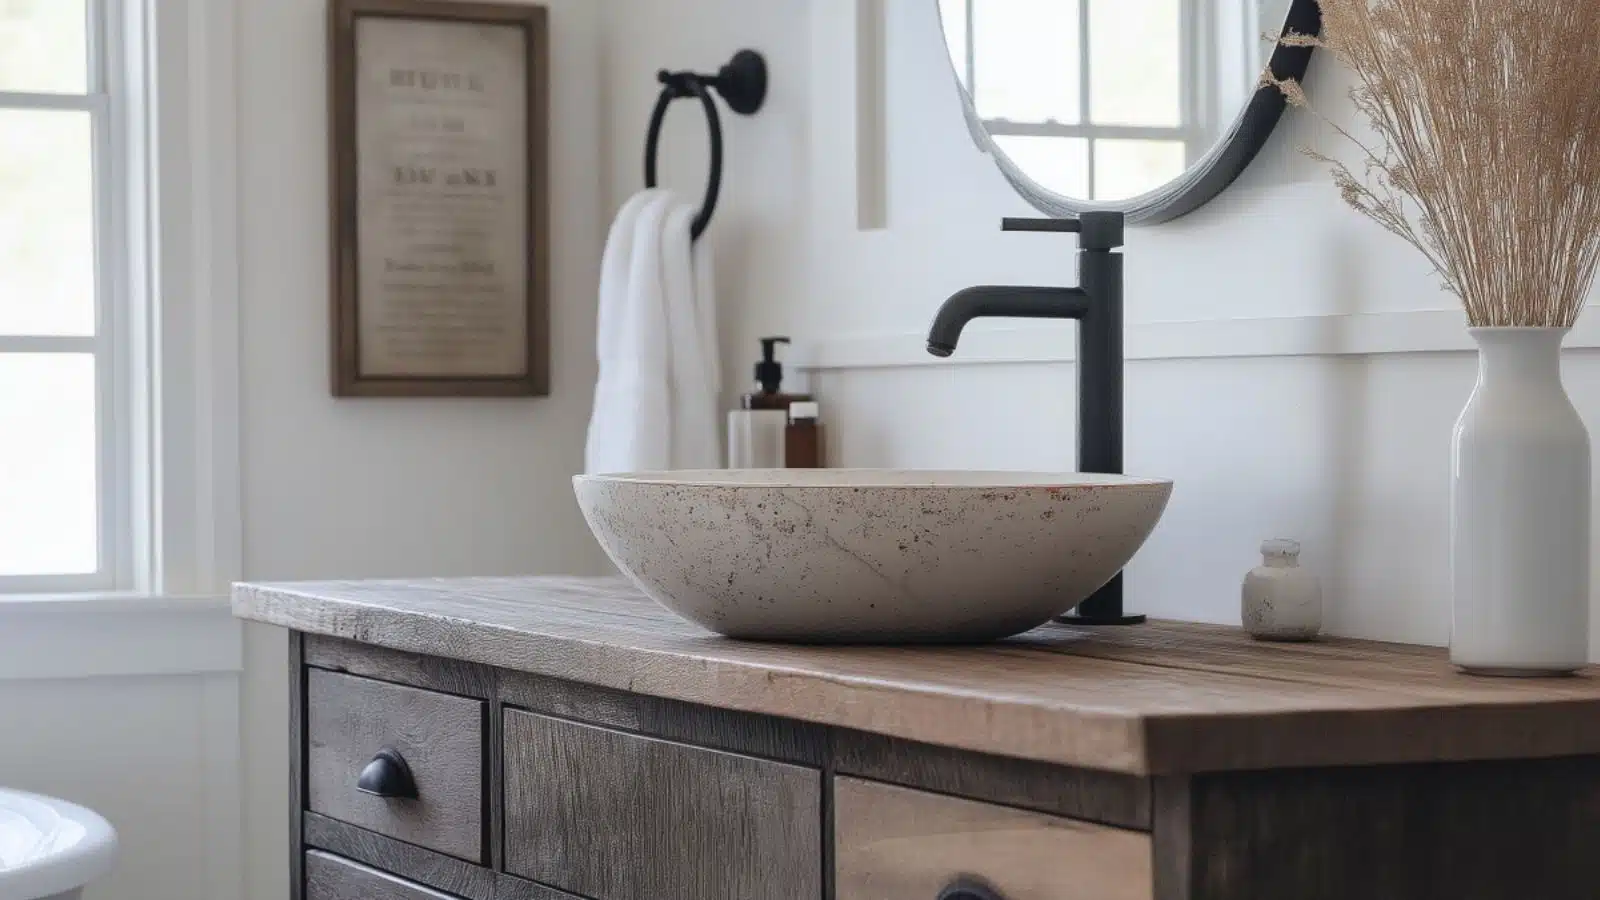
DIY Rustic Farmhouse Bathroom Projects You Can Do Today for a Cozy, Charming Look
Table of Contents
In today’s fast-paced world, there’s something incredibly grounding about rustic farmhouse design. With its blend of weathered wood, vintage charm, and functional beauty, the rustic farmhouse bathroom has become a go-to aesthetic for homeowners craving a cozy, welcoming space. According to design trends, farmhouse-inspired bathrooms continue to rank among the top choices for affordable and timeless renovations.
But here’s the good news—you don’t need a full remodel or a big budget to give your bathroom a farmhouse makeover. With a few simple DIY projects, you can introduce that rustic warmth and countryside charm into your existing space, starting today.
In this post, we’ll walk through a series of easy-to-execute DIY rustic farmhouse bathroom projects that are perfect for weekend warriors, beginners, or seasoned decorators. From wooden shelving and upcycled vanities to mason jar organizers and custom wall art, each idea brings character and function to your bathroom with minimal investment. We’ll also include step-by-step breakdowns, tips, and design suggestions to help you bring each project to life. Whether you’re working with a small guest bath or a master retreat, these projects will help you create a space that feels inviting, personalized, and beautifully rustic.
Create a Reclaimed Wood Vanity with Farmhouse Flair
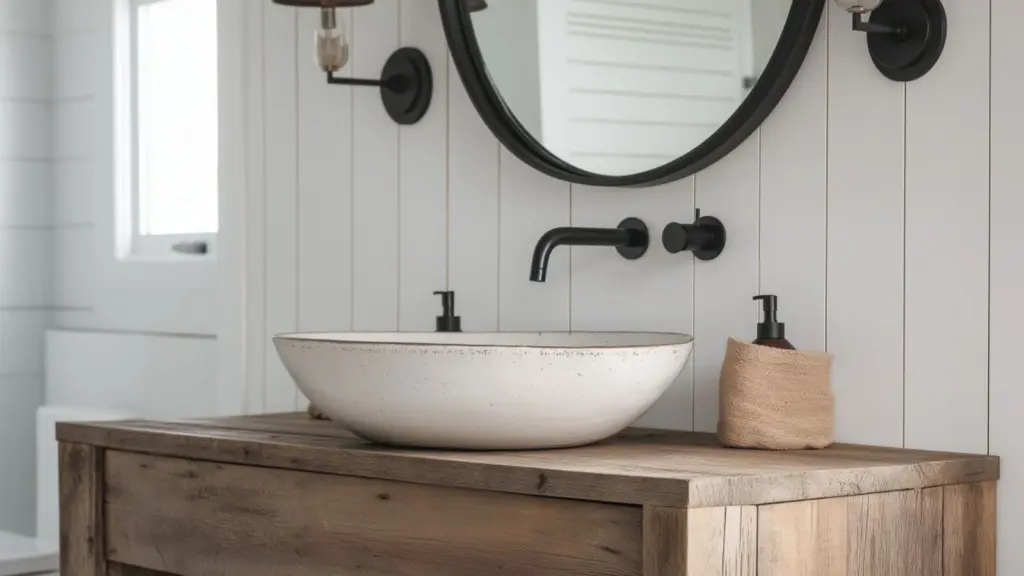
The vanity is often the centerpiece of a bathroom—and nothing says rustic farmhouse like one made from repurposed or distressed wood. A DIY reclaimed wood vanity not only adds texture and warmth, but also serves as a statement piece that anchors the entire room’s aesthetic.
Start by sourcing wood from an old dresser, pallets, or barn wood planks. Look for pieces with natural imperfections like knots, worn edges, or weathered finishes. You can repurpose an existing dresser into a vanity by cutting out the top to fit a sink and reinforcing it with interior supports.
Pair your wooden base with a simple porcelain vessel sink or drop-in basin. Finish with black matte hardware or oil-rubbed bronze fixtures for a traditional touch. If you prefer a more modern blend, a crisp white quartz top contrasts beautifully with the wood’s natural grain.
For a protective finish, sand the surface smooth and seal it with a water-resistant polyurethane. This ensures durability without losing the raw charm of the material.
Reclaimed Wood Vanity DIY Breakdown
| Step | Action | Tools/Supplies Needed |
|---|---|---|
| Source Wood | Salvage wood from pallets or old furniture | Hand saw, sander, tape measure |
| Build or Modify Base | Repurpose dresser or build a new frame | Drill, wood glue, screws |
| Cut for Sink Placement | Trace and cut hole for basin | Jigsaw or hole saw attachment |
| Finish and Seal | Sand, stain or seal wood | Polyurethane, wood stain, brushes |
| Install Fixtures | Attach plumbing and mount sink | Faucet kit, wrench, plumber’s tape |
Install Floating Shelves Using Natural Wood Planks
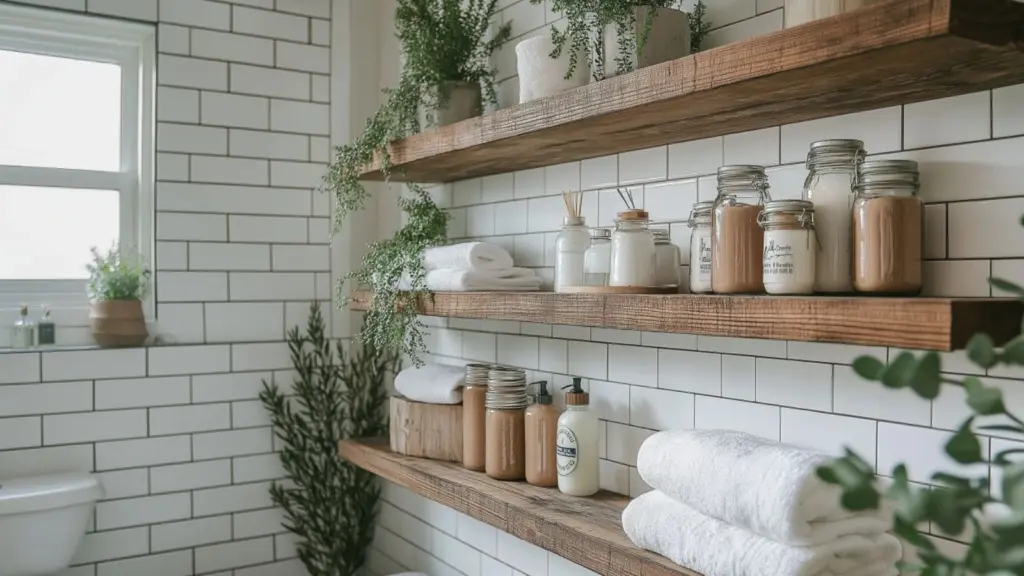
Floating shelves are an ideal DIY project to bring form and function into your rustic bathroom. Made from solid wood or reclaimed boards, they offer both extra storage and an opportunity to display decorative items that enhance your farmhouse theme.
Choose thick wooden planks—such as pine, cedar, or oak—that have been stained or left natural for a weathered look. Mount them with black iron brackets or use hidden wall supports for a cleaner, floating appearance. Position them above the toilet, beside the mirror, or above the tub to keep items like towels, candles, or glass jars within reach.
Keep the styling simple. Stack folded hand towels, place a potted plant in a terra cotta pot, or add framed prints and vintage bottles for texture.
Floating Shelf Styling Guide
| Item Displayed | Function | Visual Effect |
|---|---|---|
| Mason jars or baskets | Organize toiletries | Adds storage with farmhouse charm |
| Greenery or florals | Decorative accent | Brings in natural, fresh contrast |
| Framed artwork | Personal touch | Completes the wall design |
| Rolled hand towels | Everyday function | Creates a spa-like, neat aesthetic |
DIY Mason Jar Sconces for Ambient Lighting
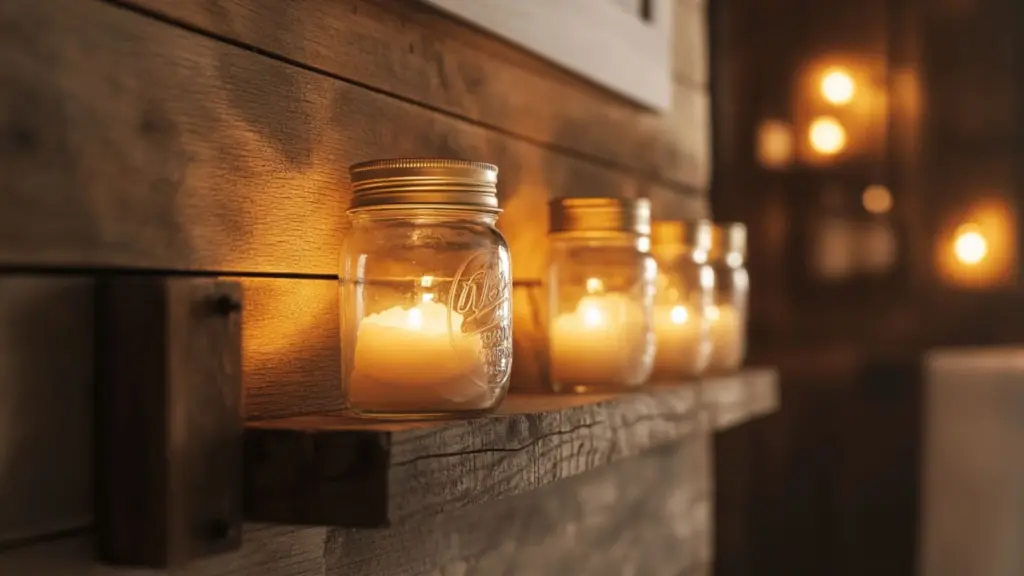
Mason jar sconces are one of the most beloved farmhouse-style DIYs, offering both decorative charm and ambient lighting. Mounted on a rustic wood base, these sconces bring a cozy, handmade quality to your bathroom walls and cost significantly less than store-bought fixtures.
To make your own, start with a piece of stained wood as the base, a metal hose clamp to hold the jar, and a mason jar of your choice. For lighting, use LED fairy lights or battery-operated votive candles inside the jar to create a soft glow without hardwiring.
Attach the wood base to the wall and secure the jar with the clamp. You can make one or install a pair on either side of your mirror for balance.
Mason Jar Sconce DIY Overview
| Materials Needed | Approximate Cost | Assembly Tips |
|---|---|---|
| Mason jars | $1–3 each | Use clear or frosted glass |
| Wood backing boards | Salvaged or new lumber | Stain for rustic effect |
| Metal hose clamps | $1–2 each | Ensure tight fit for stability |
| Fairy lights or candles | Battery-operated | Use warm white for cozy glow |
Build a Rustic Mirror Frame from Scrap Wood
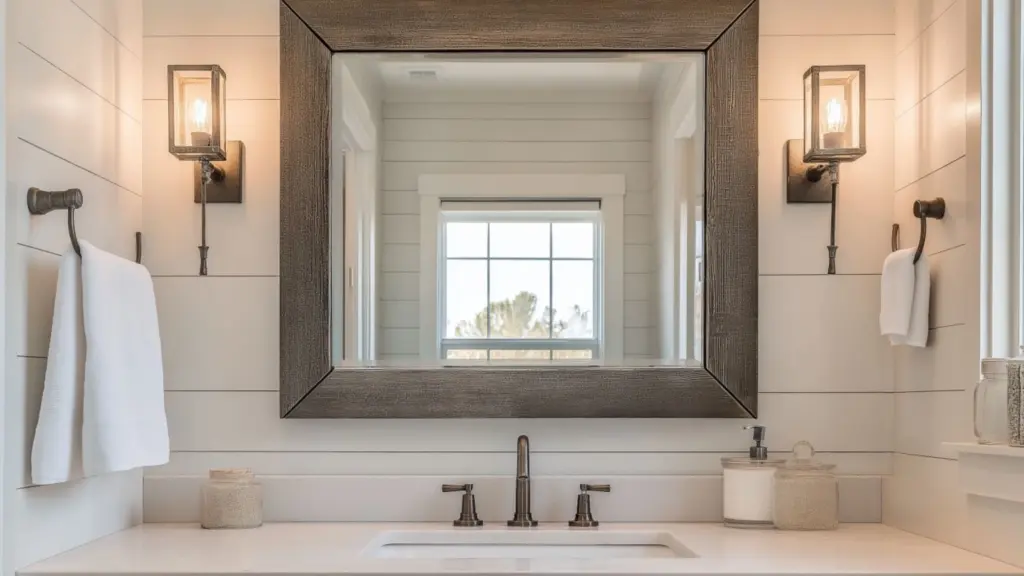
You don’t need to replace your bathroom mirror to make it farmhouse-friendly—just frame it. A wooden frame adds instant rustic appeal and can be customized to match your vanity or shelving.
Measure your mirror and cut four wood pieces to size, using 1x4s or 1x6s depending on the desired thickness. Stain them in a warm tone (walnut, weathered oak, or chestnut) and attach using strong adhesive or corner brackets.
For added texture, distress the wood with sandpaper or a hammer before staining. You can also attach black corner brackets or add small decorative nails for an industrial edge.
Rustic Mirror Frame Supplies Checklist
| Item | Purpose | Budget Tip |
|---|---|---|
| Scrap wood | Frame structure | Use leftover lumber from other projects |
| Wood stain | Match existing decor | Test on scrap before applying |
| Wood glue or nails | Secure frame | Use clamps while drying |
| Decorative brackets | Optional rustic accent | Spray paint standard ones black |
Design a DIY Farmhouse Towel Ladder
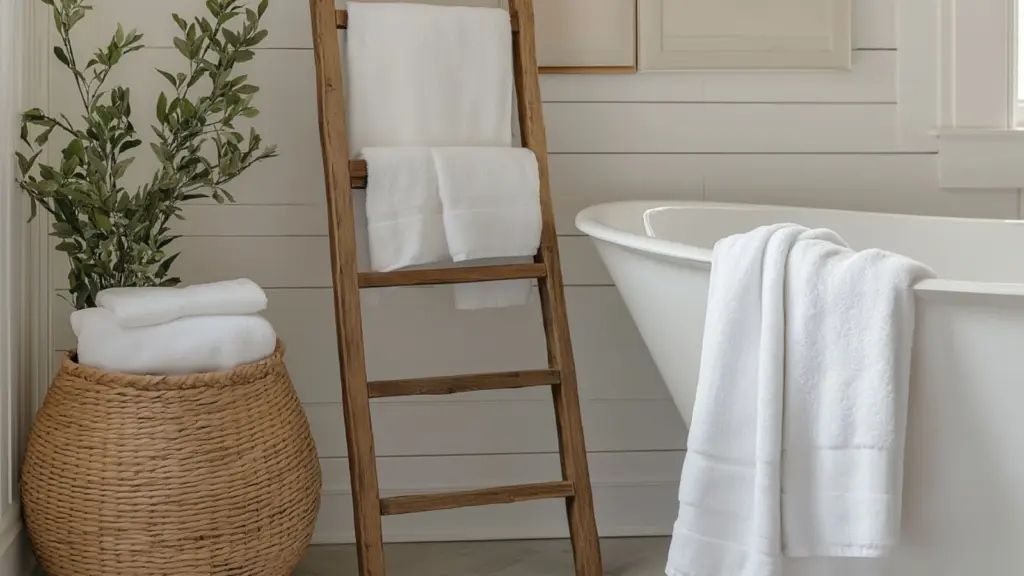
If you’re looking for a functional, freestanding accent, a towel ladder is an easy weekend project with a big payoff. It adds vertical interest, holds towels or blankets, and brings raw wood texture into your space—all without the need for wall mounting or installation.
To build your own, you’ll need two longer wood boards (about 5–6 feet) for the sides and 3–5 shorter pieces for rungs. Secure the rungs evenly between the side pieces using wood screws or nails. Sand any rough edges, then stain or paint the ladder in a tone that complements your bathroom’s color scheme.
You can lean it against a wall near the tub or beside a vanity for quick towel access. For smaller bathrooms, opt for a narrow design with just three rungs.
DIY Towel Ladder Building Plan
| Material | Suggested Size/Qty | Purpose |
|---|---|---|
| 2 Side Boards | 1×2 or 2×2, 5–6 ft long | Frame of ladder |
| 3–5 Rung Pieces | 1×2, 18–20 in wide | Crossbars for towels |
| Screws or Nails | 10–15 pcs | Fastening rungs to sides |
| Stain or Paint | 1 small can | Finishing touch for rustic effect |
Create a Vintage-Inspired Bathroom Sign
Adding a DIY wall sign is a fast, fun way to personalize your rustic farmhouse bathroom. Whether it says “Wash & Dry,” “Soak,” or a vintage French phrase, signs add charm without overwhelming the space.
Use a wooden board, sand it for a distressed finish, and apply a painted stencil or vinyl lettering. Aged fonts, black and white color schemes, and hand-lettered designs all work well with the rustic aesthetic.
Hang the sign above the toilet, over the towel bar, or next to the mirror. For a layered look, pair it with hanging greenery or a small framed print.
Rustic Sign Creation Steps
| Supplies Needed | Best Practices | Optional Add-ons |
|---|---|---|
| Wood Board | Sand edges for a timeworn feel | Paint wash for vintage base |
| Paint or Vinyl Letters | Use stencil or cutting machine | Hand-lettering for artisan effect |
| Hanging Hardware | D-rings, hooks, or rope | Twine or wire for farmhouse finish |
| Decorative Touches | Greenery, vintage clips | Add small clothespins for photos |
Conclusion
Creating a rustic farmhouse bathroom doesn’t require a full-scale renovation or a high-end budget. With these approachable DIY projects—from wood-framed mirrors and mason jar sconces to towel ladders and repurposed vanities—you can begin transforming your space today. Each idea adds charm, character, and function, bringing the warmth of farmhouse design into your home. By embracing natural materials, timeworn finishes, and cozy textures, your bathroom can become a calming retreat that blends old-world style with everyday comfort.

