DIY Kitchen Table Makeover: A Step‑by‑Step Tutorial to Refresh Your Dining Space
Table of Contents
The kitchen table is more than just a surface to eat on—it’s where conversations happen, homework is completed, and memories are made. But over time, even the most beloved table can start to look worn, outdated, or mismatched with your evolving decor style. Instead of replacing it, why not breathe new life into it with a DIY kitchen table makeover?
Whether you’ve inherited a sturdy piece with good bones or found a bargain at a thrift shop, a table makeover is one of the most satisfying home improvement projects you can do. It’s cost-effective, completely customizable, and a fun way to express your personal style—be it farmhouse chic, sleek modern, or rustic vintage.
In this step-by-step guide, we’ll walk you through the entire process of transforming your old table into a refreshed centerpiece. From prepping and sanding to choosing paint or stain, sealing the finish, and styling the final look, you’ll learn all the techniques you need to create a stunning DIY result that looks like it came from a high-end home store.
Assessing and Prepping Your Table
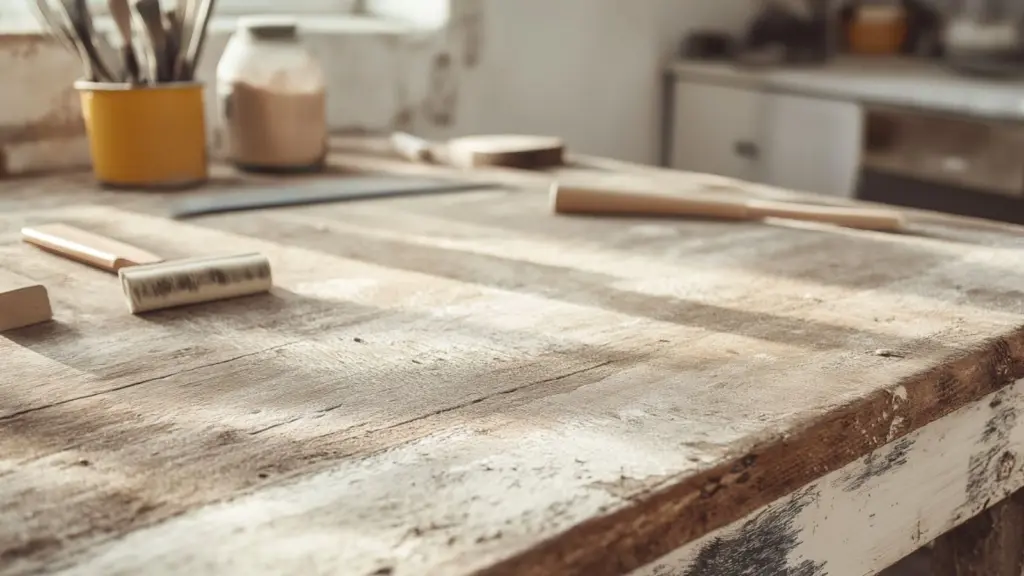
Before jumping into your DIY makeover, it’s essential to assess the condition of your kitchen table and prepare it properly. This step sets the tone for the entire process and ensures a smooth, long-lasting finish.
Start by inspecting your table for structural issues. Is it wobbly? Does it have water stains, scratches, or chipped veneer? These are all things that may need to be addressed before you apply paint or stain. If necessary, tighten screws, replace hardware, and use wood filler to patch dents or gouges.
Once your table is structurally sound, cleaning is your next task. Use a mild detergent and warm water to remove grease, dust, and residue. Avoid skipping this step—leftover grime can affect how paint or stain adheres.
| Prep Task | Tools Needed | Why It’s Important |
|---|---|---|
| Structural Check | Screwdriver, wood glue, clamps | Stabilizes the table |
| Surface Cleaning | Mild soap, sponge, clean cloth | Removes dirt and oils |
| Surface Repair | Wood filler, putty knife, sanding block | Smooths out imperfections |
| Hardware Removal | Screwdriver | Allows clean access to surfaces |
Sanding Techniques for a Smooth Finish
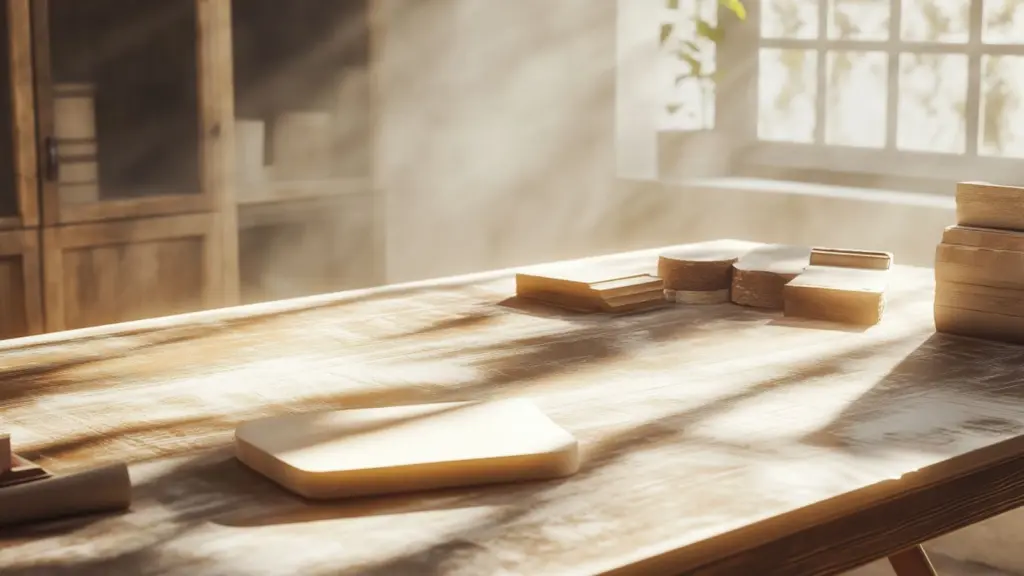
Sanding is one of the most crucial steps in your kitchen table makeover. It’s what allows paint or stain to properly grip the surface, ensuring a finish that won’t chip, flake, or peel with daily use.
Start with coarse grit sandpaper (around 60–80 grit) to remove the old finish. This step is especially important if your table has a glossy varnish or heavy stain. Use a hand sander for large flat areas and sanding blocks for smaller details or curved legs.
Once the old finish is removed, move to a medium grit (120–150) to smooth out roughness, followed by a fine grit (220) for a silky surface. Always sand in the direction of the wood grain to avoid scratches.
After sanding, wipe the table down with a tack cloth or damp rag to remove all dust.
| Sanding Stage | Grit Range | Purpose |
|---|---|---|
| Initial Sanding | 60–80 grit | Removes old finish or paint |
| Mid-Level Smoothing | 120–150 grit | Evens out surface texture |
| Final Finish Sanding | 180–220 grit | Prepares for stain or paint |
| Dust Removal | Tack cloth, vacuum | Ensures clean surface for finish |
Tips:
- For curved or turned legs, consider using sanding sponges to fit contours.
- If your table is laminate, lightly scuff with 120-grit—just enough for paint to adhere.
Choosing Between Paint or Stain for Your Style
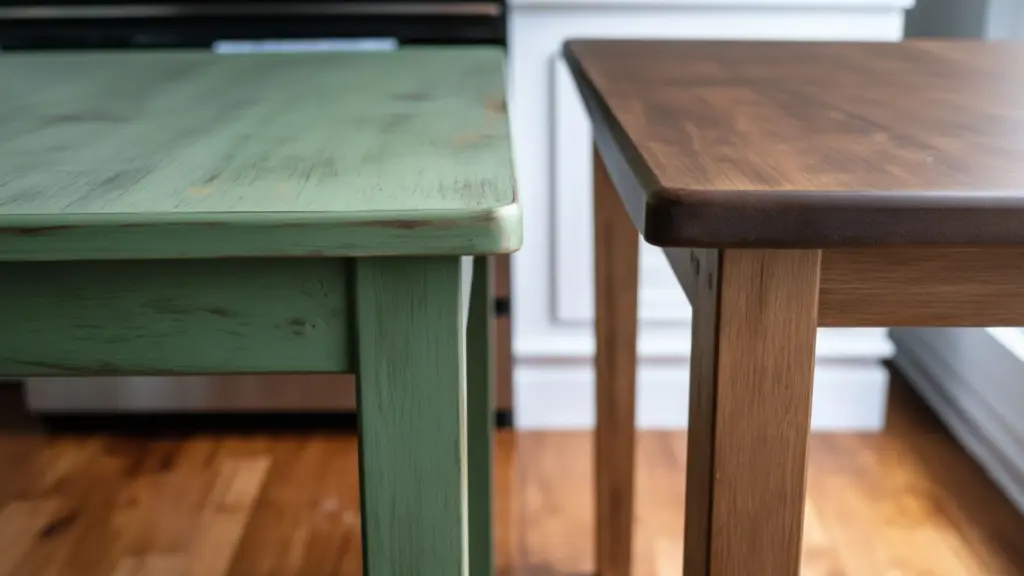
Once your table is fully sanded and clean, it’s time to choose your finish: paint or stain. Each has its pros and distinct aesthetic, so the choice depends on your style and how you plan to use the table.
Staining preserves and highlights the natural wood grain, offering a warm, timeless appeal. It’s ideal for farmhouse, rustic, or mid-century styles. Paint, on the other hand, offers limitless color options—from crisp white to bold navy or matte black—and works well in modern or eclectic kitchens.
| Finish Type | Best For Styles | Durability | Finish Options |
|---|---|---|---|
| Wood Stain | Farmhouse, rustic, classic | High | Matte, satin, gloss |
| Paint | Modern, coastal, vintage | High (with sealant) | Chalk, eggshell, satin |
| Two-Tone | Eclectic, transitional | Customizable | Painted base + stained top |
Paint tip: Use a primer if your table has dark wood or a glossy finish to prevent bleeding and improve adhesion.
Applying Paint or Stain for a Flawless Look
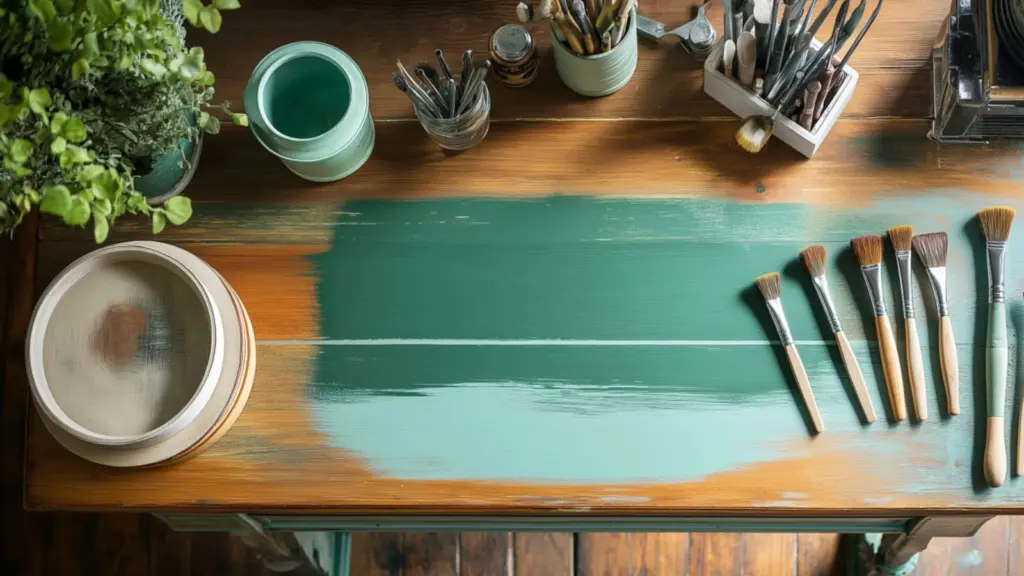
When it’s time to apply your chosen finish, patience and technique are key. Begin by taping off any areas you want to protect from bleed-through—especially if you’re doing a two-tone design.
For paint: Use a high-quality angled brush for corners and a foam roller for large, flat surfaces. Apply two thin coats, allowing each to dry fully and sanding lightly in between. Chalk or mineral paint offers excellent coverage and a soft matte finish.
For stain: Apply with a lint-free cloth or staining pad, working in the direction of the grain. Wipe off excess before it dries. You can layer for a deeper tone, but let each coat dry completely before adding another.
| Application Type | Tools Needed | Dry Time (Average) |
|---|---|---|
| Paint | Brush, foam roller, painter’s tape | 4–6 hours between coats |
| Stain | Cloth, foam brush, staining pad | 24 hours between coats |
| Two-Tone | Tape, both stain & paint tools | Allow separation of steps |
Always test your color on a scrap piece of wood or an underside area first.
Sealing and Protecting Your Table
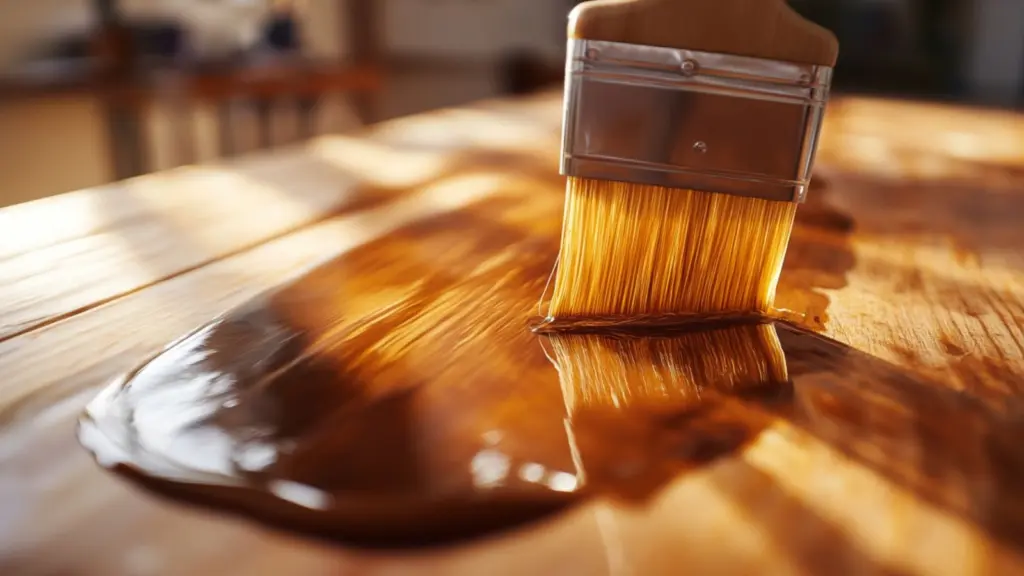
Sealing is the final but absolutely essential step in your kitchen table makeover. Without a proper sealant, even the best-looking finish can wear down quickly under the strain of daily use.
Choose between polyurethane, polycrylic, or furniture wax depending on your finish. Polyurethane (oil-based) is very durable but may yellow over time. Polycrylic (water-based) dries faster and stays clear—ideal for light-colored paint. Wax gives a soft finish but is less protective, best for low-traffic areas.
Apply the sealer with a synthetic brush in long, even strokes. Let each coat dry according to the manufacturer’s instructions, then sand lightly between coats. Two to three coats are generally recommended.
| Sealant Type | Best For | Finish Look | Maintenance Level |
|---|---|---|---|
| Polyurethane | Stained wood, dark paints | Durable, glossy | Low |
| Polycrylic | Light paints, quick drying | Clear, smooth | Low |
| Furniture Wax | Chalk-painted pieces | Soft, vintage | Medium (reapply) |
Styling Your Newly Madeover Kitchen Table
Once your table is sealed and dry, it’s time for the fun part: styling. How you dress your table can elevate the entire space and highlight your new DIY work.
Start with a statement piece in the center—such as a ceramic bowl, a vase of fresh flowers, or a tray with candles and coasters. These act as visual anchors and make the table feel lived-in.
For everyday function, consider neutral placemats, linen runners, or a casual centerpiece that doesn’t need to be moved at every meal. Seasonal decor is also a great way to keep things fresh—think pumpkins in fall, greenery in winter, or citrus accents in summer.
Layer textures: a woven runner beneath a glass vase adds contrast, while stacked dinnerware on rustic chargers brings a curated, homey vibe.
| Styling Element | Ideas to Try | Mood Created |
|---|---|---|
| Centerpiece | Ceramic bowl, plant, tray arrangement | Balanced and grounded |
| Textiles | Linen runner, jute placemats | Cozy and natural |
| Tableware | Neutral stoneware, matte utensils | Minimalist and clean |
| Lighting | Pendant above, nearby sconce | Warm and inviting |
Finish with chairs that complement your table’s new look. Mismatched vintage? Sleek black? Slipcovers? Use your makeover as a cue for your overall kitchen aesthetic.
Conclusion
A DIY kitchen table makeover is one of the most rewarding projects in home decor. It’s more than just updating furniture—it’s about turning something worn into something beautiful, functional, and entirely your own. With a bit of time and creativity, your table can become a personalized centerpiece that reflects your style and tells a story.
From prepping and sanding to sealing and styling, each step adds a layer of care to your finished result. Whether you’re going for rustic charm or sleek modernity, this guide gives you the tools to make your makeover both stylish and lasting.

