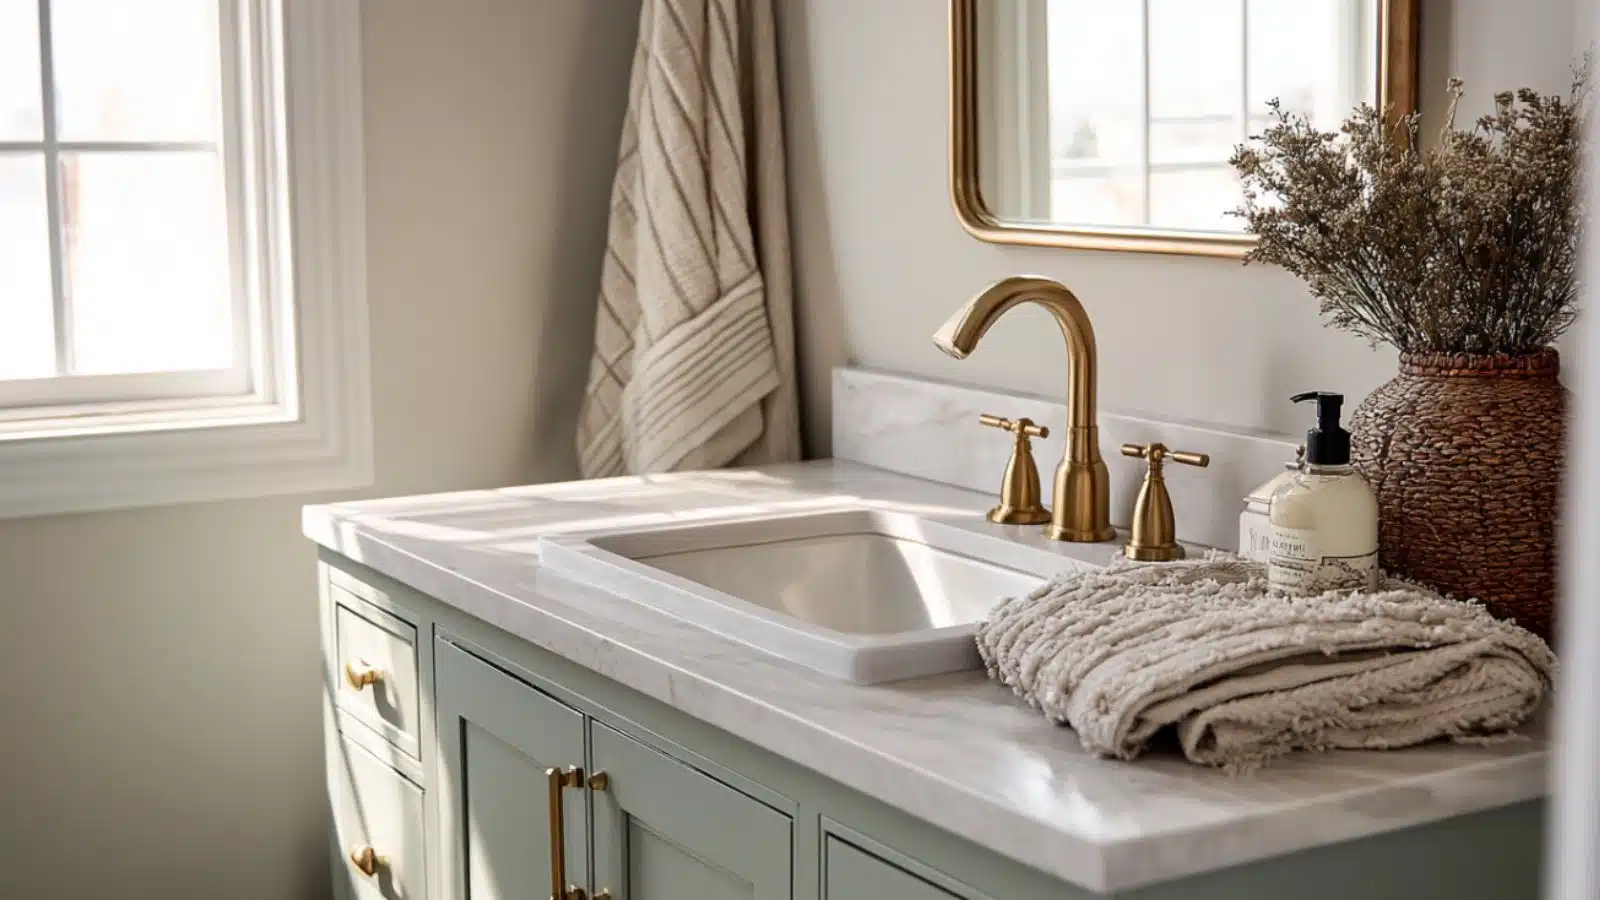
DIY Bathroom Renos: Easy Weekend Projects to Refresh Your Space on a Budget
Table of Contents
A full bathroom renovation might sound like a daunting (and expensive) task, but what if you could achieve dramatic results in just a weekend? According to recent surveys, bathroom upgrades consistently offer one of the highest returns on investment for home renovations. However, not all improvements require a contractor or thousands of dollars to execute. With the right inspiration and a few tools, you can transform your bathroom’s style and function in just two days or less.
From refreshing outdated vanities to adding trendy wall treatments, DIY bathroom renos are more accessible than ever—especially with smart planning and clever hacks. Whether you’re a seasoned DIYer or a complete beginner, there are countless affordable projects that can help you upgrade your space without gutting it.
This blog will guide you through a collection of weekend-friendly projects designed to maximize impact while minimizing cost and effort. You’ll find practical tips, visual guides, and MidJourney image prompts to help you visualize the results before you pick up a paintbrush. Ready to reimagine your bathroom? Let’s dive into the possibilities.
Paint Your Vanity for a Fresh Look
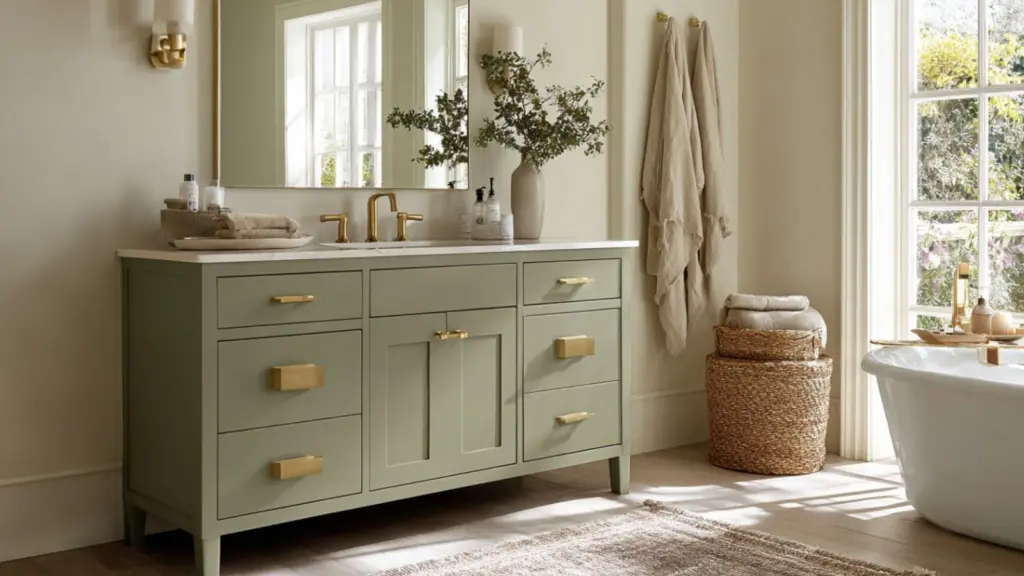
A simple coat of paint can work wonders on a tired, outdated bathroom vanity. This weekend-friendly project offers one of the best returns on effort—especially if your existing cabinetry is still in good condition structurally. Opt for soft neutrals like sage, warm greige, or muted navy for a calming effect, or go bold with matte black or forest green to create contrast in a light-toned space.
Preparation is key for a smooth finish. Be sure to clean, sand, and prime before painting. Swap out hardware for an added touch of style—brass, matte black, or brushed nickel knobs can elevate the look instantly.
Step-by-Step Vanity Painting Breakdown
| Task | Supplies Needed | Time Estimate |
|---|---|---|
| Clean & sand surfaces | Degreaser, sanding block | 1–2 hours |
| Apply primer | Bonding primer, angled brush | 1 hour |
| Paint 2–3 coats | Durable cabinet paint, foam roller | 2–3 hours |
| Change hardware | Screwdriver, new pulls/knobs | 30 mins |
Upgrade Fixtures for a Modern Touch
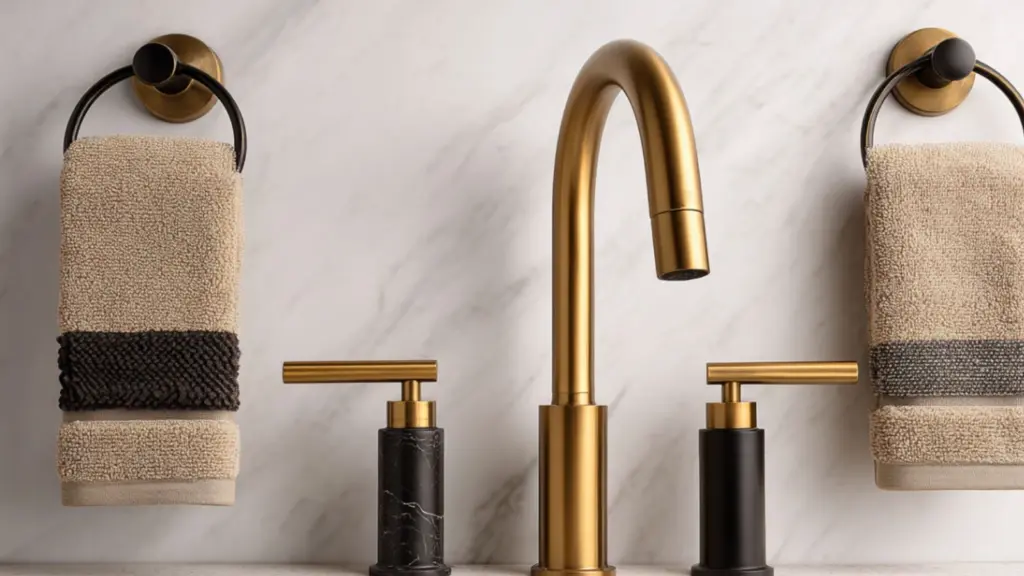
Outdated faucets and light fixtures can age a bathroom quickly. Replacing them with modern options is a relatively easy weekend project that can refresh the entire space. Look for cohesive finishes—matte black, antique brass, or brushed nickel are timeless and trendy.
This update doesn’t require a complete rewiring or plumbing overhaul. Most light fixtures and faucets follow standard fittings, making them suitable for DIY replacement. Pair a statement faucet with a minimalist mirror and light bar to balance impact with simplicity.
Fixture Upgrade Essentials
| Fixture Type | Ideal Finishes | DIY Difficulty | Cost Range |
|---|---|---|---|
| Faucet | Matte black, brushed gold | Moderate | $60–$120 |
| Vanity lights | Brass, frosted glass | Easy | $50–$150 |
| Towel bars/hooks | Coordinated metal finish | Easy | $10–$40 |
| Showerhead | Chrome, rainfall type | Easy | $30–$90 |
Create a Statement Wall with Peel-and-Stick Wallpaper
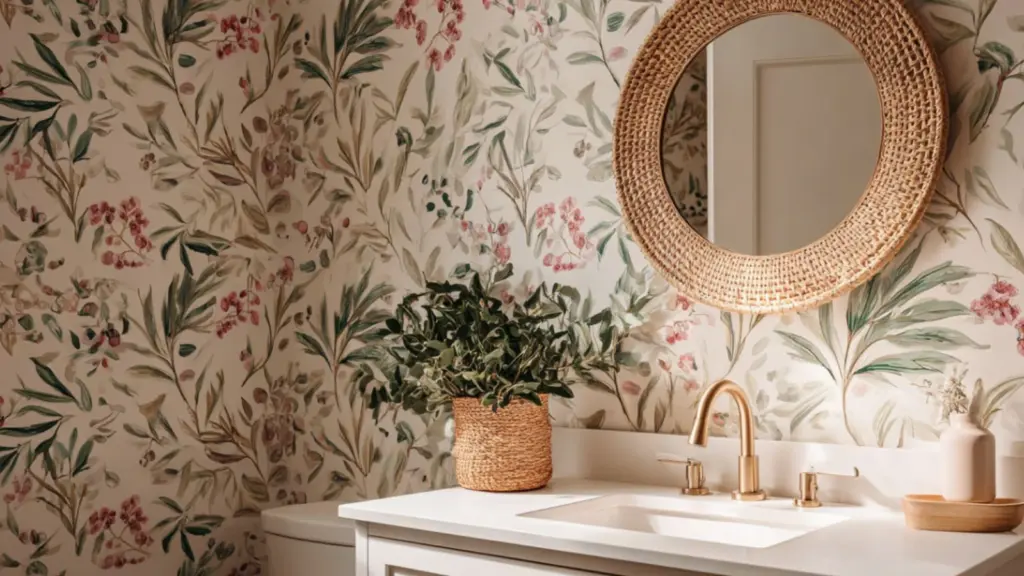
Peel-and-stick wallpaper is a budget-friendly way to add texture and visual interest to your bathroom. Perfect for renters or commitment-phobes, this weekend project offers the freedom to explore prints, patterns, or natural textures without permanent changes.
You can cover a single accent wall behind the vanity or go bolder by wrapping the entire room. Choose moisture-resistant options designed specifically for bathrooms. Designs like linen texture, terrazzo, or botanical prints add personality while keeping the look elevated.
Top Wallpaper Styles for Bathrooms
| Style | Visual Effect | Ideal Pairing |
|---|---|---|
| Botanical prints | Calming, natural aesthetic | Wood, green accents |
| Geometric patterns | Modern, playful | Minimalist fixtures |
| Faux shiplap | Farmhouse or cottagecore vibe | Black or gold hardware |
| Terrazzo | Trendy, textured look | Neutral tones |
Install Floating Shelves for Stylish Storage
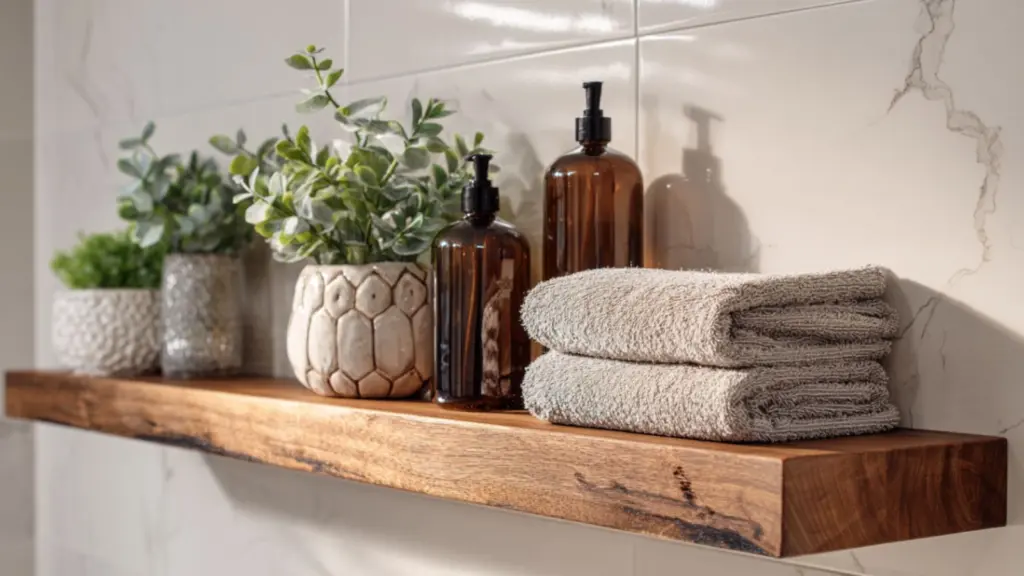
One of the most practical DIY bathroom renos you can complete in a weekend is adding floating shelves. Not only do they provide extra storage, but they also offer space to display decor that enhances the room’s personality. Floating shelves work especially well in smaller bathrooms where cabinets may overwhelm the space.
Start by selecting shelves in a material that complements your theme—reclaimed wood for a rustic look, white laminate for a minimalist vibe, or matte black for industrial charm. Make sure to use proper wall anchors to support the weight, especially if you’re storing heavier items like folded towels or jars.
Styling your shelves is just as important as the installation. Combine function with form—store everyday items like cotton rounds or bath salts in glass containers, and pair them with decor like small potted plants, framed prints, or candles.
Floating Shelf Installation & Styling Guide
| Step | Tip or Tool Needed |
|---|---|
| Measure & mark placement | Level, tape measure |
| Drill and anchor brackets | Wall anchors, power drill |
| Style with a balanced layout | Odd numbers of objects, varied heights |
| Use dual-purpose containers | Apothecary jars for beauty + function |
Floating shelves bring both order and beauty to your space, and you can easily complete the transformation in a few hours.
Refresh the Grout and Caulk Lines
Even the most stylish bathroom can feel dingy if the grout and caulk are stained or cracked. Luckily, refreshing these small details can have a huge visual impact—and it’s a perfect DIY task for a weekend.
Start by using a grout cleaner or homemade paste (baking soda and vinegar) to brighten your tile joints. If grout is too far gone, use a grout pen in a matching or contrasting color to freshen up the lines. For caulk, remove the old bead with a utility knife and reapply with a smooth, clean finish.
This is also a great opportunity to choose caulk in white or clear to match the bathroom’s vibe. Not only will this refresh the look, but it also prevents future moisture damage.
Grout & Caulk Refresh Plan
| Area | Method | Time Estimate |
|---|---|---|
| Grout cleaning | Baking soda + vinegar scrub | 1–2 hours |
| Grout recoloring | Grout pen (white/gray/charcoal) | 2 hours |
| Caulk replacement | Silicone caulk + applicator | 1 hour |
This kind of subtle facelift is often overlooked but can elevate the entire feel of your bathroom.
Frame the Mirror for Instant Elegance
Most builder-grade bathrooms come with plain wall mirrors. An easy upgrade? Add a frame around it using wood trim, peel-and-stick options, or pre-made kits. This project can take under an hour but gives your bathroom a much more polished, designer look.
Wood frames work beautifully in earthy or rustic designs, while black or gold trim adds a modern or glam feel. Make sure the frame matches the overall palette and hardware tones in your bathroom for a cohesive aesthetic.
Framing Styles at a Glance
| Frame Type | Best For | DIY Tip |
|---|---|---|
| Wood trim | Rustic, farmhouse | Stain to match shelves |
| Matte black | Modern, minimal | Use command strips |
| Brushed gold | Chic, glam aesthetics | Pre-measured kits available |
| PVC peel-and-stick | Renters, quick fixes | Water-resistant and easy |
Swap Your Shower Curtain for a Bold Focal Point
A shower curtain isn’t just functional—it’s a design opportunity. Replacing an old curtain with a bold or textural one can completely shift the room’s atmosphere. Look for options in linen, waffle weave, or printed cotton for a cozy or dramatic statement.
Coordinate the curtain with your bath mat, towels, and wall art to create a pulled-together look. Don’t forget the rod and rings—small upgrades like brushed gold or matte black finishes can subtly support your overall style.
Curtain Upgrade Style Pairings
| Curtain Type | Ideal Style Vibe | Accent Colors to Use |
|---|---|---|
| Textured Linen | Neutral, spa-like | Beige, taupe, soft green |
| Block Print Cotton | Boho or global-inspired | Rust, indigo, mustard |
| Vertical Stripes | Classic, fresh look | Navy, white, gray |
| Moody Floral | Romantic or vintage | Plum, gold, blush |
Conclusion
Renovating your bathroom doesn’t have to mean tearing down walls or hiring a contractor. These easy weekend projects show that even the smallest updates—like painting a vanity, installing floating shelves, or swapping your shower curtain—can create a big impact. With thoughtful planning, attention to detail, and a few tools, your bathroom can go from basic to beautiful in just a couple of days.
Each idea in this guide is designed to be approachable and rewarding, helping you feel more connected to your home while enhancing its comfort and style. Whether you’re aiming for a modern refresh or a cozy retreat, DIY bathroom renos make it all possible—one weekend at a time.

