Budget-Friendly Kitchen Layout Remodel Ideas That Maximize Style and Function
Table of Contents
A full kitchen remodel can be one of the most expensive home improvement projects—but it doesn’t have to break the bank. According to Remodeling Magazine’s Cost vs. Value Report, even minor kitchen remodels can recoup over 70% of their cost at resale. The good news? You don’t need a massive budget or tear-down overhaul to enjoy an updated kitchen. With the right layout adjustments and design upgrades, you can create a beautiful and functional space while staying cost-conscious.
Whether you’re working with a small galley, a dated L-shape, or an open-concept kitchen in need of better flow, strategic remodeling ideas can make all the difference. From rearranging your kitchen work triangle to using open shelving, painting cabinets, or upgrading lighting, there are numerous ways to achieve a fresh layout look on a tight budget.
This blog explores clever, cost-effective kitchen layout remodel ideas tailored to various needs and spaces. Each section offers practical guidance, layout strategies, and visual inspiration through MidJourney prompts to help you envision your kitchen’s full potential—without the financial strain of a full gut renovation.
Reimagine the Kitchen Work Triangle for Better Flow
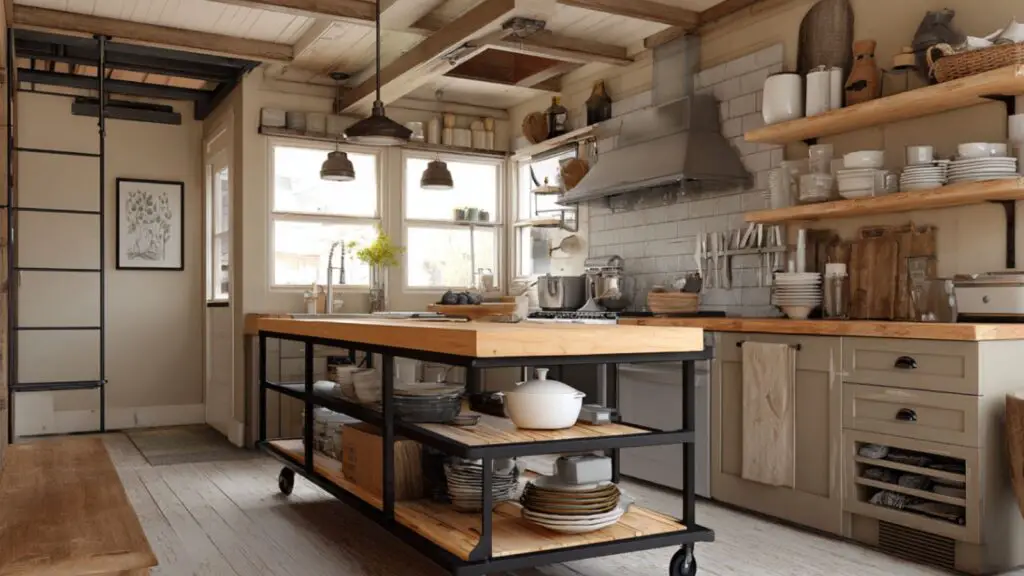
The kitchen work triangle—the imaginary lines connecting your stove, sink, and refrigerator—is foundational to a functional layout. Optimizing this triangle doesn’t require tearing down walls. In fact, simply rearranging or replacing freestanding elements can improve movement and usability.
If your triangle feels cramped or inefficient, consider relocating the fridge to another wall or swapping out bulky cabinetry near the stove for slimmer, open shelving. Use rolling islands or carts as flexible prep zones to enhance the triangle without committing to permanent structural changes.
For small spaces, breaking up the triangle into more accessible zones can also improve workflow. Think of it as a cooking “circuit” where one step logically leads to the next, rather than strict geometric placement.
Triangle Optimization on a Budget
| Problem | Budget-Friendly Solution | Estimated Cost |
|---|---|---|
| Cramped cooking area | Add a slim rolling island | $100–$300 |
| Cluttered triangle corners | Use wall-mounted storage or floating shelves | $50–$150 |
| Appliance congestion | Relocate fridge or microwave | DIY, low cost |
| Poor traffic flow | Remove a cabinet or reorient furniture | Free or minimal |
Open Up the Layout with Floating Shelves
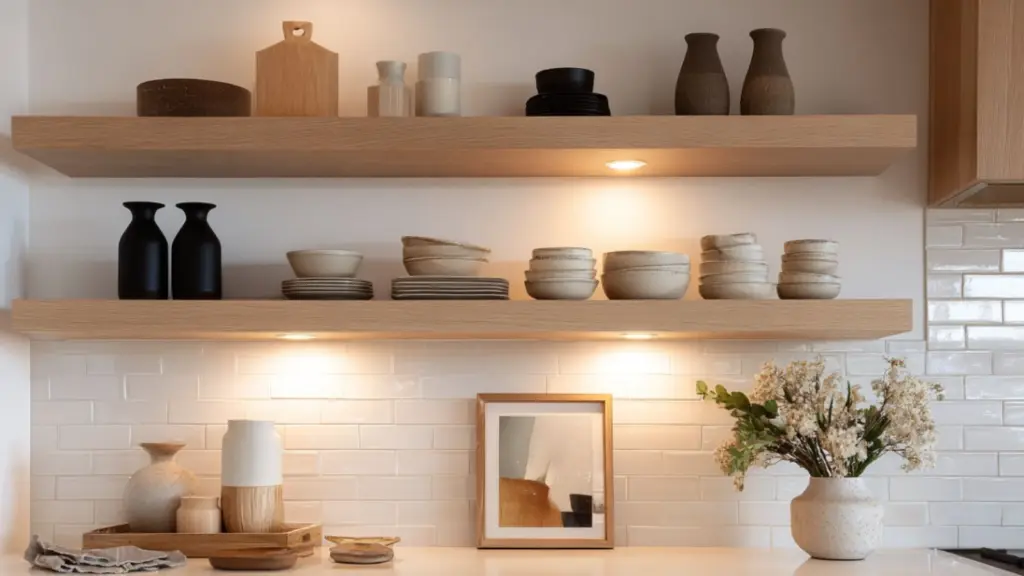
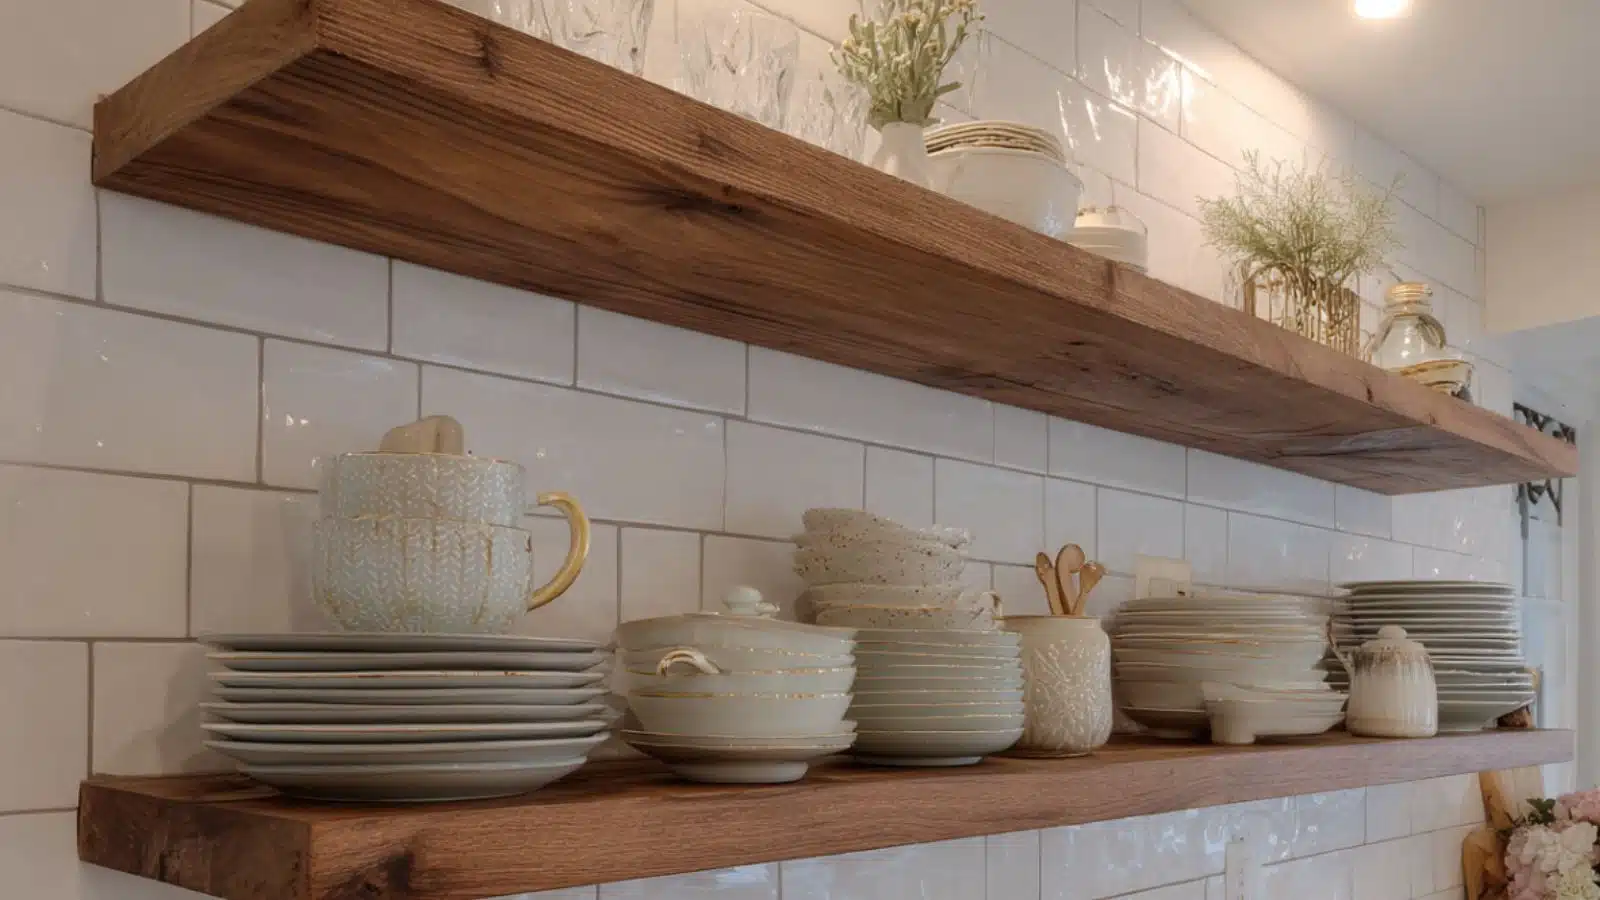
Replacing upper cabinets with floating shelves is a visually light and budget-friendly way to open up a kitchen. This layout change is especially effective in small kitchens, where bulky cabinets can make the space feel tight and closed-in.
Floating shelves create a more breathable and modern look. They also encourage organization and showcase curated kitchen essentials—think ceramic dishes, wood cutting boards, and glass jars of dried goods. Install shelves in key areas, such as above the sink or along a single wall, to strike the right balance between storage and aesthetics.
To make it budget-smart, use reclaimed wood planks or pre-made brackets from home improvement stores. Add lighting under or around the shelves to highlight your setup and visually extend the ceiling height.
Floating Shelf Layout Benefits
| Advantage | Layout Impact | Cost Consideration |
|---|---|---|
| Creates visual space | Makes small kitchens feel larger | Low materials cost |
| Flexible storage | Easy access to everyday items | Avoids custom cabinetry |
| Stylish display zone | Personalizes the space | DIY install friendly |
| Increases vertical use | Maximizes unused wall areas | Great for tall ceilings |
Update the Layout with a Moveable Kitchen Island
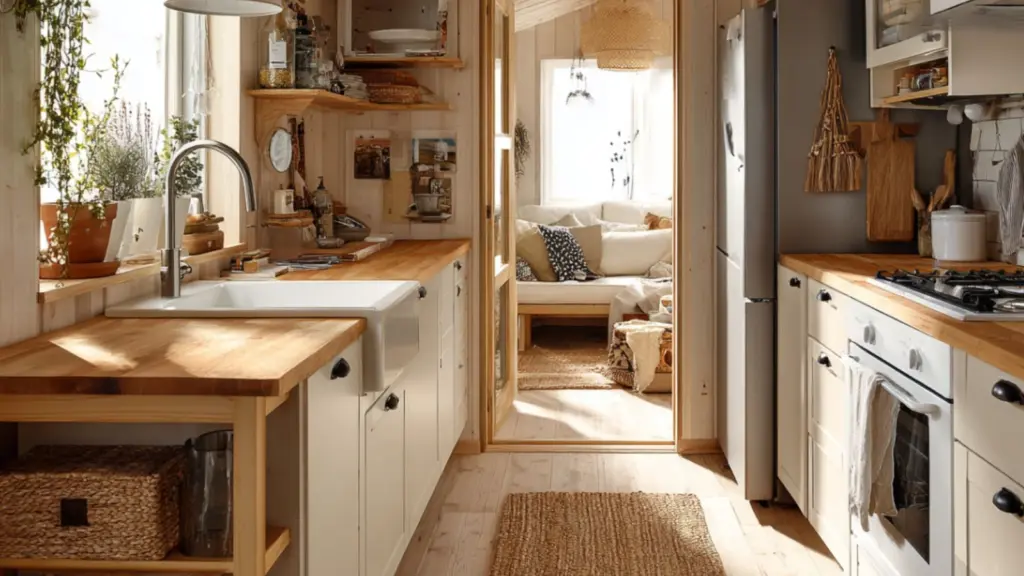
Not every kitchen layout needs a fixed island. In fact, movable or rolling islands are an ideal budget-friendly solution for apartments or smaller homes where space is limited. A portable island gives you added prep space, storage, and even seating without the commitment or cost of built-in cabinetry.
When remodeling your kitchen layout, consider how a moveable island can fill in functional gaps. Place it near your prep area for additional cutting space, or use it as a divider between an open kitchen and living area. Some designs even feature drop leaves or wheels for easy movement and storage when not in use.
Choose an island that fits your style—wood for warmth, stainless steel for a sleek industrial edge, or painted finishes for a custom look. Many DIYers even repurpose old tables or dressers into custom islands by adding a butcher block top and casters.
Moveable Island Ideas and Tips
| Island Feature | Best Use Case | Budget Option |
|---|---|---|
| Butcher block top | Prep surface, cutting zone | IKEA or DIY slab |
| Drop-leaf sides | Expandable seating or workspace | Great for galley kitchens |
| Open shelves beneath | Additional storage for pans or baskets | Reuse crates or cubbies |
| Locking wheels | Easy repositioning | Hardware store casters |
Moveable islands are a practical solution that adapt to your layout needs—ideal for renters, renovators, or anyone working with limited square footage.
Create a Galley Kitchen with Maximum Efficiency
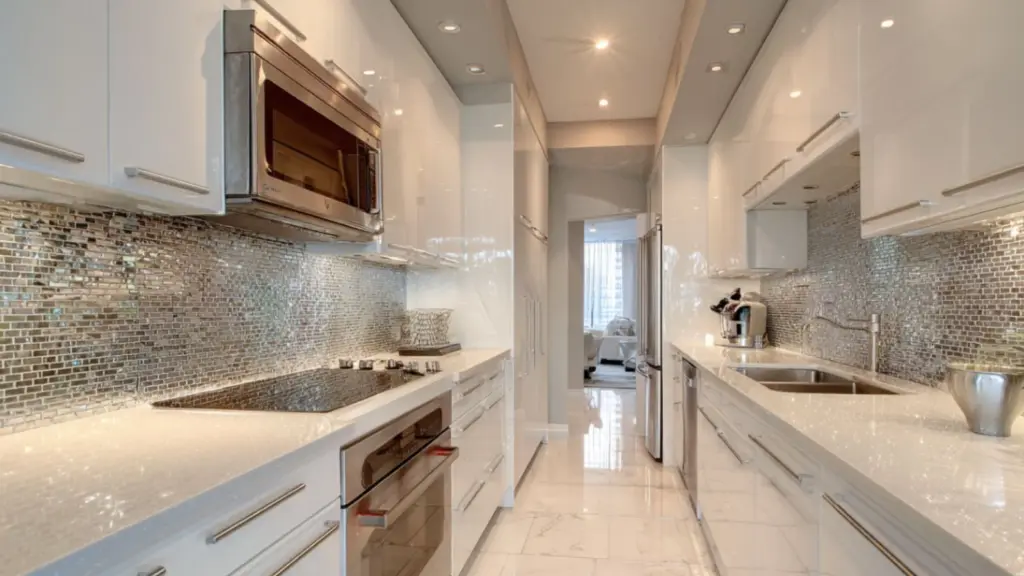
Galley kitchens, with their two parallel runs of cabinetry, are often found in older apartments or narrow homes. While they may feel limiting at first glance, a galley kitchen can be incredibly efficient—especially when designed smartly.
Begin by assessing how each side of the galley functions. Ideally, one side is dedicated to cooking and prep (stove, oven, counters), while the opposite focuses on cleanup and storage (sink, dishwasher, pantry). If your current layout doesn’t follow this division, reassign cabinet zones to balance the workflow.
Keep sightlines open by using light-colored cabinets, adding under-cabinet lighting, and incorporating reflective surfaces. You can also paint one wall a slightly darker tone to create visual depth. If space allows, a pass-through window or open shelf at the end of the galley can visually extend the kitchen.
Galley Kitchen Remodel Plan
| Tip | Purpose | Budget Fix |
|---|---|---|
| Assign zones by function | Better workflow and cooking ease | Rearrange storage zones |
| Add under-cabinet lighting | Improves visibility and ambiance | Plug-in LED strips |
| Open one wall or shelf end | Prevents a boxed-in feel | Remove upper cabinet |
| Use narrow appliances | Frees up walkway space | Apartment-size options |
Maximize Corners with Smart Cabinet Solutions
Corner space is often the most underutilized part of a kitchen layout. In a budget-friendly remodel, reworking corner cabinets can unlock hidden storage and functionality.
Lazy Susans, swing-out shelves, or corner drawers can make those awkward angles far more accessible. These additions don’t require major construction—they can often be added to existing cabinet boxes. For even more savings, remove the doors and create open corner shelving to store large cookware or display items.
Another tip is to place appliances near corners strategically to use space efficiently without creating bottlenecks. For example, placing a microwave in a corner shelf or nook frees up counter space while keeping it within reach.
Corner Optimization Guide
| Solution | Ideal For | Budget-Friendly Tip |
|---|---|---|
| Lazy Susan inserts | Deep lower corner cabinets | Install kits available |
| Corner drawers | Stackable storage with easy access | Great for small utensils |
| Open shelving | Display or oversized items | Use wood planks + brackets |
| Diagonal cabinet fronts | Custom feel without full renovation | Retrofit old fronts |
Use a Peninsula Instead of a Full Island
Peninsulas are a budget-friendly and space-saving alternative to full kitchen islands, especially in smaller homes or open-concept layouts. They function similarly to an island by offering prep space, extra storage, and seating—but they’re anchored to one wall or cabinet base, reducing installation complexity.
Installing or modifying a peninsula can involve repurposing existing lower cabinets or extending a short countertop. It’s a great way to create division between the kitchen and living or dining area without building a full wall.
Peninsulas are especially helpful in L-shaped kitchens, where the additional surface area can enhance functionality without disrupting flow. Consider adding pendant lights above or using contrasting cabinetry for visual impact.
Peninsula Remodel Layout Strategy
| Feature | Purpose | Budget Approach |
|---|---|---|
| Attached counter | Adds workspace and bar seating | Extend current countertop |
| Storage base | Extra cabinetry or shelves | Use recycled lower cabinets |
| Style divider | Defines open layout visually | Use paint or panel contrast |
| Overhead lighting | Enhances design and task focus | Add DIY pendant kits |
A peninsula adds tremendous value in terms of layout, design, and everyday use—without the high cost of full kitchen reconstruction.
Conclusion
Redesigning your kitchen layout on a budget is absolutely achievable with thoughtful planning, clever repurposing, and small design tweaks. Whether you’re opening up space with floating shelves, improving function through layout zoning, or enhancing style with movable islands and peninsulas, every update plays a role in crafting a kitchen that feels new and functional—without the high renovation cost.
The beauty of budget-friendly kitchen remodels lies in their flexibility. You can implement ideas gradually, over a few weekends or months, and still enjoy noticeable improvements in how your kitchen looks and works. With a little creativity and strategic layout thinking, even the most modest kitchens can become efficient, beautiful, and truly enjoyable to use.

