Creative Mud Kitchen Setup Inspiration for Fun, Functional Outdoor Play
Table of Contents
Mud kitchens are having a moment—and for good reason. This charming and creative outdoor setup offers kids an engaging way to explore, pretend, and play in nature. A well-designed mud kitchen can spark hours of imaginative fun while also encouraging sensory development, problem-solving, and a love for the outdoors. According to early childhood education experts, outdoor play supports emotional regulation and physical coordination, making mud kitchens a brilliant tool for both learning and leisure.
But building a mud kitchen doesn’t require a professional playground budget or a sprawling backyard. With a little creativity, a few DIY materials, and the right inspiration, you can set up a beautiful and functional mud kitchen in just about any outdoor space. Whether you’re a parent, teacher, or childcare provider, these setup ideas will help you create a magical play zone that kids will return to again and again.
This blog post dives into everything you need to know about designing a mud kitchen. From materials and layouts to themed decor and clever storage, we’ll guide you through each element to consider. Get ready to transform a corner of your yard or patio into a playful paradise of pots, pans, and muddy adventures.
Choose the Perfect Location for Your Mud Kitchen
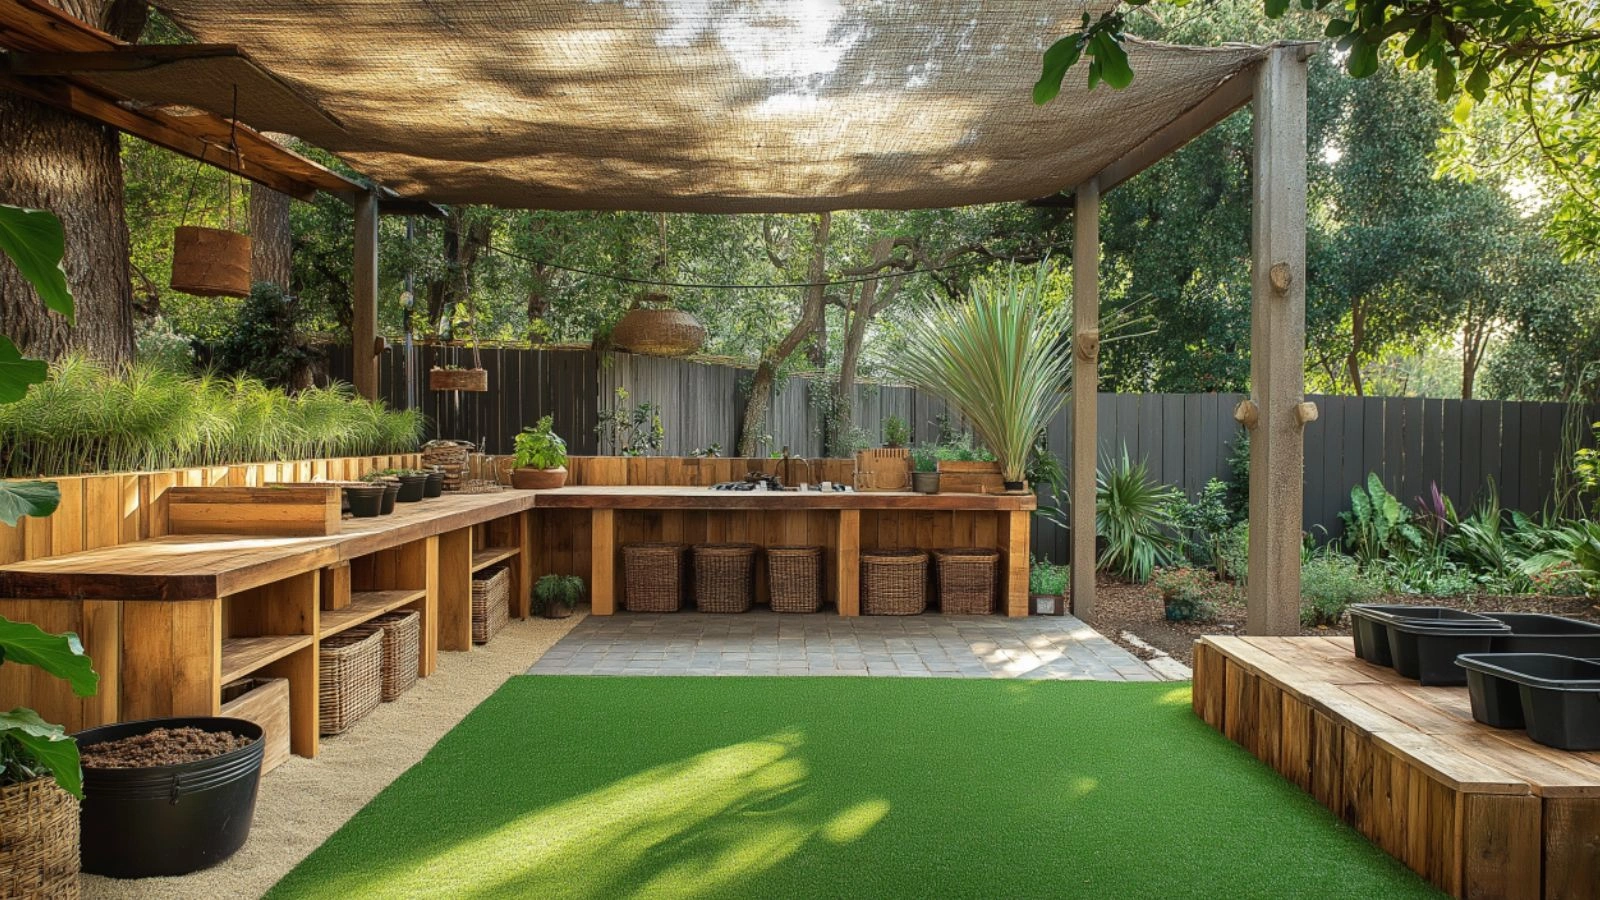
Before gathering supplies or dreaming up your design, the first step in setting up a mud kitchen is choosing the right location. Ideally, this spot should be shaded, accessible, and safe for play. Whether you have a backyard, garden patch, or even a balcony, there’s always a creative way to incorporate a mud kitchen setup.
Natural ground areas like grass or dirt patches are perfect, as they let children dig, scoop, and mix directly with the earth. If you’re working with a hard surface like concrete or decking, consider adding tubs of soil or large garden containers as your “mud source.” Keep the kitchen close to a water spigot or hose for easy cleanups and mixing fun.
Think about the surrounding area, too. Is there room to spread out accessories or set up a water table? Can you install a roof or canopy to provide shade on hot days? The better the setup suits your child’s daily play habits, the more frequently it’ll be used.
Mud Kitchen Location Guide
| Location Type | Pros | Considerations |
|---|---|---|
| Backyard Grass Area | Natural play zone, dig-friendly | May need edging or water drainage |
| Patio or Deck | Defined area, easy cleanup | Add planters or containers for dirt |
| Garden Border | Immersive setting, nature-inspired | Keep away from delicate plants |
| Apartment Balcony | Great for small spaces | Use storage bins for soil & water access |
Repurpose Materials for a Budget-Friendly Build
One of the most rewarding parts of designing a mud kitchen is how affordable it can be. With a little imagination, old furniture, pallets, and secondhand finds can be transformed into an exciting play kitchen. Repurposing is not only eco-friendly but also adds rustic charm and character.
Start with the base. A discarded TV stand, bookshelf, or small table can become your main kitchen counter. Add hooks, bins, and shelves using leftover wood, crates, or even garden fencing. Old baking trays, muffin tins, and mixing bowls make perfect mud cookware—and chances are, you already have a few you don’t mind donating to the cause.
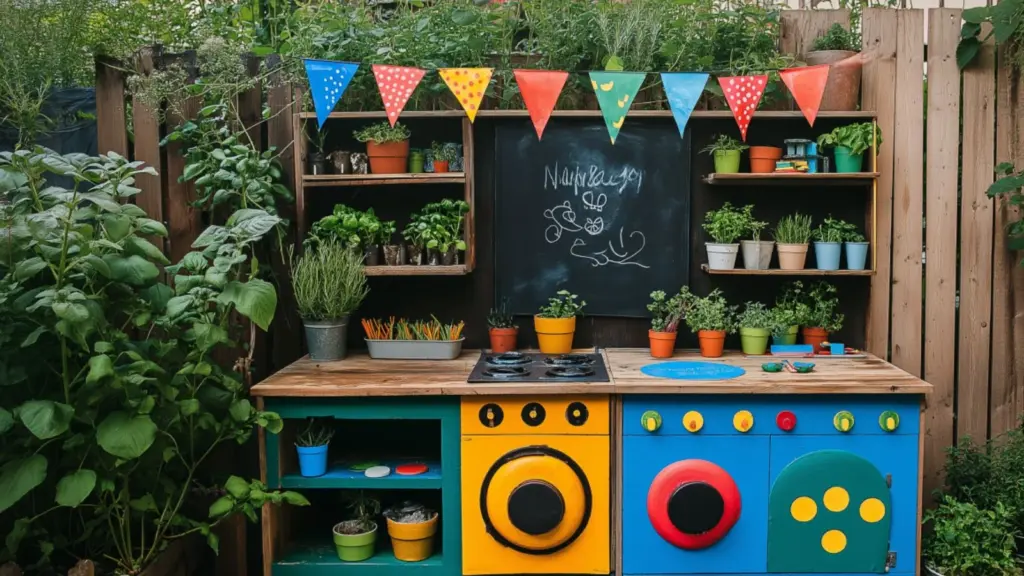
For a whimsical touch, look for vintage knobs, painted cabinet doors, or faux burners made from recycled CDs or bottle caps. Use chalkboard paint on cabinet panels for recipe writing fun, and label drawers with “mud,” “rocks,” or “leaves” for organizing ingredients.
Repurposed Mud Kitchen Material Ideas
| Item | New Use in Mud Kitchen | Where to Find It |
|---|---|---|
| Pallets or Crates | Frame or shelves | Hardware stores, curbside pickups |
| Old Kitchen Utensils | Functional play tools | Thrift stores, garage sales |
| Bookcase or Dresser Base | Kitchen counter and storage | Upcycle from home or secondhand market |
| Garden Fence Panels | Back wall with hanging storage | Repurpose from landscaping projects |
Organize with Smart Storage and Tool Stations
A successful mud kitchen setup isn’t just about the mess—it’s about managing it creatively. Smart storage solutions help keep things accessible for kids while maintaining a bit of order in the chaos. An organized setup also makes it easier for little ones to clean up independently, adding a layer of responsibility to the play.
Start with vertical storage. Hooks along the back panel of your mud kitchen are great for hanging pots, ladles, whisks, and pans. If you’re using a pallet wall, insert nails or pegs directly into the wood. Small baskets or mason jars can hold brushes, spoons, and spades.
Under-counter storage should be dedicated to heavier items like buckets, watering cans, or large mixing bowls. Use plastic bins or labeled drawers to separate items into categories like “mud tools,” “pouring items,” and “natural materials.”
Designate one shelf or crate for creative “ingredients”—think flower petals, pinecones, pebbles, and herbs. Having pre-filled containers lets kids play chef while also encouraging exploration and learning about nature.
Mud Kitchen Storage & Tool Station Tips
| Storage Area | Suggested Items | Tips for Use |
|---|---|---|
| Hanging Hooks | Pots, pans, strainers | Hang at child’s eye level for accessibility |
| Open Shelving | Measuring cups, mason jars, trays | Rotate items weekly to spark creativity |
| Baskets or Crates | Dirt tools, molds, sand sifters | Use waterproof labels for easy sorting |
| Ingredient Containers | Leaves, rocks, flower petals | Store in clear jars with lids |
Incorporate Water Play Features for Extra Fun

Water is the magic ingredient in any mud kitchen—it adds movement, sensory depth, and endless combinations to explore. Whether it’s a dedicated faucet, a filled bucket, or a recycled sink basin, integrating water play turns your kitchen into a dynamic, interactive zone.
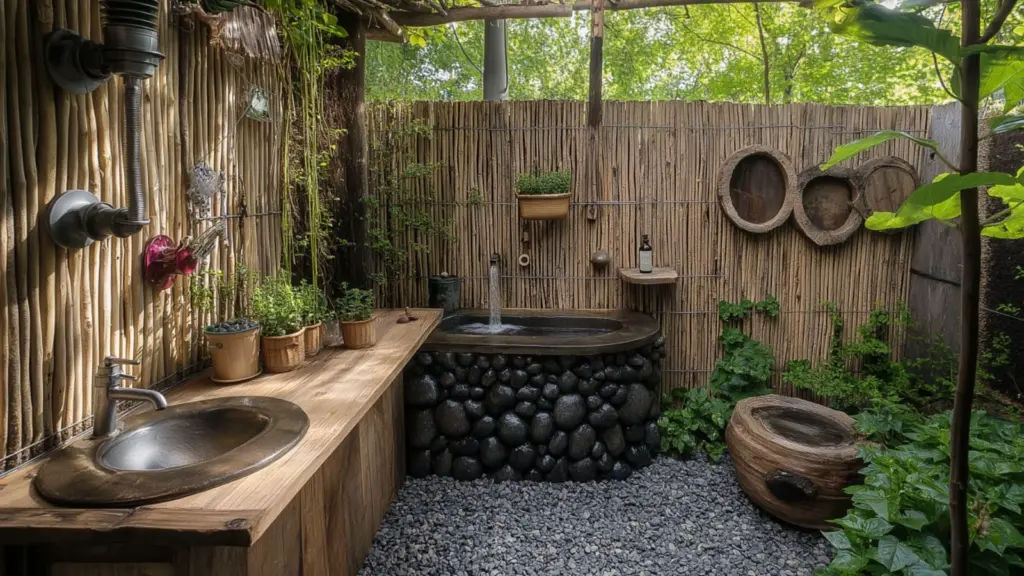
Install a simple sink using a plastic tub or repurposed basin. Place it on one side of the counter with a spigot or small water pump, or simply fill it manually each play session. Drainage can be handled with a hole at the bottom and a collection bucket underneath, especially for backyard use.
You can also mount an old garden hose reel nearby or provide a water dispenser jug with a spout that children can manage on their own. Just be sure to supervise younger kids and make sure all water sources are easy to turn off or refill.
Water Feature Ideas for Mud Kitchens
| Water Feature Type | Description | DIY Tip |
|---|---|---|
| Plastic Sink Basin | Removable, easy to clean | Use a plastic bin with hole and drain plug |
| Water Dispenser Jug | Child-controlled, spill-proof | Anchor base with rocks for stability |
| Recycled Garden Faucet | Fun for pretend washing | Connect to hose with low-pressure adapter |
| Water Wall Add-On | PVC tubes and funnels | Attach to kitchen side with zip ties |
Decorate with Whimsy: Paint, Signage, and Natural Accents

Even a functional mud kitchen can feel magical with the right decorative touches. Add splashes of color using weatherproof paints or wood stains—think sunshine yellow shelves, teal drawers, or chalkboard black tabletops. Kids love color, and it helps define zones of play within the kitchen.
Paint on faux stovetop burners, flower motifs, or playful signs like “Chef’s Garden” or “Messy Masterpieces.” If possible, allow your child to help paint their mud kitchen—this involvement boosts pride and ownership in the space.
You can also add natural accents for a cozier aesthetic. String bunting between posts, hang small planters with trailing herbs, or line the counter with rocks or shells. These small details give the kitchen a storybook feel and connect the space to its outdoor surroundings.
Decorating Details for Mud Kitchen Style
| Decorative Element | Use/Placement | Fun Twist |
|---|---|---|
| Painted Elements | Burners, signage, drawer fronts | Use weatherproof stencils and colors |
| Chalkboard Signs | Menu board or recipe wall | Change daily with new “mud meals” |
| Plant Decor | Small pots with herbs or flowers | Label plants like a mini garden kitchen |
| Natural Bunting or Flags | String across posts or railings | Use felt leaves, recycled fabric triangles |
Design Themed Play Zones for Ongoing Engagement

To keep your mud kitchen feeling fresh and engaging over time, consider designing themed play zones or rotating materials seasonally. This not only encourages kids to play in new ways, but also helps incorporate learning through play.
For example, a “bakery zone” can include flour sifters, rolling pins, and cookie cutters, while a “gardening zone” might focus on watering cans, pots, and pretend planting activities. You can even create a science station with magnifying glasses and nature specimen jars.
Change out these stations weekly or monthly. A rotating theme schedule not only brings excitement but can help extend your child’s vocabulary, fine motor skills, and imaginative thinking.
Themed Play Zone Rotation Guide
| Theme Name | Tools & Materials Needed | Educational Benefit |
|---|---|---|
| Mud Bakery | Rolling pin, muffin tray, flour bin | Promotes role play, sequencing |
| Garden Station | Pots, trowels, plant labels, seeds | Teaches care, life cycles, observation |
| Nature Lab | Rocks, leaves, magnifying tools | Encourages classification and discovery |
| Potion Mixing | Funnels, colored water, leaves | Supports sensory play, creativity |
Conclusion
Setting up a mud kitchen is more than just building a play space—it’s creating a mini world where imagination thrives, sensory exploration blooms, and kids learn through joyful mess-making. With the right location, a few repurposed materials, clever organization, and a splash of whimsy, your mud kitchen can be a centerpiece of outdoor fun and creative development.
Whether you’re crafting a rustic setup from old pallets or designing a themed experience with rotating stations, the options are endless—and entirely adaptable to your space and resources. The best mud kitchens aren’t perfect—they’re personal, practical, and full of charm. So embrace the mess, celebrate the color, and get ready to enjoy countless muddy masterpieces with the little chefs in your life.

