DIY Bathroom Counter Updates Using Peel Stick Backsplash
Table of Contents
Looking for a way to upgrade your bathroom without tearing out countertops or paying for a full renovation? You’re not alone. According to recent surveys, over 70% of homeowners seek low-cost, high-impact updates when it comes to bathroom renovations. And one of the most transformative tools available today is the peel stick backsplash—a product that brings instant texture, color, and pattern to tired bathroom counters with minimal effort.
The beauty of DIY bathroom counter updates using peel stick backsplash is that they combine ease and elegance. These self-adhesive tiles mimic the look of real ceramic, marble, stone, or glass without requiring grout, special tools, or professional labor. Whether you’re aiming for modern farmhouse charm, a boho refresh, or sleek contemporary vibes, there’s a peel-and-stick option that suits your taste.
In this guide, we’ll explore creative, practical, and aesthetic ways to use peel stick backsplash for transforming your bathroom counter area. From installation basics and style inspiration to maintenance tips and budget comparisons, every section is packed with helpful information to ensure your DIY upgrade feels polished and cohesive.
Why Peel and Stick Backsplash is a Game-Changer for Bathroom Counters

Peel and stick backsplash tiles have become a go-to solution for renters, homeowners on a budget, and weekend DIYers for a reason: they look great, install easily, and can dramatically change a space in just a few hours.
Key advantages of using peel stick backsplash for bathroom counters:
| Benefit | Explanation |
|---|---|
| Easy to install | No grout or tile saws needed—just peel, cut, and stick |
| Budget-friendly | Costs significantly less than traditional tile |
| Stylish options | Comes in a variety of finishes, textures, and shapes |
| Removable and renter-friendly | Many brands allow for non-permanent installation |
| Moisture resistant | Designed to withstand splashes and humidity |
Whether you’re updating a laminate counter or simply want to add a stylish border around your vanity, peel-and-stick tiles offer an accessible upgrade without the mess or commitment of traditional tile.
Choosing the Right Style for Your Space

One of the best parts about working with peel stick backsplash is the wide array of styles available. From classic subway tiles to Moroccan-inspired mosaics, your backsplash can instantly establish the tone and vibe of your bathroom.
Popular peel-and-stick backsplash styles for bathrooms:
| Style | Best For | Aesthetic Tip |
|---|---|---|
| White Subway Tile | Modern, farmhouse | Pair with matte black fixtures |
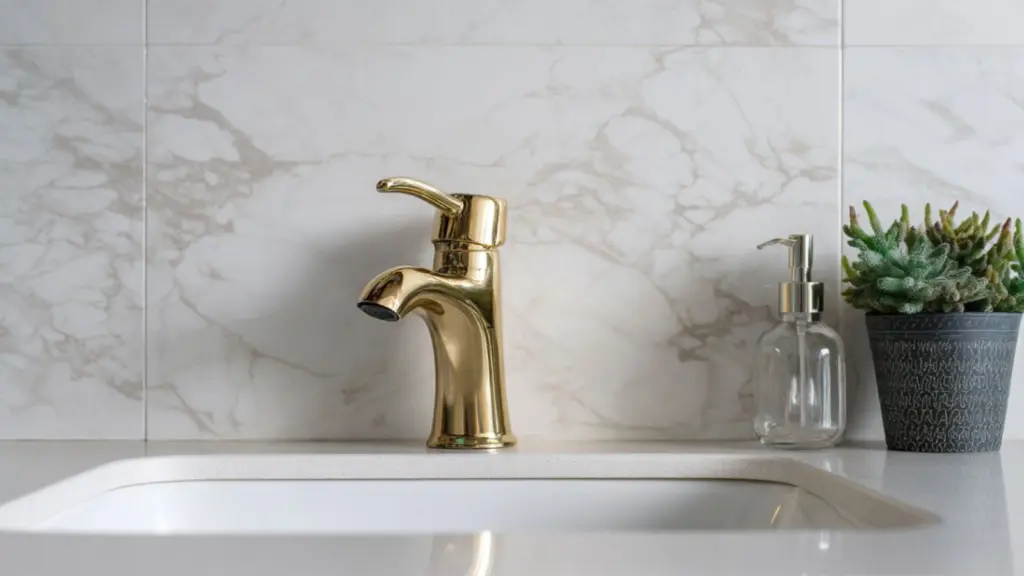
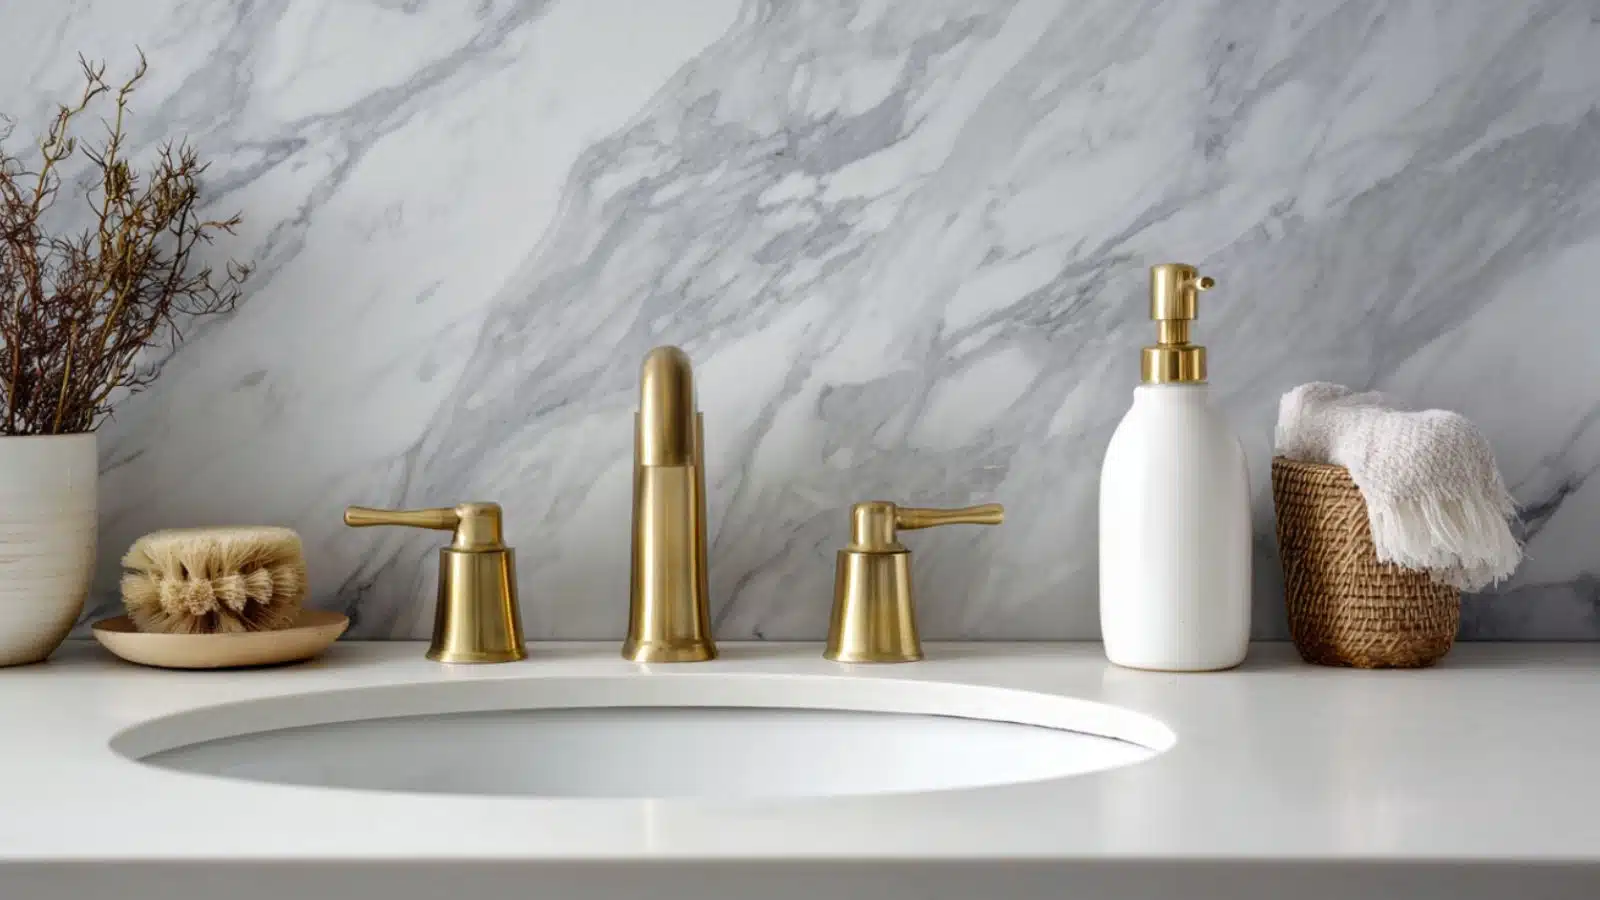
| Faux Marble | Luxe, spa-like | Works beautifully with gold or brass |
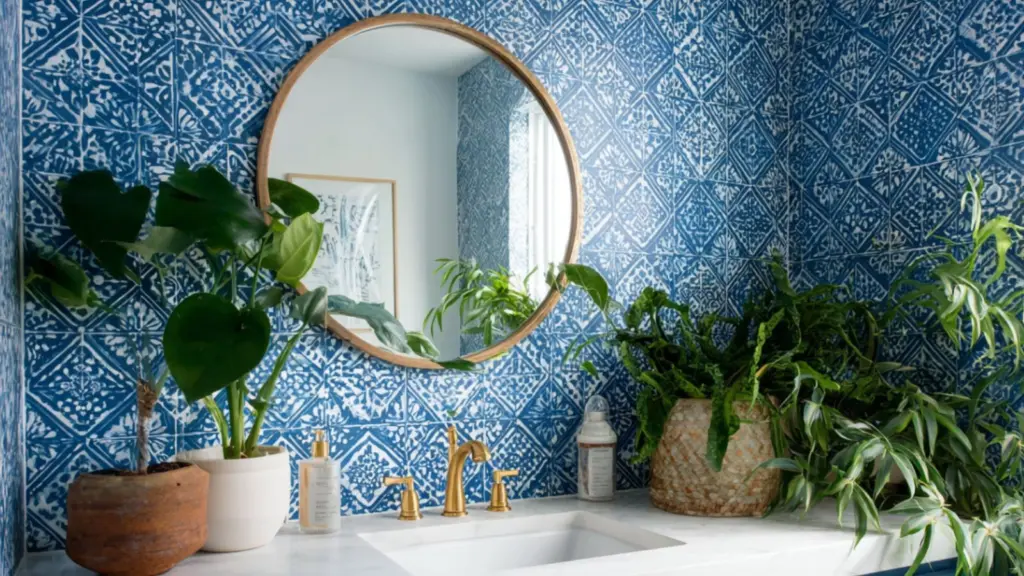
| Moroccan Mosaic | Eclectic, boho | Complement with vintage mirrors |
| Herringbone Pattern | Contemporary, high-end | Use with minimal decor for impact |
| Glossy Glass-Look | Sleek, modern | Best in minimalist, clean-line spaces |
When choosing your style, consider how your backsplash will interact with your countertop finish, sink hardware, and mirror frame. Consistency in tone and texture will create a harmonious, designer-inspired result.
How to Install Peel Stick Backsplash Like a Pro
Although the name suggests simplicity—and it is simple—proper preparation and a few smart techniques can make all the difference when it comes to achieving a professional-looking result.
Step-by-step guide to installing peel stick backsplash around your bathroom counter:
| Step | What to Do |
|---|---|
| Clean the surface | Remove all dust, soap residue, and oils with rubbing alcohol or degreaser |
| Measure and plan layout | Use a level and pencil to mark guidelines before cutting |
| Cut tiles to fit | Use a utility knife or scissors for precision |
| Peel backing carefully | Avoid touching the adhesive side to maintain stickiness |
| Apply with pressure | Press firmly from the center out to prevent air bubbles |
| Seal edges (optional) | Use clear silicone caulk for water protection near sinks |
Helpful tips:
- Start from the center and work outward for symmetrical patterns.
- Use a rubber roller or credit card to smooth out bubbles.
- Buy 10% more than you think you need for trimming or future repairs.
Done correctly, your backsplash can last for years while maintaining a fresh, clean look—especially in a high-humidity environment like a bathroom.
Using Backsplash to Frame a Mirror or Shelf

Backsplash doesn’t need to be limited to your counter area. One of the most creative applications is framing a mirror or floating shelf with peel-and-stick tile for a high-impact focal point.
Ideas for framing features with peel stick backsplash:
| Area | Suggested Tile Style | Visual Benefit |
|---|---|---|
| Around bathroom mirror | Thin white subway or metallic hex tiles | Adds architectural interest |
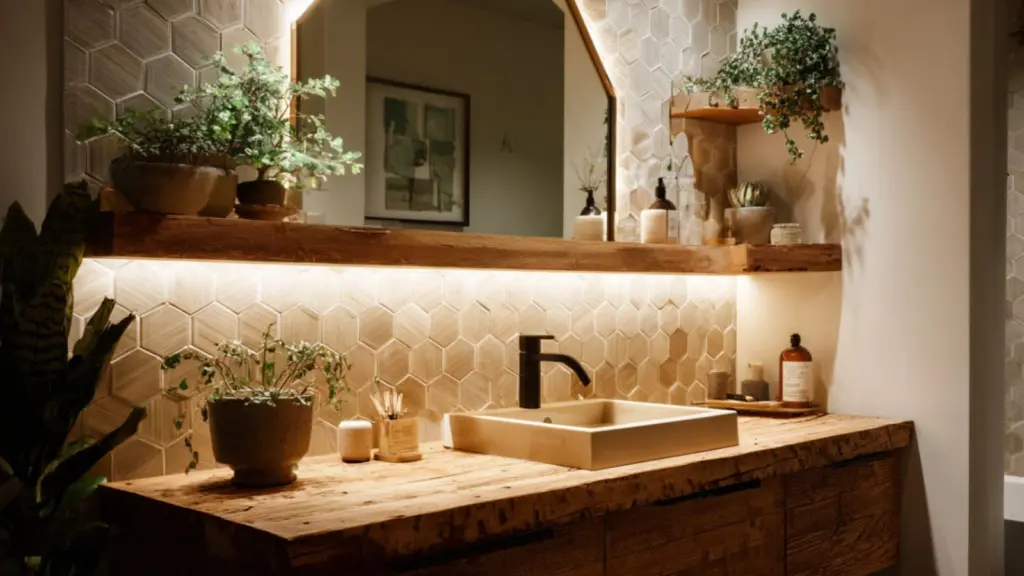
| Behind floating shelf | Faux stone or neutral mosaic | Enhances visual layering |
| Under open cabinets | Small-scale tiles in warm tones | Adds charm and vintage feel |
This unexpected placement helps tie the design together, giving your bathroom a custom-built appearance. It’s especially effective in small spaces where traditional artwork or wall hangings may not be practical.
Coordinating Your Counter Decor with Your New Backsplash
Once your backsplash is installed, the fun begins—styling your countertop to complement your new look. Keep your decor minimal but thoughtful to allow the backsplash to shine while adding functionality.
Counter styling ideas based on backsplash design:
| Backsplash Style | Suggested Decor Accents | Vibe Created |
|---|---|---|
| Marble or stone-look | Gold accessories, glass jars, rolled towels | Clean and spa-like |
| Eclectic mosaic | Brass trays, colorful apothecary bottles | Global, bohemian charm |
| Subway or herringbone | Monochrome soap dispensers, eucalyptus stems | Modern minimalist |
Tips for a cohesive setup:
- Use a tray to group items and keep the surface tidy.
- Coordinate metal finishes (faucet, mirror frame, container lids).
- Choose one or two colors to repeat throughout decor pieces.
Even small details—like the shape of your soap dish or the type of hand towel you use—can elevate the overall look when chosen with intention.
Peel Stick Backsplash Maintenance Tips for Longevity
While peel-and-stick tiles are made for durability, a little care will ensure your updates stay fresh and clean long-term.
Maintaining peel stick backsplash in the bathroom:
| Maintenance Task | Frequency | Notes |
|---|---|---|
| Wipe with damp cloth | Weekly | Use mild soap; avoid harsh scrubbing tools |
| Avoid high heat exposure | Ongoing | Don’t place near heat-emitting devices |
| Check edges for lift | Monthly | Press down or re-seal if needed |
| Re-caulk if near water | As needed | Prevent water intrusion behind tile edges |
Since bathrooms are moisture-heavy environments, keeping humidity in check with ventilation or dehumidifiers can help preserve the adhesive strength.
Conclusion
DIY bathroom counter updates using peel stick backsplash are proof that even the smallest design decisions can create powerful change. With the right materials, a little planning, and a few hours of work, you can refresh your bathroom with high-end style—without the high-end budget.
From selecting the perfect style to adding finishing touches, every step of the process is a chance to personalize your space. Whether you’re prepping your home for resale or simply craving a refresh, peel-and-stick backsplash delivers transformation with ease, beauty, and flexibility.

