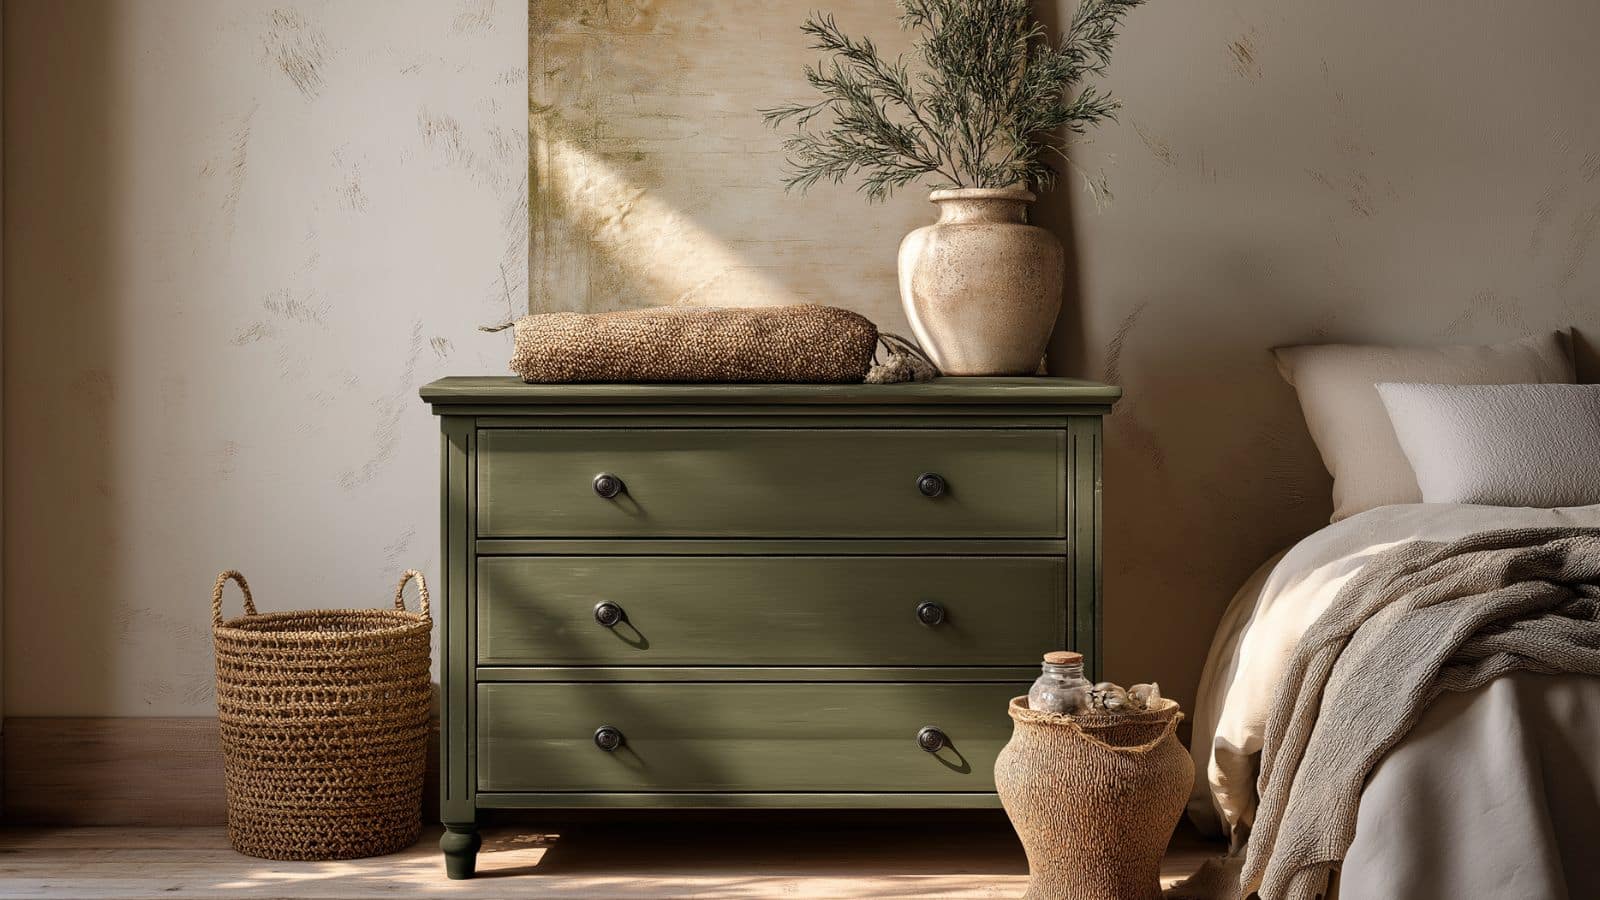
DIY Green Dresser Makeover Tips That Shine: Transform Your Furniture with Style and Personality
Table of Contents
There’s something undeniably satisfying about transforming an outdated piece of furniture into a statement-making gem. And when it comes to DIY makeovers, a green dresser offers the perfect canvas—bold, on-trend, and surprisingly versatile. Whether you’re a seasoned furniture flipper or a beginner dipping into your first home decor project, painting a dresser green can elevate your space while keeping costs low.
According to Better Homes & Gardens, searches for green-painted furniture have increased by over 60% in the last year, with shades like sage, emerald, and olive topping the charts. Homeowners are craving a pop of color that still feels grounded and natural. Green delivers just that—calming, earthy, and rich with personality.
This blog will walk you through everything you need to know about pulling off a flawless DIY green dresser makeover. From choosing the perfect green shade and prepping your surface to applying the right finish and styling your final piece, these tips are designed to make your project shine—literally and figuratively.
Whether you’re going for rustic farmhouse charm, sleek mid-century style, or a glam vintage twist, these makeover tips will guide you to a finished dresser that stands out in the best way.
Choosing the perfect green paint for your dresser
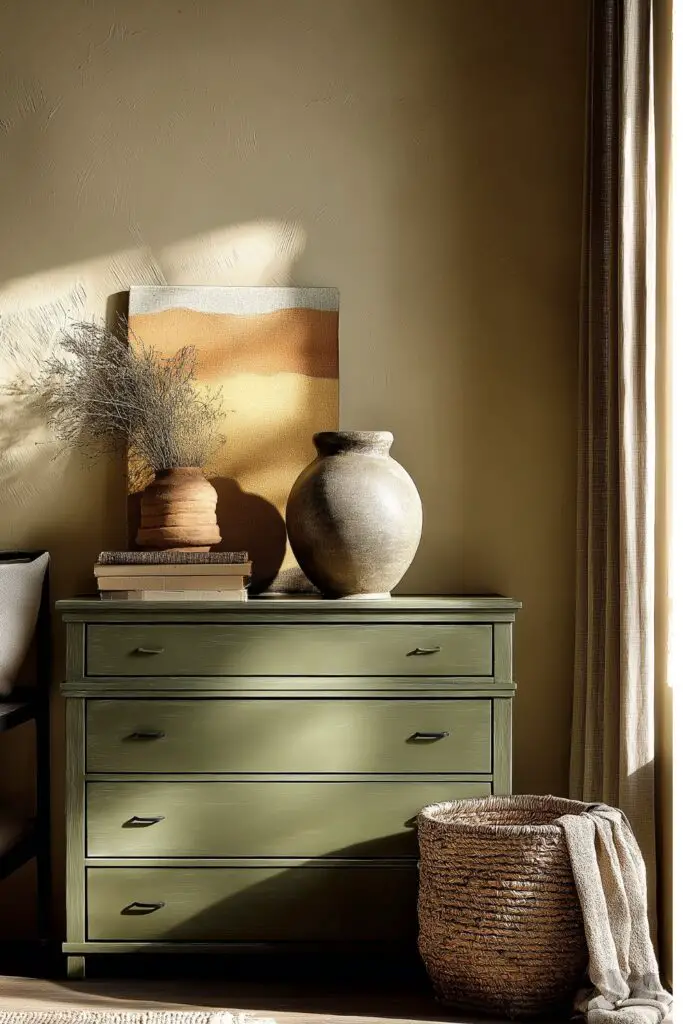
The first (and perhaps most exciting) step in your green dresser makeover is choosing the right shade of green. Not all greens are created equal, and the color you select will significantly impact the final vibe of your space.
Lighter greens like sage, pistachio, or mint offer a fresh, airy look that pairs beautifully with white walls, natural wood accents, and minimalist decor. These tones work well in boho, cottage, or Scandinavian-inspired interiors. For a bolder look, go for deep emerald, hunter green, or forest green—shades that exude sophistication and pair beautifully with brass hardware and dark wood tones.
Consider the lighting in your space when selecting your paint. Greens with cool blue undertones can appear crisp and modern in bright light but may seem cold in dimly lit rooms. Warmer greens with hints of yellow or brown will feel more inviting and earthy.
Don’t be afraid to test samples directly on the dresser. Paint a few swatches and observe how they change throughout the day. Remember: your perfect green isn’t just about trendiness—it’s about how it makes your space feel.
Popular Green Paint Options by Style
| Paint Shade | Style Vibe | Best Accent Pairings |
|---|---|---|
| Sage Green | Calm, modern farmhouse | White, tan, soft brass |
| Olive Green | Earthy, organic | Terracotta, matte black |
| Emerald Green | Luxe and bold | Gold, deep navy, dark wood |
| Pistachio | Light and playful | Natural wood, whitewashed accents |
| Forest Green | Traditional and rich | Leather, antique brass, charcoal |
Prepping your dresser for a smooth, lasting finish
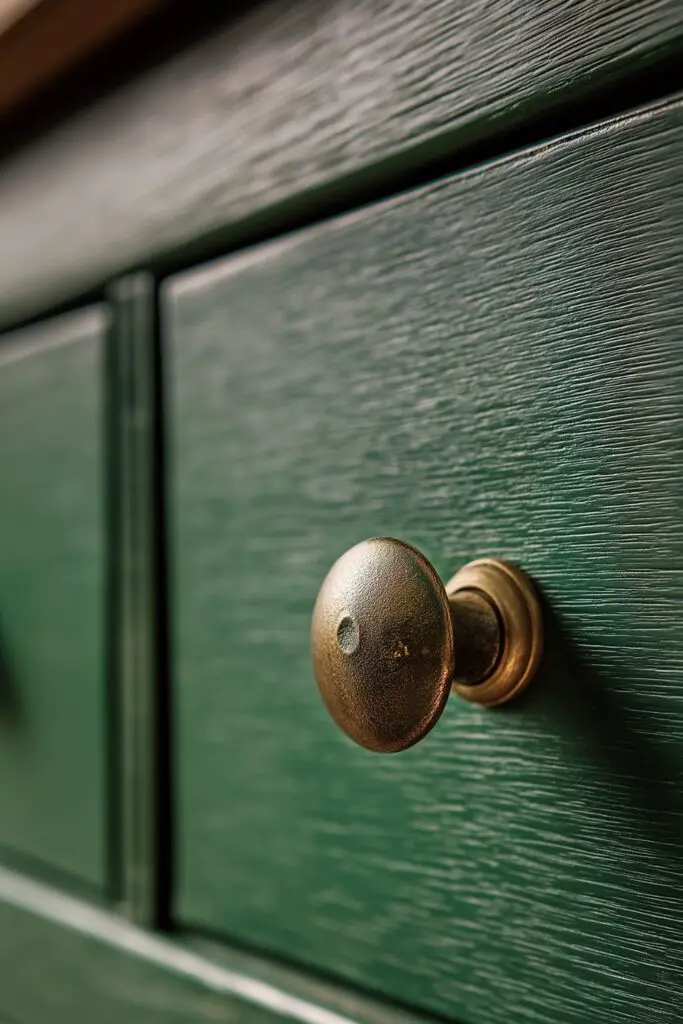
Before you even open your paint can, proper preparation is essential to achieving a polished, durable finish. Skipping the prep phase may seem tempting, but it can lead to chipped paint, uneven surfaces, and a shorter lifespan for your piece.
Start by thoroughly cleaning the dresser to remove dirt, oil, or residue. A simple mix of warm water and gentle dish soap will do the trick. Once clean, inspect the surface for damage—fill any dents or scratches with wood filler, then let it dry completely.
Next, sand the entire dresser using medium- to fine-grit sandpaper. Even if you’re working with laminate or previously painted wood, a light sanding helps the new paint adhere better. Use a tack cloth or a damp microfiber cloth to wipe away any dust.
Finally, apply a primer suited to your surface. This step helps block stains, provides a consistent base for color, and increases durability. If your chosen green is deep or saturated, consider a tinted primer to reduce the number of topcoats you’ll need.
Prep Checklist for a Flawless Paint Job
| Step | Tools Needed | Purpose |
|---|---|---|
| Clean the surface | Dish soap, sponge | Removes residue and grime |
| Repair imperfections | Wood filler, putty knife | Smooths out scratches/dents |
| Sand the surface | 120–220 grit sandpaper | Ensures paint adhesion |
| Dust and wipe | Tack cloth or microfiber towel | Eliminates sanding debris |
| Apply primer | Brush or roller, bonding primer | Helps paint grip and lasts longer |
Applying paint like a pro: techniques that matter
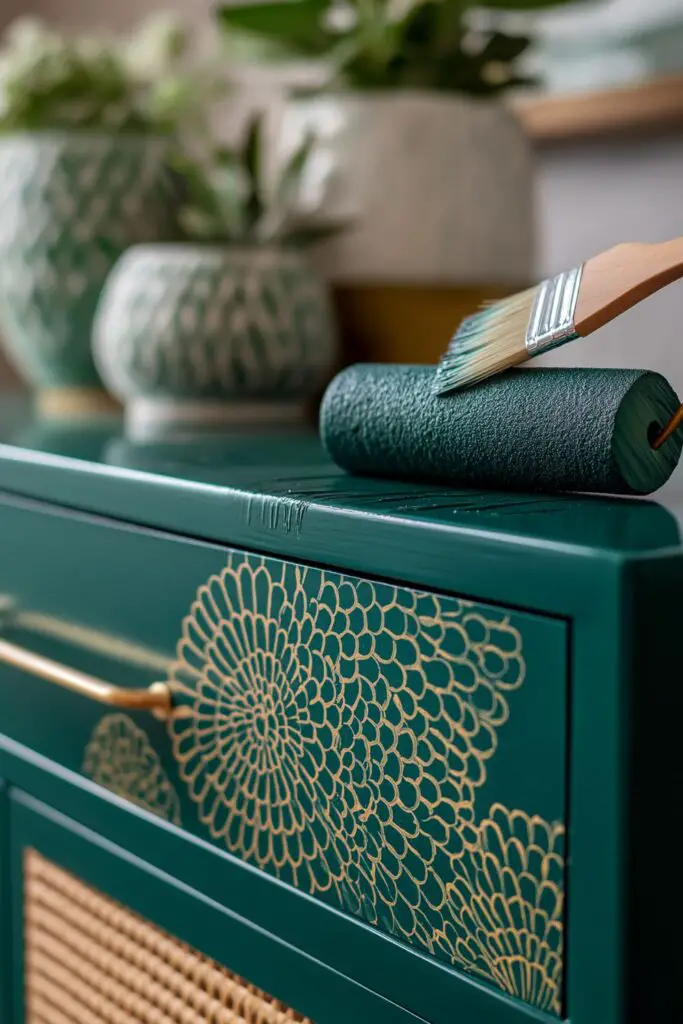
Once your surface is prepped, it’s time to paint—but technique is everything if you want that clean, professional finish. You can use a brush, foam roller, or paint sprayer depending on the effect you’re after.
For a smooth finish with minimal brush marks, a foam roller works best on large flat surfaces like drawer fronts. Use an angled brush for corners and edges. If you prefer a factory-finish look and have experience, a sprayer can deliver a flawlessly even coat—just be sure to work in a well-ventilated space.
Apply your paint in thin, even coats. Thick applications can lead to drips and take longer to cure. Allow each coat to dry completely before applying the next (usually 2–4 hours, depending on the paint type).
Most dressers will need 2–3 coats for full coverage, especially if you’re transitioning from a dark wood tone to a lighter green. Once the final coat is dry, lightly sand with a fine grit (320+) to smooth out any texture, and wipe it clean before sealing.
Brush vs. Roller vs. Sprayer Breakdown
| Tool | Best Use | Pros & Cons |
|---|---|---|
| Foam Roller | Flat surfaces | Smooth finish, easy to control |
| Angled Brush | Detail edges and corners | Precision, but may leave strokes |
| Paint Sprayer | Full dresser coverage | Flawless finish, steeper learning curve |
| Chalk Paint Brush | Vintage matte textures | Rustic, intentionally imperfect |
Adding hardware that elevates your piece
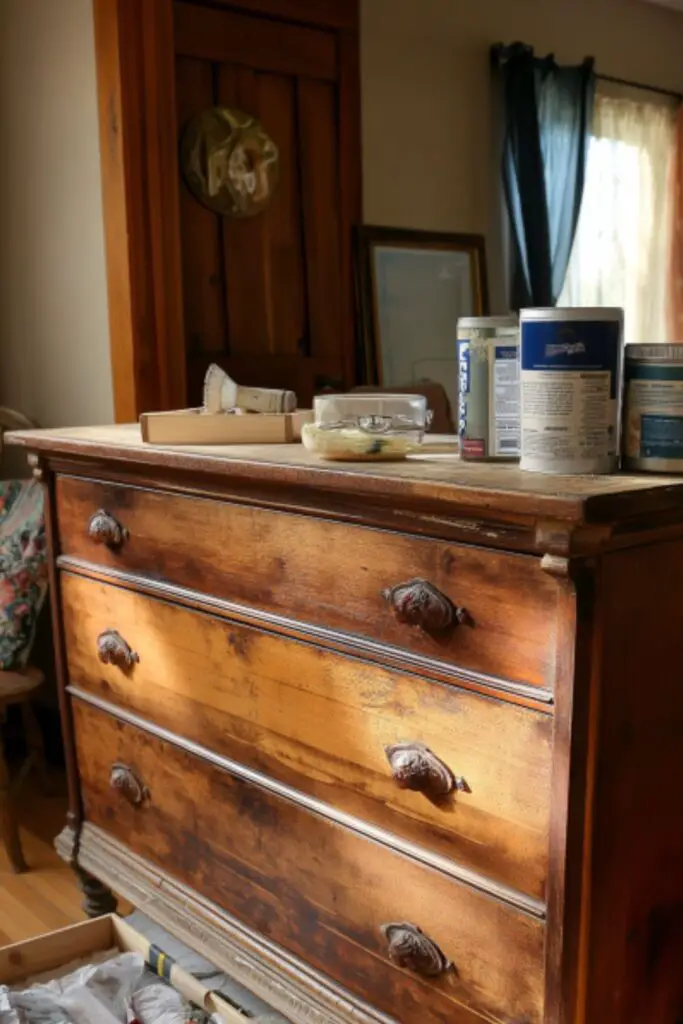
Once your green dresser has dried and cured, the next big transformation comes from the hardware. The right drawer pulls or knobs can take your DIY project from simple to stunning, adding the final layer of polish and personality.
Brass or antique gold hardware pairs beautifully with most shades of green, especially deeper tones like emerald or olive. These metals warm up the coolness of green and add a sense of vintage charm or luxury. For a more rustic or farmhouse-inspired dresser, opt for matte black, ceramic, or hammered iron finishes.
If your existing hardware is salvageable, consider giving it a new life with spray paint or metal polish. You can also mix and match drawer pulls for an eclectic, curated look—just keep a consistent style or finish to avoid visual chaos.
Placement is just as important. Centered knobs feel traditional, while horizontally aligned handles give a more modern look. Use a hardware template to ensure even spacing and alignment across all drawers.
Hardware Style Pairing Table
| Hardware Type | Best for These Green Shades | Design Style It Enhances |
|---|---|---|
| Aged Brass Pulls | Emerald, forest green | Vintage, glam, art deco |
| Matte Black Knobs | Olive, sage | Industrial, farmhouse |
| Ceramic or Porcelain | Pistachio, mint | Cottagecore, French country |
| Gold Bar Handles | Deep green or two-toned dressers | Mid-century modern, luxe |
Styling your green dresser in any room
Now that your green dresser is complete, it’s time to integrate it beautifully into your space. One of the best things about a painted dresser is its versatility—it can live in nearly any room, from the bedroom to the entryway, and adapt to a variety of decor styles.
In a bedroom, a green dresser pairs wonderfully with neutral or warm-colored bedding. Add a large mirror above it, a ceramic vase with dried florals, and a small dish for jewelry to create a functional vanity look.
For living rooms, style the dresser as a console or sideboard. Top it with coffee table books, candles, and a statement lamp. It can also hide away board games, linens, or seasonal decor with ease.
In the entryway, use it as a catchall for keys, sunglasses, and mail. Pair with a round mirror or vintage artwork, and add a tray or woven basket to keep everyday clutter contained.
Layer textures like linen runners, wicker trays, or velvet boxes for added visual depth and warmth.
Styling Ideas by Room
| Room | How to Style a Green Dresser | Decor Additions |
|---|---|---|
| Bedroom | Vanity or nightstand alternative | Mirror, lamp, floral arrangement |
| Living Room | TV console or accent cabinet | Books, framed art, sculptural decor |
| Entryway | Welcome storage solution | Tray, mirror, bowl for essentials |
| Dining Room | Sideboard or buffet piece | Serveware, candles, greenery |
Conclusion
A DIY green dresser makeover is more than a fun weekend project—it’s a creative way to breathe new life into your space, reflect your personal style, and add a unique piece of furniture that tells a story. From choosing the perfect paint shade and prepping the surface to selecting statement hardware and styling it with care, every step in the process adds character and charm.
Whether you’re drawn to earthy sage tones, deep emerald elegance, or playful pistachio hues, a green dresser can fit seamlessly into any decor style with just a bit of thoughtful attention. The best part? It’s a custom creation that reflects you—crafted with your hands, and designed with your eye.
So take your time, trust the process, and let your green dresser shine.

