DIY Home Decor Ideas You Can Finish in a Weekend for a Fresh Home Makeover
Table of Contents
The allure of transforming your living space without hiring contractors or taking weeks off work has fueled the popularity of DIY home decor. A report by Statista showed that over 50% of homeowners in the U.S. completed at least one DIY project in the past year, many of them over a weekend. Whether you’re renting a city apartment or refreshing your long-time home, easy decor upgrades can make a big visual impact in just a couple of days.
This blog post is your go-to guide for creative, doable projects that bring life and personality into your space. We’ll explore a variety of DIY weekend ideas—from painting furniture and making your own wall art to installing open shelving and sprucing up entryways. Each section includes step-by-step tips, helpful breakdowns, and inspiring image prompts to help you envision the transformation.
Let’s dive into the weekend-friendly projects that will elevate your home without stress, all while keeping your style and budget in check.
Painted Accent Walls to Refresh Any Room
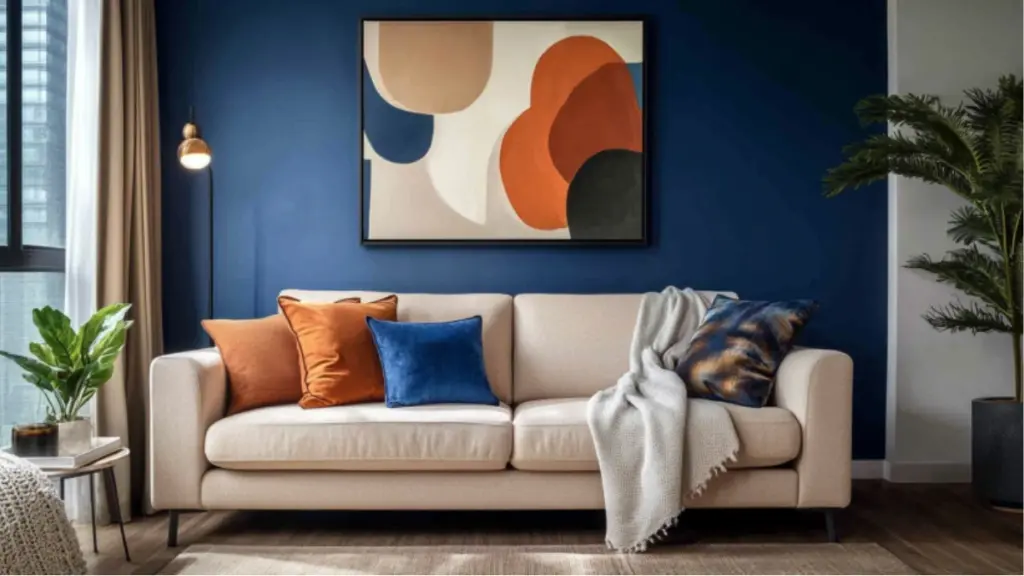
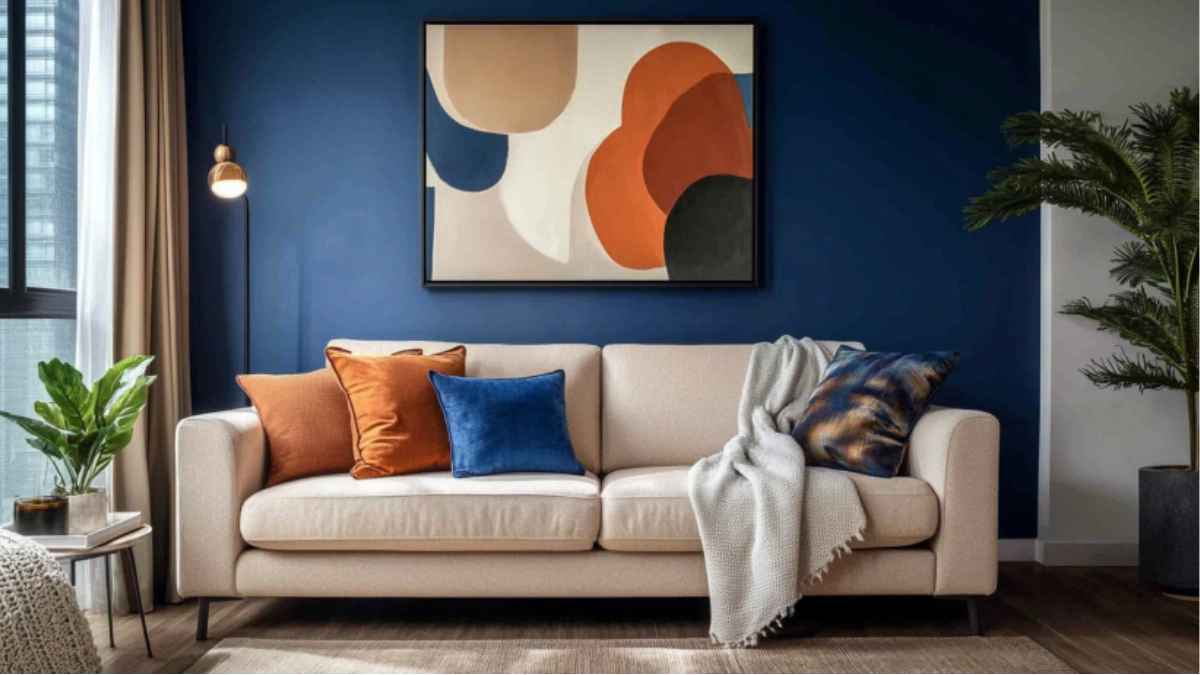
One of the fastest ways to make a statement is by adding an accent wall. It’s a project that takes a few hours but offers maximum visual impact. Whether you choose a bold color, a soft pastel, or even a trendy geometric design, painted accent walls are a favorite among weekend warriors.
Before beginning, decide whether you want to create contrast or simply add warmth. For small rooms, lighter colors or soft patterns can make the space feel larger. For larger rooms, a dark, moody wall creates a cozy vibe.
Accent Wall Project Breakdown
| Step | Details |
| 1. Choose a wall | Pick one without windows or doors for the cleanest look |
| 2. Pick paint color | Use swatches to test lighting at different times of day |
| 3. Prep area | Tape edges, lay drop cloths, patch holes |
| 4. Apply paint | Use roller for large areas, brush for corners |
| 5. Dry and clean up | Let dry for 24 hours before rehanging decor |
Painting is a low-cost, high-return DIY. A gallon of paint averages $30–$50, and tools like rollers and painter’s tape are reusable.

Create a Personalized Entryway Wall Organizer
Your entryway is the first thing guests see—and the last thing you pass on your way out. A weekend DIY project that blends function with style is a custom wall organizer. Think floating shelves, key hooks, mail sorters, and a mirror—all designed by you.
This project is particularly rewarding because it adds daily convenience and visual charm. You can even personalize it with a stencil or nameplate.
Entryway Wall Organizer Essentials
| Item | Use |
| Wood boards | Base structure (pine or reclaimed wood work well) |
| Hooks | Hang keys, leashes, or bags |
| Small shelves | Mail or sunglasses storage |
| Mirror | Adds style and functionality |
| Paint or stain | Customize to match your decor |
Install with a drill and screws, or use adhesive mounting systems for apartments. Choose black metal hardware for a modern look, or bronze for a rustic feel.
Upgrade Your Lighting with a Statement Pendant or Sconce
Swapping outdated lighting fixtures for a statement pendant or wall sconce can completely redefine your space. It’s a quick weekend update that instantly elevates your kitchen, hallway, or bedroom.
If hardwiring isn’t in your comfort zone, use plug-in wall sconces or battery-operated LED lights with adhesive backing. These provide flexibility without the need for an electrician.
Lighting Update Comparison
| Option | Time Required | Tools Needed | Difficulty |
| Hardwired pendant | 2–3 hours | Ladder, screwdriver, wire caps | Intermediate |
| Plug-in sconce | 1 hour | Drill or adhesive hooks | Easy |
| LED puck lights | 30 minutes | None | Beginner |
Lighting adds ambiance and highlights architectural details. Opt for woven shades, brass finishes, or minimalist glass designs to suit your interior style.
DIY Wall Art That Speaks to Your Style
You don’t need to be an artist to create art that reflects your taste. Wall art projects are among the easiest DIY home decor upgrades, and they offer a creative outlet. From canvas abstracts to framed fabric, the possibilities are endless.
Try creating minimalist line art using a black marker on a white canvas. Or, frame wallpaper samples for a budget-friendly gallery wall. Another trending idea is “painted canvas textures”—you layer joint compound, let it dry, and coat with neutral paint for a sculptural look.
Types of DIY Wall Art Projects
| Style | Materials | Best Room |
| Abstract painting | Canvas, acrylics | Living room or bedroom |
| Wallpaper samples | Frames, wallpaper remnants | Hallway or office |
| Sculptural textures | Joint compound, putty knife | Modern spaces |
| Botanical press | Dried leaves, glass frames | Entryway or bathroom |
Personalized wall art doesn’t just fill space—it adds meaning and originality. Try combining several small pieces into a larger focal wall.
Peel-and-Stick Wallpaper for an Instant Upgrade
Peel-and-stick wallpaper has revolutionized how renters and homeowners alike approach wall decor. It’s removable, affordable, and comes in countless patterns. From botanical prints to geometric shapes, it’s a fast-track to personality.
Choose a wall that needs extra depth or contrast, such as behind a bed or bookshelf. Application is as easy as peel, align, and smooth. Most rolls come with clear instructions and can be adjusted if misaligned.
Wallpaper Application Checklist
| Task | Tip |
| Prep wall | Clean and dry completely |
| Measure | Add 1–2 inches extra for trimming |
| Start at top | Smooth downward with a squeegee |
| Match patterns | Align carefully between strips |
| Finish edges | Use a sharp utility knife |
Don’t be afraid to mix patterns or try smaller applications like lining drawers or stair risers for subtle impact.
Transform Furniture with Chalk Paint and New Hardware
Got an old dresser or nightstand that’s lost its charm? A coat of chalk paint and some new knobs can bring it back to life. Furniture makeovers are a rewarding weekend project that can be done indoors with minimal mess.
Chalk paint is ideal for beginners—it adheres to most surfaces without sanding. Choose muted shades like sage green, dove gray, or creamy white for a timeless aesthetic. Add ceramic or brass knobs to complete the look.
Furniture Makeover Process
| Step | Instructions |
| 1. Clean surface | Wipe down thoroughly |
| 2. Apply chalk paint | Use brush or roller in even strokes |
| 3. Let dry & apply 2nd coat | Usually dries within 30–60 minutes |
| 4. Seal | Use wax or topcoat for durability |
| 5. Replace hardware | Choose a complementary finish |
These upgrades add character and save money compared to buying new. Use this method for bedside tables, coffee tables, and even kitchen cabinets.
Refresh Kitchen or Bathroom with Open Shelving
Open shelving adds charm and functionality. It’s perfect for displaying curated items like jars, plants, or dishware. In kitchens, it opens up the space and invites you to style intentionally. In bathrooms, it offers practical, elegant storage.
Install wood shelves with black or gold brackets. Keep styling clean—group similar colors, add textures like woven baskets, and mix in a small plant or two.
Shelf Styling Essentials
| Element | Suggestion |
| Books | Stack horizontally for visual variety |
| Greenery | Use small potted plants or eucalyptus |
| Texture | Baskets, ceramics, wood tones |
| Art | Prop small framed prints or quotes |
| Function | Include jars for coffee, flour, or cotton rounds |
Use a level and anchors when installing shelves into drywall. Always measure twice and drill once!
Conclusion
Refreshing your space doesn’t have to mean major renovations or huge investments. With a little planning and a free weekend, you can complete projects that not only enhance your home’s aesthetic but also bring a sense of accomplishment and creativity into your everyday life. Whether it’s a painted wall, a reimagined piece of furniture, or a new statement light, these DIY home decor ideas deliver style, functionality, and joy—one weekend at a time.

