DIY Kitchen Cabinets Makeover Tips That Save Money Without Sacrificing Style
Table of Contents
Did you know that replacing kitchen cabinets can eat up nearly 40% of a full kitchen remodel budget? According to Remodeling Magazine’s annual Cost vs. Value Report, a major kitchen overhaul can exceed $60,000—making cabinetry one of the most expensive components. But here’s the good news: you don’t need a full replacement to give your cabinets a stunning new life.
With the right DIY techniques, your outdated or worn cabinets can become the star of your kitchen—all without a contractor or a sky-high budget. Whether your doors are scratched, stained, or just stuck in another decade, a creative DIY kitchen cabinet makeover can save thousands while delivering major style points.
In this blog post, we’ll dive into smart, cost-effective tips for revamping your cabinets on your own. From painting and hardware swaps to clever storage upgrades and open shelving, each tip is tailored to save money without compromising on beauty or functionality. If you’re ready to give your kitchen a facelift and boost your home’s appeal, you’re in the right place. Let’s explore how a little elbow grease can go a long way.
Painting Cabinets for a Fresh, High-End Look
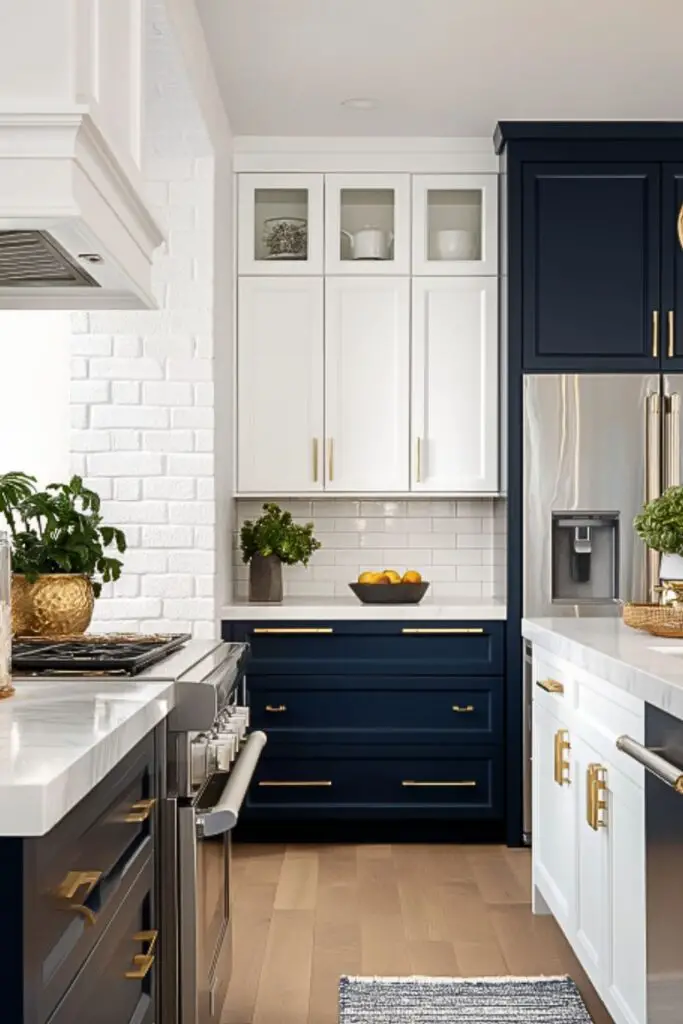
One of the most transformative and affordable DIY cabinet upgrades is a fresh coat of paint. Painting can take dull, dated cabinets and make them look custom-made, especially when you choose the right colors and finishes.
Choosing the Right Paint and Finish
Opt for high-quality, durable paints designed for cabinetry—typically a semi-gloss or satin finish. These finishes are easier to clean and hold up to kitchen wear and tear. Use an oil-based or hybrid enamel paint for the smoothest, longest-lasting results.
Prepping Matters
Proper prep is key. Remove all doors and hardware, clean surfaces thoroughly, and sand lightly to help paint adhere. Use a bonding primer to ensure durability, especially on glossy or laminate surfaces.
Popular Color Trends
White and off-white shades remain timeless, but navy, deep green, and even matte black are trending in 2025. Two-tone cabinets—light uppers and darker lowers—are also designer favorites.
Cabinet Painting Checklist:
| Step | What to Do | Why It Matters |
|---|---|---|
| Remove hardware | Take off knobs, handles, and hinges | Avoid messy paint lines |
| Clean surfaces | Degrease and wash with soap | Removes oils and food residue |
| Sand and prime | Lightly sand and apply primer | Helps paint adhere and last longer |
| Paint in layers | Use two thin coats, allowing drying time | Prevents drips, ensures even coverage |
Swapping Outdated Hardware for Instant Style
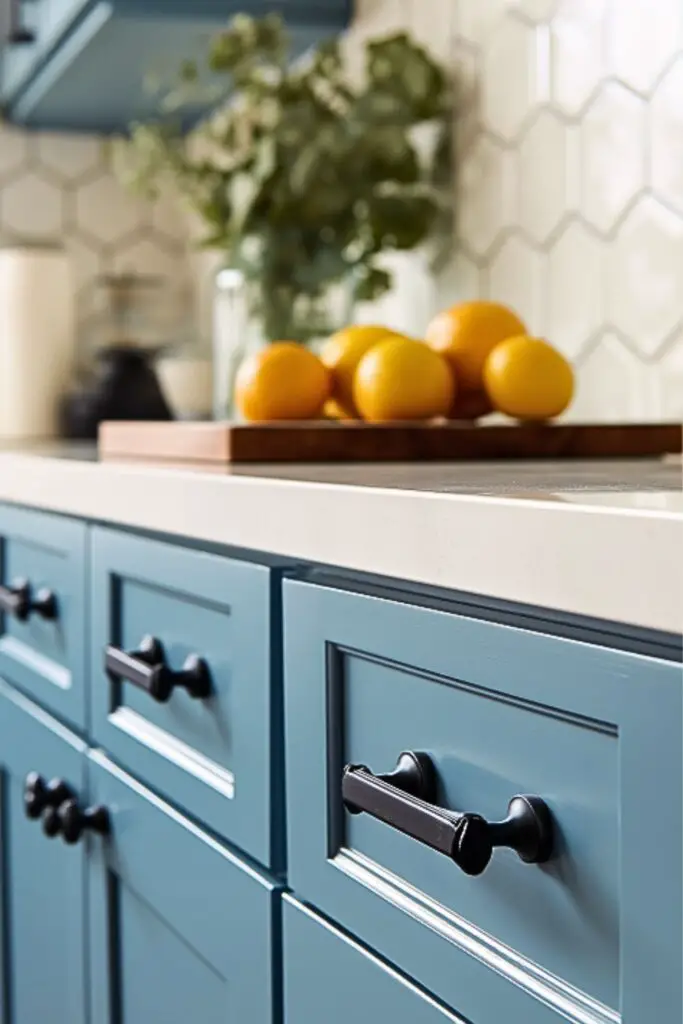
Changing cabinet hardware is a surprisingly powerful update that requires no heavy tools or professional help. It’s the jewelry of your kitchen—and the right choice can dramatically shift the room’s style.
Knobs vs. Pulls
Designers often recommend a mix: knobs for upper cabinets and pulls for drawers. Pulls offer better grip for heavier drawers, while knobs keep upper areas looking delicate.
Trending Finishes and Styles
Brushed brass, matte black, and satin nickel are current favorites. While ornate hardware adds character to traditional spaces, minimalist bar pulls fit clean, modern designs.
Affordable Options with High Impact
You don’t need to splurge to get a high-end look. Online retailers and hardware stores carry stylish multipacks that cost far less than boutique options. Just make sure new hardware matches the hole pattern of the old one to avoid drilling new ones.
Hardware Swap Ideas Table:
| Old Style | New Look Upgrade | Style Impact |
|---|---|---|
| Round plastic knobs | Brushed brass pulls | Warmth and elegance |
| Silver bar handles | Matte black minimalist knobs | Sleek, modern contrast |
| Wooden knobs | Ceramic or glass hardware | Adds a vintage or eclectic touch |
Replacing Cabinet Doors or Going Doorless
If your cabinet boxes are in good shape but the doors are warped, dated, or just unattractive, replacing only the doors can be a budget-friendly solution. It’s often referred to as “cabinet refacing,” and it offers a middle ground between painting and total replacement.
Affordable Door Replacement
Pre-finished doors in styles like shaker, slab, or beadboard are widely available online and in home improvement stores. Measure your existing doors carefully before ordering. If you’re handy with tools, you can even DIY custom doors with plywood and trim.
Refacing with Veneer
To create a totally new look, apply wood veneer or laminate to the cabinet frames and new doors. This method mimics the appearance of brand-new cabinetry but costs a fraction of a full installation.
Open Shelving or Doorless Options
For a trendy, airy look, remove some upper cabinet doors entirely. This works especially well with well-styled dishes, open storage baskets, and plants. You can even line the back of cabinets with peel-and-stick wallpaper for a pop of pattern.
Benefits and Considerations Table:
| Option | Benefits | Things to Consider |
|---|---|---|
| Replace cabinet doors | Refreshes the look affordably | Requires accurate measuring |
| Apply veneer/laminate | Creates a consistent, finished appearance | More work-intensive, but polished |
| Remove upper doors | Adds openness and trend appeal | Requires organized, stylish shelving |
Real-Life Tip: For renters or those avoiding permanent changes, removable contact paper or adhesive panels can mimic wood grain or paint without damaging original surfaces.
Upgrading Interiors for Function and Flow
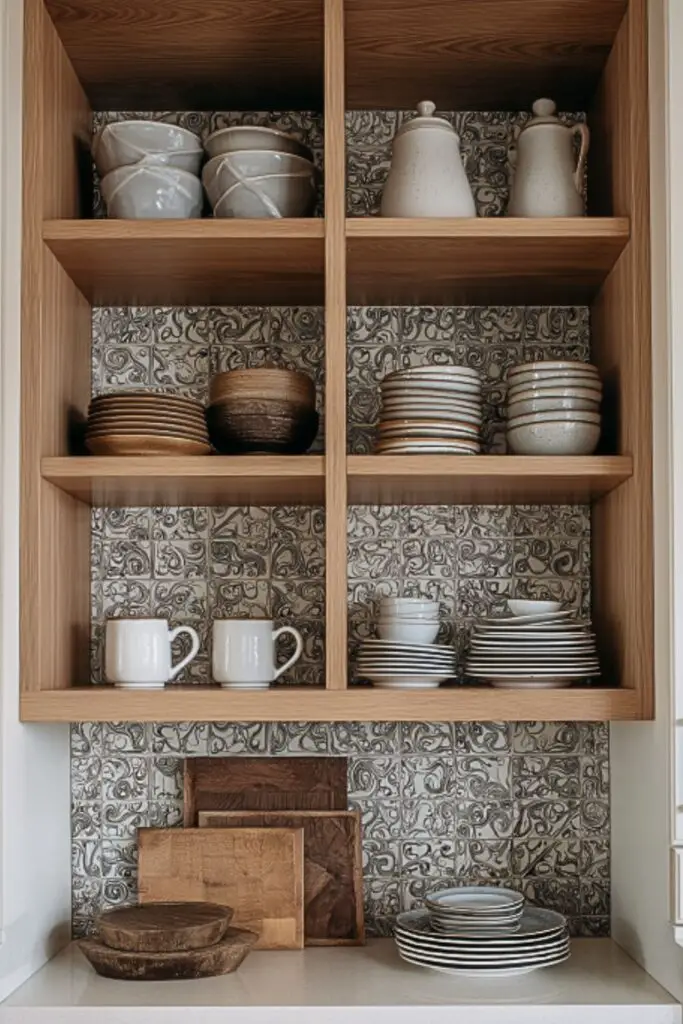
A great cabinet makeover isn’t just about looks—it’s also about how the space functions. With just a few budget-savvy upgrades, you can make your kitchen more efficient, organized, and enjoyable to use every day.
Add Pull-Out Shelves
Installing sliding trays or pull-out organizers helps maximize hard-to-reach cabinet corners. These kits are easy to install and available at most home improvement stores.
Use Lazy Susans and Stackers
Corner cabinets often become black holes. A lazy Susan makes spices and jars instantly visible. Stackable shelves double your vertical storage for mugs, bowls, and pantry items.
Line the Interiors
Peel-and-stick shelf liners don’t just protect your cabinets—they also add personality. Choose clear liners for a clean look or patterned ones for a subtle pop of color.
Install Lighting
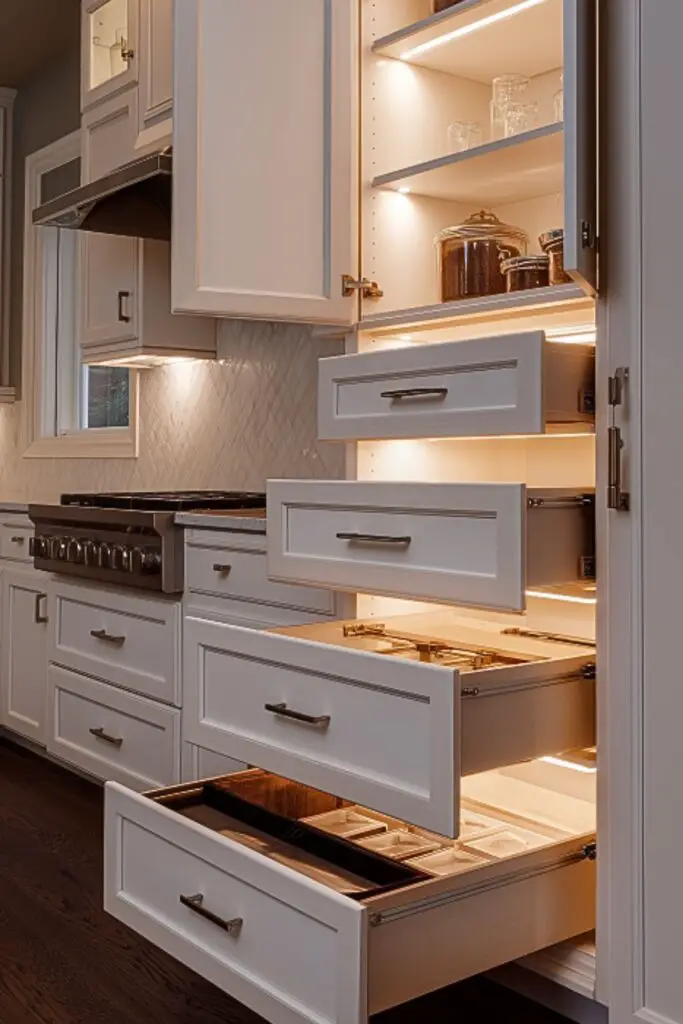
Battery-powered LED puck lights or motion-activated strip lights illuminate dark cabinet interiors. Not only do they add a luxury touch, but they also improve visibility during cooking and cleanup.
Interior Upgrade Table:
| Upgrade Item | Function Benefit | Budget Range |
|---|---|---|
| Pull-out drawers | Easier access, better use of space | $30–$80 per unit |
| Shelf risers | Doubles storage capacity | $10–$25 |
| Cabinet lighting | Improves visibility and ambiance | $15–$50 |
| Shelf liners | Protects surface, adds style | $5–$20 per roll |
Enhancing the interior not only boosts practicality but also makes your kitchen feel custom—without the custom price tag.
Adding Molding and Trim for a Custom Built-In Feel
One of the easiest ways to elevate basic cabinets is by adding trim or molding. Designers use this trick to turn flat-pack or dated units into built-in masterpieces.
Crown Molding on Top Cabinets
Install crown molding above upper cabinets to draw the eye upward and add architectural interest. Paint the molding the same color as the cabinets for a seamless look.
Baseboard Molding at the Bottom
To make stock cabinets look custom, wrap the bottom in baseboard trim. This creates a “furniture-style” finish that feels high-end.
Panel Molding on Doors
If your cabinet doors are plain slabs, consider applying inexpensive panel molding in geometric shapes or shaker-style outlines, then painting over them for a built-in look.
Trim Upgrade Table:
| Trim Type | Placement | Visual Effect |
|---|---|---|
| Crown molding | Top edge of upper cabinets | Adds height and formality |
| Base trim | Bottom edge around cabinet base | Creates a finished furniture look |
| Panel molding | Flat cabinet fronts | Adds dimension and custom feel |
These trims are often made from lightweight MDF, making them easy to cut and glue in place with minimal tools.
Incorporating Color and Texture Without Full Paint Jobs
Sometimes a full cabinet paint job isn’t necessary to refresh the look—especially if your cabinets are in good condition. Instead, consider accent touches that still bring visual impact.
Paint Just the Island or Lower Cabinets
Two-tone cabinets are trending. Keeping upper cabinets white and painting the lower ones navy, green, or charcoal adds sophistication while saving time and materials.
Add Beadboard or Shiplap
Apply textured paneling to the ends of cabinets or to exposed sides of islands. This adds a farmhouse or cottage charm with minimal effort.
Stick-On Backsplash or Wallpaper
Peel-and-stick wallpaper inside open shelves or behind glass cabinet doors creates visual interest and breaks up solid colors.
Accent Update Table:
| Mini-Makeover Idea | Budget Level | Style Impact |
|---|---|---|
| Two-tone paint | Low to moderate | Adds dimension and contrast |
| Beadboard panels | Low | Adds texture and visual character |
| Wallpaper backing | Low | Creates fun, unexpected color pops |
These subtle upgrades provide a refreshed look without requiring a full weekend of sanding and priming.
Conclusion
Refreshing your kitchen doesn’t have to involve tearing out cabinets or draining your savings. With a few clever, budget-friendly DIY cabinet makeover strategies—from painting and hardware updates to adding functional storage and subtle trims—you can completely transform your kitchen’s look and feel. Whether you want to create a modern masterpiece, rustic retreat, or just a cleaner, brighter space, these DIY cabinet makeover tips offer the tools and inspiration you need to get started—and stay within budget.
Remember, it’s not about spending more; it’s about designing smarter.

