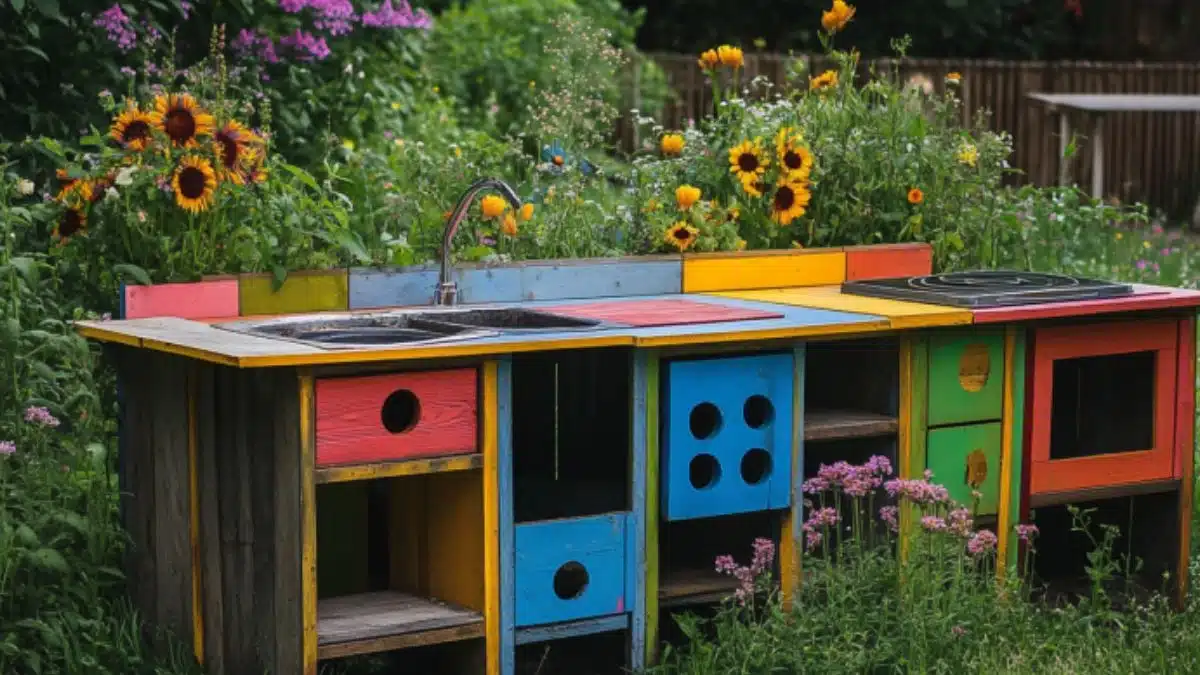
DIY Mud Kitchen Ideas to Transform Your Backyard
Table of Contents
In a world of screens and digital play, parents are increasingly seeking ways to reconnect their children with nature and hands-on fun. Enter the DIY mud kitchen—a backyard upgrade that turns your outdoor space into a creativity-fueled haven for kids. Mud kitchens are more than just messy play zones. They’re the perfect blend of imaginative pretend play, sensory development, and outdoor exploration.
According to child development experts, outdoor pretend play helps boost cognitive and social skills, encouraging kids to explore, experiment, and express themselves freely. Mud kitchens offer exactly that—whether it’s “baking” dirt pies, organizing pretend picnics, or stirring up nature-inspired soup.
Even better? You don’t need to buy a pricey pre-built model to get started. With a few upcycled materials, basic tools, and a bit of creativity, you can craft a personalized mud kitchen tailored to your space and your child’s imagination.
In this post, we’ll explore DIY mud kitchen ideas to transform your backyard. From simple pallet setups to themed mud kitchens and clever add-ons, these ideas prove that a playful outdoor kitchen doesn’t have to cost much—but it can give back endlessly in joy and learning.
Start with a Basic Pallet Mud Kitchen Frame
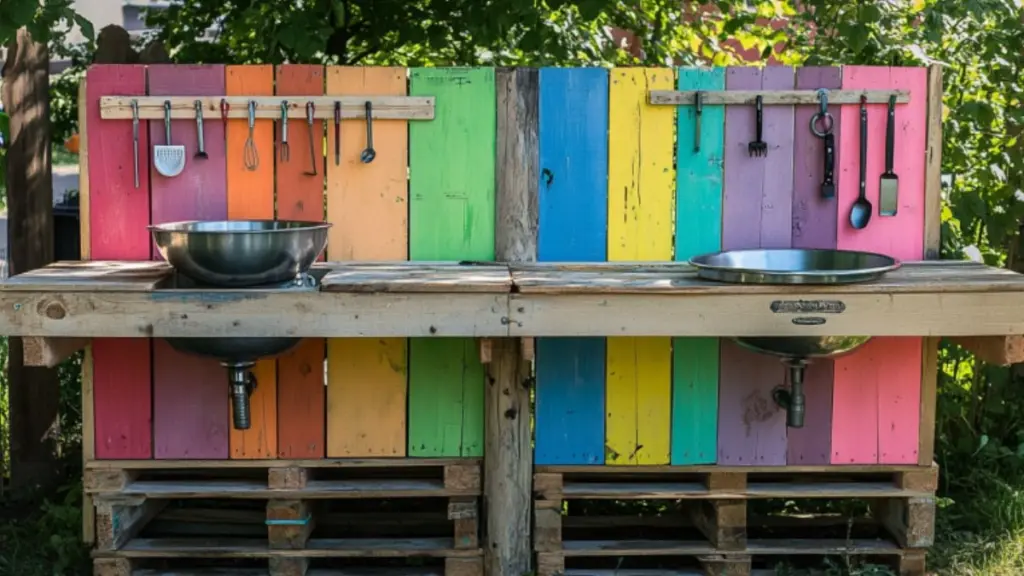
One of the easiest and most affordable ways to build a mud kitchen is by using wood pallets. They’re widely available, often free, and easy to repurpose into a rustic kitchen frame that sets the stage for endless outdoor play.
Why Choose Pallets for a DIY Mud Kitchen:
| Feature | Benefit | Notes |
|---|---|---|
| Readily Available | Found at warehouses or hardware stores | Often free if reclaimed or recycled |
| Pre-Structured Design | Built-in boards and supports | Makes them ideal for frames and shelves |
| Easy to Customize | Paint, cut, or drill as needed | Adapt height and layout to child’s size |
| Eco-Friendly Option | Encourages reuse and sustainability | Great for nature-loving households |
How to Build a Basic Pallet Mud Kitchen:
Use one pallet upright as the back “splash” and another as the base table surface. Cut out a circular space to insert an old metal bowl as a sink. Add a couple of shelves or crate drawers underneath for storing tools and “ingredients.” A coat of outdoor paint or stain can make it weather-resistant while adding cheerful color.
Finish the setup with a few hooks on the back panel for hanging spoons and pans. It’s simple, stylish, and most importantly—endlessly functional.
Add a Sink and Working Faucet for Realistic Play
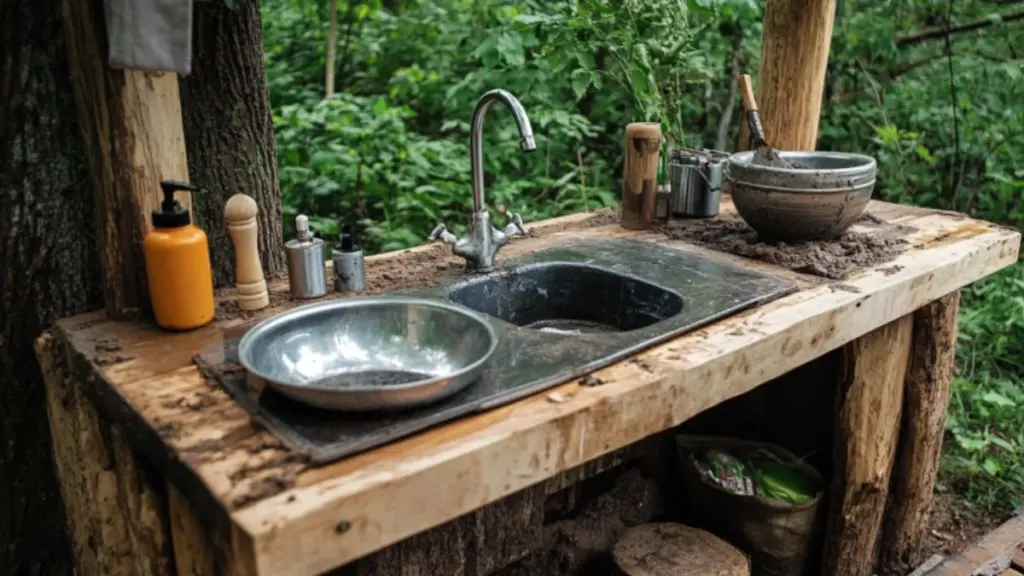
Kids love mimicking real-life kitchen tasks, and adding a functional sink to your mud kitchen takes the fun up a notch. While full plumbing isn’t necessary, a pretend or gravity-fed water setup can provide hands-on water play and added realism.
Sink and Faucet Setup Options:
| Type | Description | DIY Level |
|---|---|---|
| Metal Bowl Sink | Repurposed mixing bowl inserted in frame | Easy |
| Gravity-Fed Faucet | Jug or bottle hung with spout | Beginner-Friendly |
| Hose Hookup Faucet | Connects to garden hose | Moderate (needs adapter) |
| Water Jug Dispenser | Lever or pump action for pouring water | Great for younger kids |
Installation Tip:
Use a removable bowl for easier clean-up and draining. For a faux faucet, attach an old tap or spout above the sink for imaginative use. You can also hang a plastic jug filled with water and let it drip into the bowl for a functional effect.
Make sure water access is safe and manageable—especially for younger children. A simple gravity jug with a spigot is often the easiest solution.
Incorporate Storage for Tools, Pots, and Utensils
To keep your mud kitchen practical (and somewhat tidy), organized storage is key. This not only helps preserve supplies but also teaches children responsibility and categorization—while making the whole experience feel like a “real” kitchen.
Creative Storage Options:
| Storage Type | Best For | DIY Idea |
|---|---|---|
| Crate Shelves | Pots, dishes, and bowls | Stack wooden crates for rustic shelving |
| Hanging Hooks | Utensils, tools, garden gloves | Screw hooks into backsplash or side panels |
| Plastic Bins | Mud ingredients (leaves, dirt, stones) | Use transparent bins with labels |
| Repurposed Drawers | Loose tools and brushes | Paint and seal old dresser drawers |
Extra Tip:
Create labeled areas for each category: “Mixing Tools,” “Pots & Pans,” “Secret Ingredients,” and more. Use stencils or chalkboard paint labels to make the process interactive and visually appealing.
Add Themed Play Zones for Extra Fun
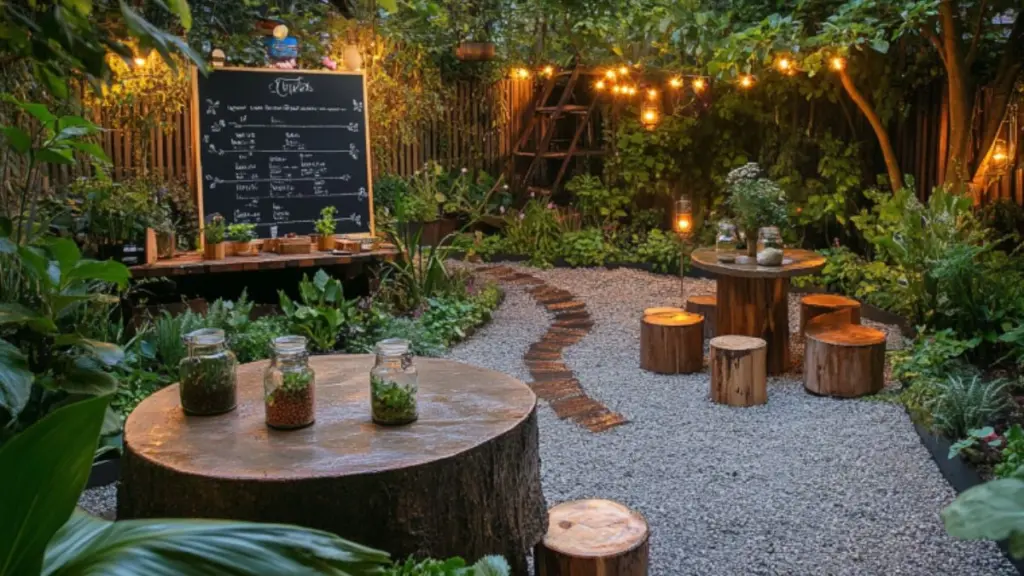
Elevate your mud kitchen experience by creating themed zones that allow for open-ended storytelling and creative scenarios. Whether it’s a bakery, café, or science lab, themes bring new layers of play that evolve with your child’s interests.
Fun Themes to Try and How to Build Them:
| Theme | Main Features | DIY Props to Include |
|---|---|---|
| Nature Café | Mud pies, herbal teas, pretend menus | Chalkboard sign, aprons, small table |
| Mud Bakery | Baked “cakes,” cupcakes, flour play | Muffin tins, pretend measuring spoons |
| Garden Lab | Mixing leaves, dirt, and flowers | Jars, magnifying glasses, funnel set |
| Potion Station | Mixing “magic” ingredients | Colored water bottles, old spice jars |
Pro Tip:
Rotate themes monthly or seasonally using signage, accessories, and specific ingredients. This keeps the mud kitchen exciting and encourages imaginative play over time.
Decorate with Coastal or Cottagecore Style
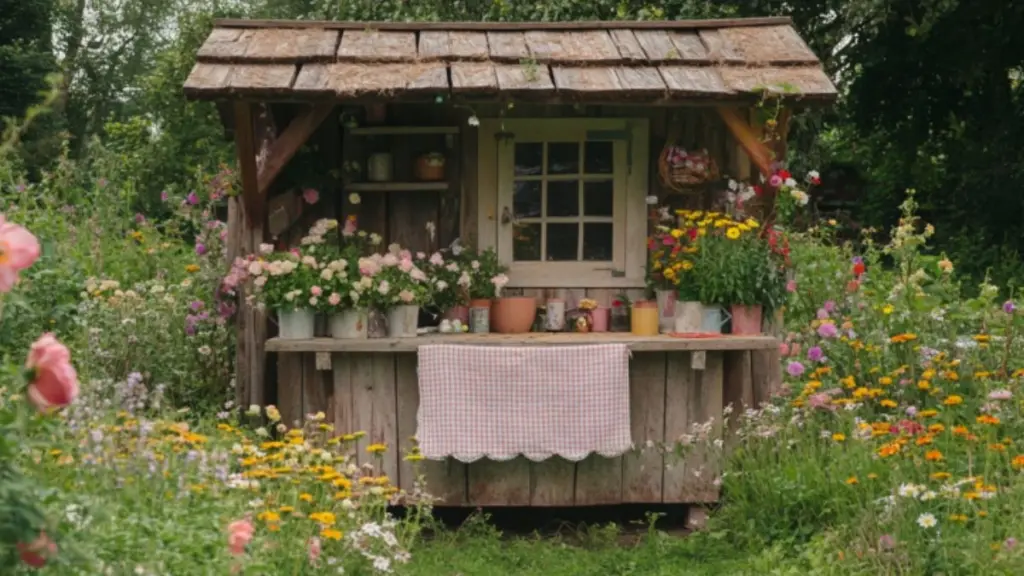
While mud kitchens are primarily for fun, they can also be beautiful additions to your outdoor space. Decorating your setup in a cohesive style helps it blend into your yard and brings a charming aesthetic appeal.
Inspiration for Mud Kitchen Styles:
| Style | Decor Elements | Color Palette |
|---|---|---|
| Coastal | Rope handles, driftwood shelves, shell decor | Soft blues, whites, sandy neutrals |
| Cottagecore | Wildflowers, gingham curtains, vintage signs | Pastels, earthy greens, warm whites |
| Rustic Farmhouse | Galvanized buckets, wood tones, chalkboards | Browns, greys, muted reds |
| Boho Garden | Macrame, colorful tiles, planters | Terracotta, mustard, dusty pink |
Tip for Decor:
Add small flower boxes, string lights, or buntings made from waterproof fabric. A coat of colorful paint can go a long way in making your kitchen cheerful and inviting.
Use Recycled Materials to Stay Budget-Friendly
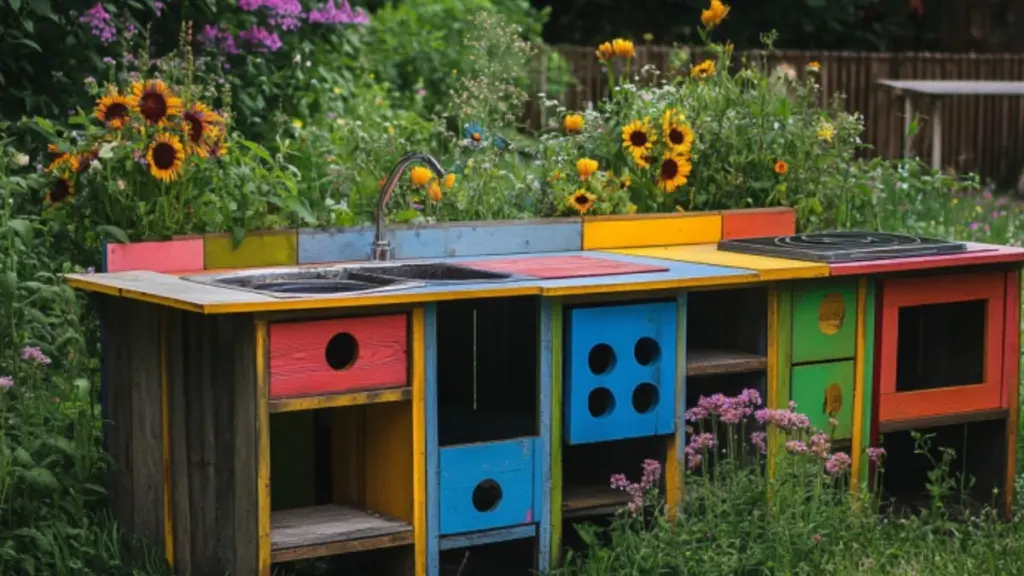
One of the best things about mud kitchens is how easily they can be built from items you already have. Old furniture, kitchenware, and scrap wood can all be upcycled to create a magical outdoor play area—without a trip to the store.
Common Household Items You Can Repurpose:
| Item | New Use in Mud Kitchen | Sourcing Tip |
|---|---|---|
| Old Cabinets | Use as base counter with sink | Look for curbside giveaways |
| Dresser Drawers | Stack or mount as open shelves | Refinish with paint and weatherproofing |
| Muffin Tins & Baking Trays | Mud molds or play pans | Ask family or friends for donations |
| Garden Tools | Realistic props for mixing/mashing | Garage sales and dollar stores |
DIY Hack:
Build your entire mud kitchen for free by sourcing materials from recycling centers, local online marketplaces, and your garage. Let kids help with painting or assembling—this makes the project even more fun and meaningful.
Conclusion
A DIY mud kitchen is a simple, creative way to turn your backyard into a space of joy, learning, and exploration. With just a few repurposed materials and a little imagination, you can build a magical outdoor setup that evolves with your child’s interests. Whether it’s mixing mud pies, creating nature potions, or hosting pretend picnics, the opportunities for fun are endless. And best of all—it’s a project that invites the whole family to connect with nature and creativity, one splash of mud at a time.

