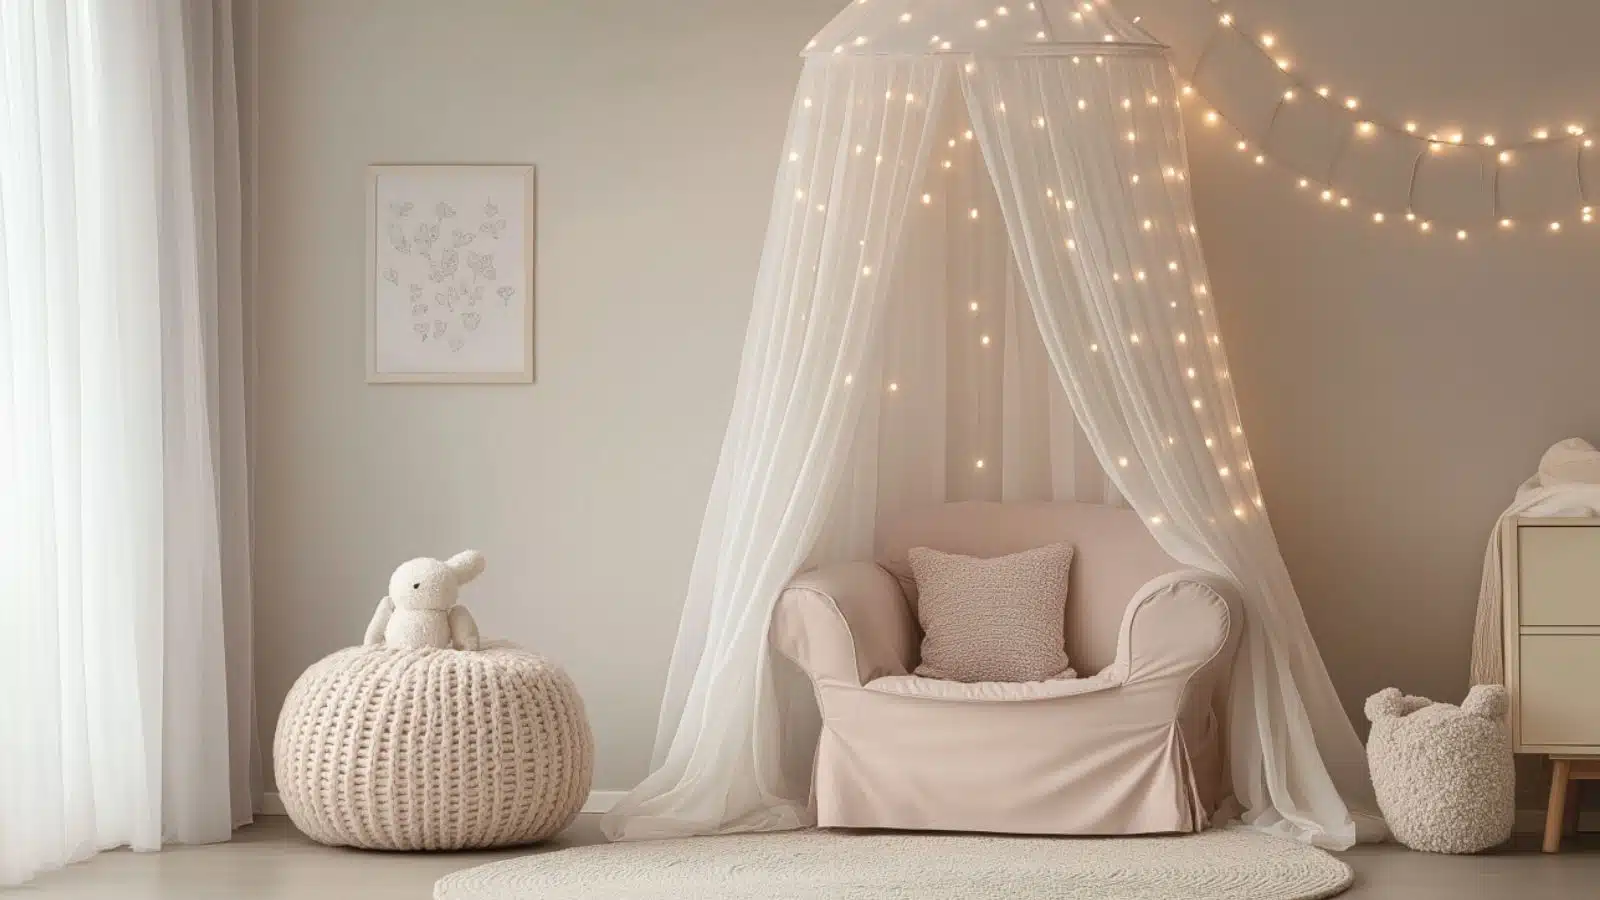
DIY Whimsical Baby Nursery Decor You Can Make at Home for a Magical, Cozy Space
Table of Contents
Designing a baby nursery is one of the most joyful parts of preparing for a new arrival. It’s a space where love, comfort, and creativity come together, shaping the environment where your child will take their first naps, giggle for the first time, and build early memories. But achieving a magical and whimsical nursery look doesn’t mean you need a designer budget or access to boutique decor.
In fact, some of the most charming nursery designs come from the heart—through DIY projects that are not only affordable but deeply personal. With whimsical baby nursery decor, you’re free to explore pastel color palettes, dreamy textures, and fairytale-like accents that turn an ordinary room into an enchanting space.
This blog post guides you through practical, imaginative DIY nursery decor ideas you can easily make at home. From floating cloud shelves and fabric garlands to fairy-lit canopies and felt mobiles, each section offers step-by-step visuals, pro tips, and cozy inspiration. Whether you’re drawn to a nature-inspired vibe or vintage storytelling charm, these ideas will help you craft a unique nursery filled with warmth and whimsy.
Floating Cloud Shelves to Display Nursery Keepsakes
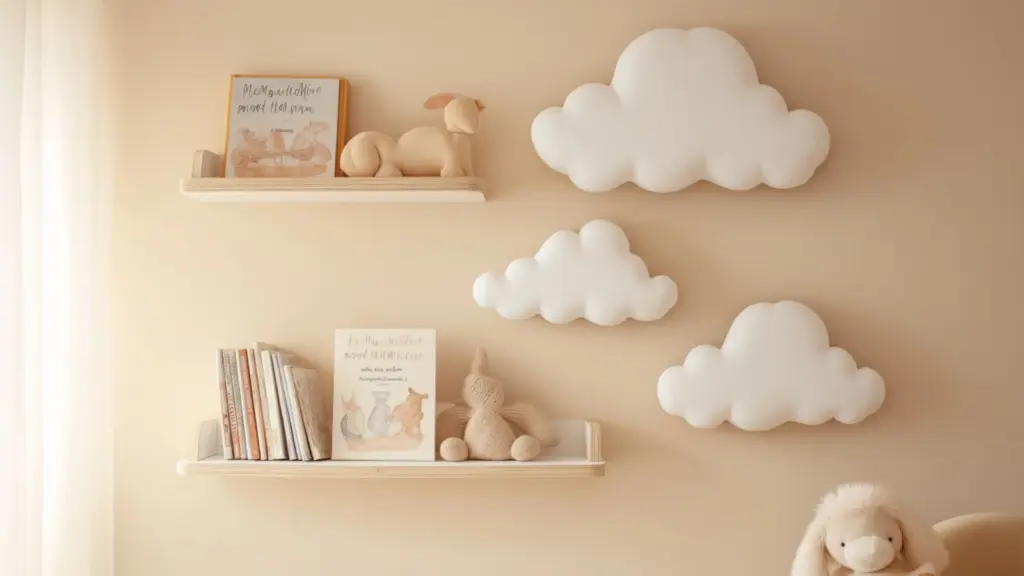
Floating shelves shaped like clouds instantly add a dreamy, lighthearted feel to any baby nursery. These are perfect for showcasing baby books, keepsake toys, and framed photos, while also reinforcing the whimsical theme through their soft, organic form.
You can create your own cloud shelves using plywood, a jigsaw, and a bit of paint. Trace cloud shapes onto the wood, cut them out, sand the edges, and paint in pastel tones or white for a clean, airy finish. Mount them using hidden brackets for a floating effect.
Table: Materials and Steps for DIY Cloud Shelves
| Materials | Instructions |
|---|---|
| Plywood (1/2″ thick) | Trace cloud shapes using templates |
| Jigsaw & sandpaper | Cut and smooth the wood edges |
| Non-toxic paint | Apply two coats for soft, durable finish |
| Wall brackets or keyhole hangers | Attach behind for secure floating mount |
| Level & measuring tape | Ensure alignment when installing |
This small project brings personality and function to walls, letting you blend storage with playful visual storytelling.
DIY Felt Mobiles with a Storybook Twist

A handmade mobile is a classic nursery accent that can be as playful or elegant as you like. Felt mobiles are especially popular for whimsical nurseries because they’re lightweight, soft, and endlessly customizable.
Start by picking a theme: forest animals, celestial skies, garden creatures, or vintage toys. Use felt sheets to cut out your shapes, then stuff them lightly with cotton or felt scraps for a 3D look. Stitch or glue the edges, and attach them with thread or ribbon to a wooden hoop. Hang it over the crib or changing area—but safely out of reach of little hands.
You can even layer shapes at different heights to give a floating, dreamlike movement. Add extra charm with mini pompoms, bells, or beads.
Table: Themed DIY Mobile Inspirations
| Theme | Felt Shapes Included | Color Palette Examples |
|---|---|---|
| Celestial | Stars, moons, clouds | White, silver, navy, blush |
| Woodland Friends | Foxes, owls, pine trees | Earth tones, soft greens |
| Garden Dream | Butterflies, flowers, bees | Lavender, mint, pale pink |
| Whimsical Toys | Hot air balloons, rocking horses | Warm neutrals, muted pastels |
Making your own mobile isn’t just about decoration—it’s about storytelling. Each piece represents a part of the nursery’s theme, helping baby experience the world through visual wonder.
Fairy Light Canopies for a Magical Nook
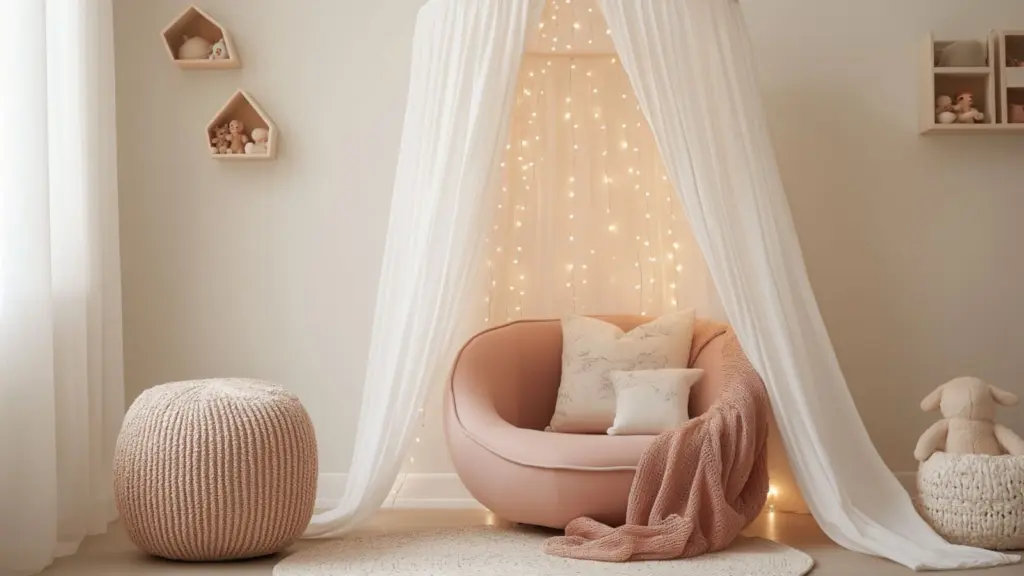
If you want to make one show-stopping statement in your nursery, a fairy light canopy delivers the perfect blend of whimsy and comfort. Draped over a reading chair or crib corner, it creates a magical space that instantly elevates the room’s atmosphere.
All you need is a lightweight canopy net (often used for mosquito protection or decor), a hoop or curtain ring, and a strand of warm white fairy lights. Attach the fabric to the ring, then hang it from the ceiling using a hook or adhesive pad. Wrap the lights around the inside of the canopy frame so they glow softly without direct contact.
You can embellish your canopy with faux vines, star garlands, or tassels. Choose gauzy white fabric for an ethereal vibe or soft blush tones for a gentle pop of color.
Table: Building a Fairy Light Canopy
| Materials | How to Use |
|---|---|
| Sheer canopy fabric | Drape from hoop and let flow to the floor |
| Embroidery hoop | Frame the fabric in a round, open shape |
| Battery-powered fairy lights | Wrap inside the fabric structure |
| Ceiling hook or adhesive mount | Install above crib or chair |
| Decorative add-ons | Attach pom-poms or paper stars |
Not only is this idea beautiful, but it also creates a calming nighttime routine space for parents and baby alike.
Handmade Garland to Add Whimsy Across Walls
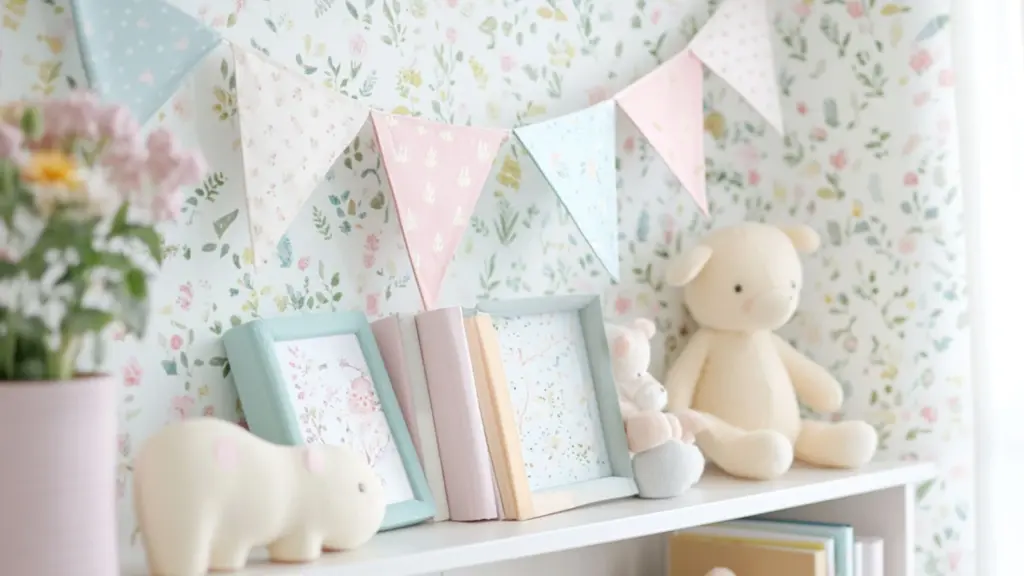
Garlands are an easy and versatile way to introduce whimsy. You can string them across cribs, bookshelves, or curtain rods. Popular options include felt ball garlands, paper star cutouts, fabric bunting, or crocheted shapes.
To make your own, decide on a consistent size and color scheme for visual cohesion. Use a large needle and thread to string felt balls, or cut fabric triangles and sew or glue them to a ribbon for a classic bunting.
Table: Garland Styles and DIY Tips
| Style | Materials Needed | Best Placement |
|---|---|---|
| Felt Ball Garland | Felt balls, embroidery thread, needle | Above crib, mirror, windows |
| Fabric Bunting | Fabric scraps, scissors, ribbon, glue | Across wall or bookshelf |
| Paper Stars | Cardstock, string, hole punch | Hanging vertically or across |
| Crochet Shapes | Yarn, crochet hook | Curtain rod or shelf |
These small additions create continuity in your decor and offer seasonal flexibility—swap in different garlands for holidays or baby’s milestones.
Chalk-Painted Dressers with Soft Pastel Finishes
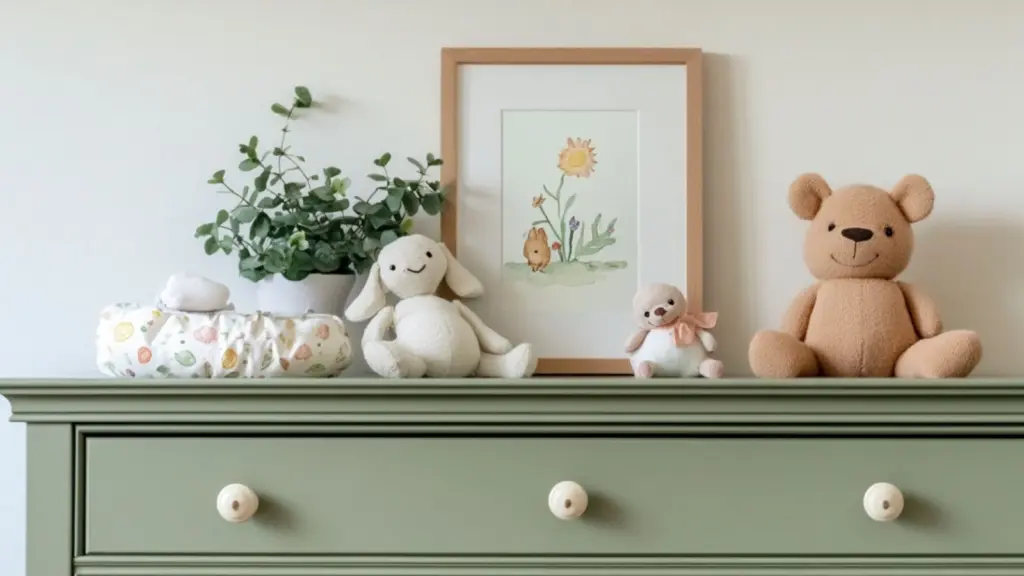
A painted dresser can become a focal point in your nursery. With a little chalk paint, you can upcycle a thrift store piece into a charming statement with a vintage twist. Choose soft hues like sage, ivory, pale rose, or light blue for a gentle and inviting palette.
Start by sanding the surface and wiping it clean. Apply chalk paint directly (no primer required), and consider distressing the edges slightly for a shabby-chic finish. You can also replace knobs with ceramic or wooden ones for extra character.
Table: Chalk Paint Makeover Checklist
| Step | What to Do |
|---|---|
| Prep the surface | Sand lightly and clean thoroughly |
| Apply chalk paint | 1–2 coats depending on coverage |
| Optional distressing | Sand corners/edges for aged texture |
| Seal with wax | Use clear furniture wax for durability |
| Add new knobs | Choose playful or elegant styles |
This piece becomes both functional and beautiful—perfect for storing baby clothes, diapers, and keepsakes in style.
Framed DIY Prints and Name Art for a Personalized Touch
Nothing makes a nursery feel more special than personalized wall art. You can create your own using printable designs, watercolor name templates, or even fabric embroidery.
Choose themes that match your overall decor—think woodland animals, vintage illustrations, or celestial elements. You can also design custom name art using calligraphy or stencil kits.
Table: DIY Art Display Ideas for Nursery Walls
| Type of Art | How to Create or Customize | Display Tip |
|---|---|---|
| Printable downloads | Use online design tools, print on cardstock | Frame with matte white borders |
| Watercolor art | Paint or use templates for baby animals | Hang in gallery layout |
| Embroidered hoops | Stitch name or quote on fabric | Cluster with shelves or frames |
| Stenciled canvas | Paint quotes or names using stencils | Place above dresser or crib |
Framing your DIY creations elevates their look and helps you build a gallery wall filled with meaning and personality.
Conclusion
Creating DIY whimsical baby nursery decor at home allows you to infuse the space with intention, love, and creativity. Each handmade touch—from cloud shelves and fairy light canopies to felt mobiles and pastel-painted dressers—adds a layer of story and warmth that’s hard to replicate with store-bought pieces.
Not only are these projects approachable and budget-friendly, but they also provide an opportunity to personalize your baby’s first room with cozy, imaginative details. With a bit of crafting and a lot of heart, you can build a space that feels like a dream come true—for both you and your little one.

