How to Choose Bathroom Backsplash Ideas for Small Spaces on a Budget
Table of Contents
Small bathrooms often feel cramped and uninspired, but a thoughtfully designed backsplash can elevate the space into something stunningly stylish. In fact, a recent Houzz survey found that 68% of homeowners consider tile upgrades among the top ways to boost appeal in compact bathrooms. A backsplash isn’t just practical—it’s your blank canvas for color, texture, and personality.
When choosing bathroom backsplash ideas for small spaces, it’s crucial to balance aesthetic impact with scale and functionality. The right backsplash can make the room appear larger, brighter, and more nuanced without visually overpowering the space. Conversely, the wrong choice—for example, overly busy mosaics or dark grout—can close in walls and amplify clutter.
In this guide, we’ll walk you through everything you need to know: from understanding scale and proportion to selecting materials, colors, installation layouts, and complementary accents. By the end, you’ll know exactly how to choose bathroom backsplash ideas for small spaces—maximizing visual impact while keeping your bathroom feeling open and inviting. Let’s dive into stylish, practical, and budget-friendly backsplash solutions tailored for compact bathrooms.
Understand Scale and Proportion in Small Bathrooms
Choosing a backsplash for a small bathroom begins with understanding scale. Oversized tiles can overpower the space, while tiny mosaics may create visual noise. The key is finding a balance that enhances rather than diminishes your room.
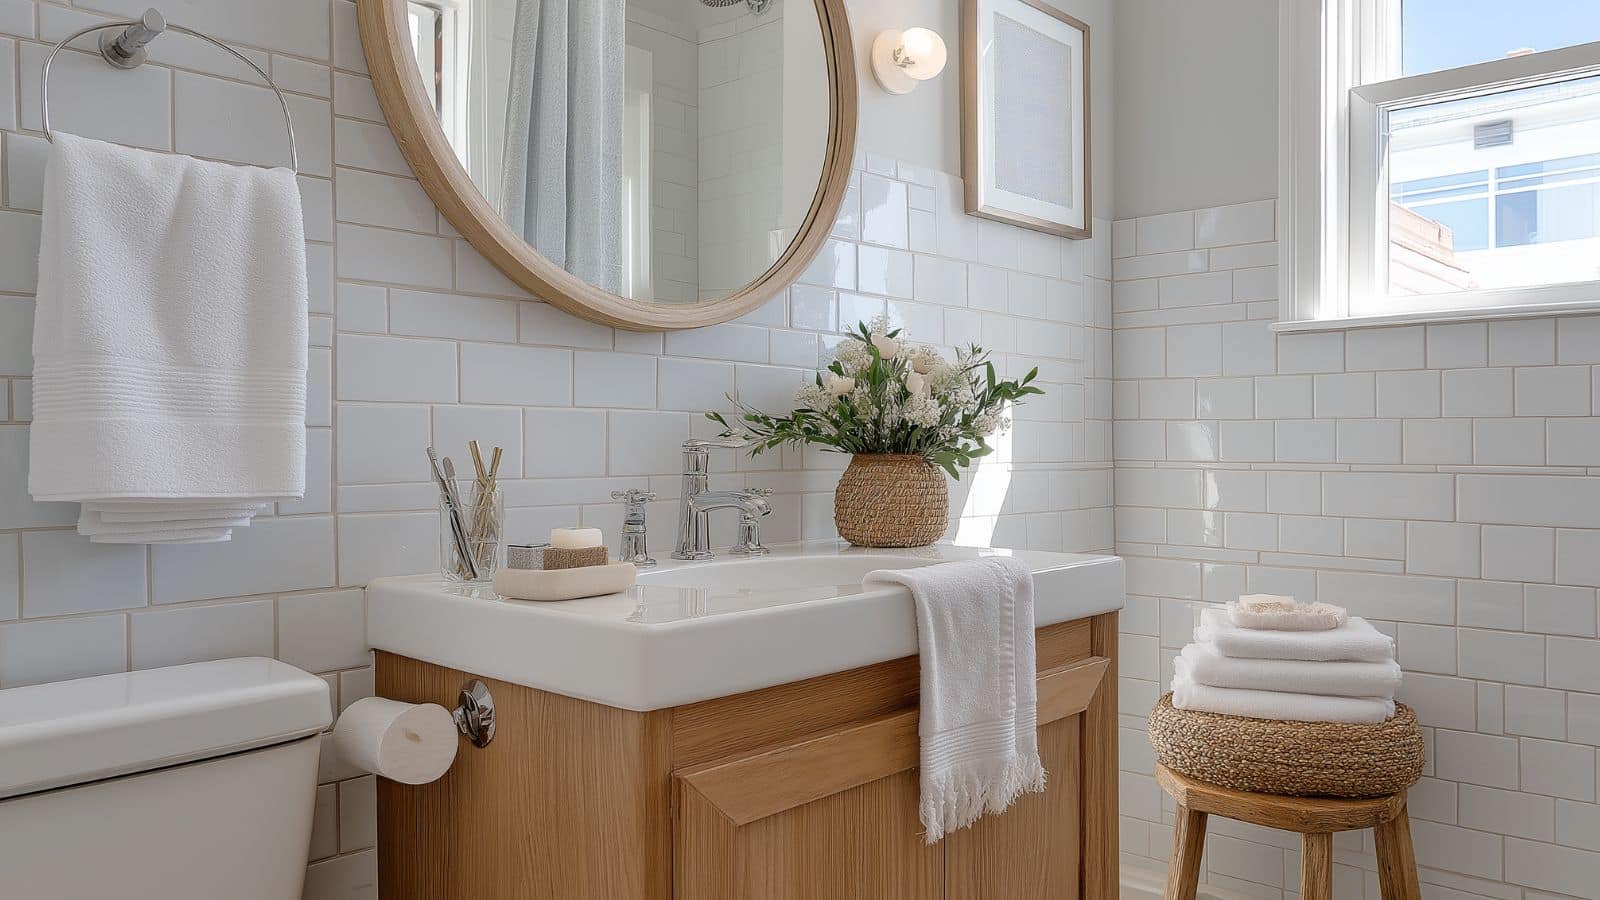
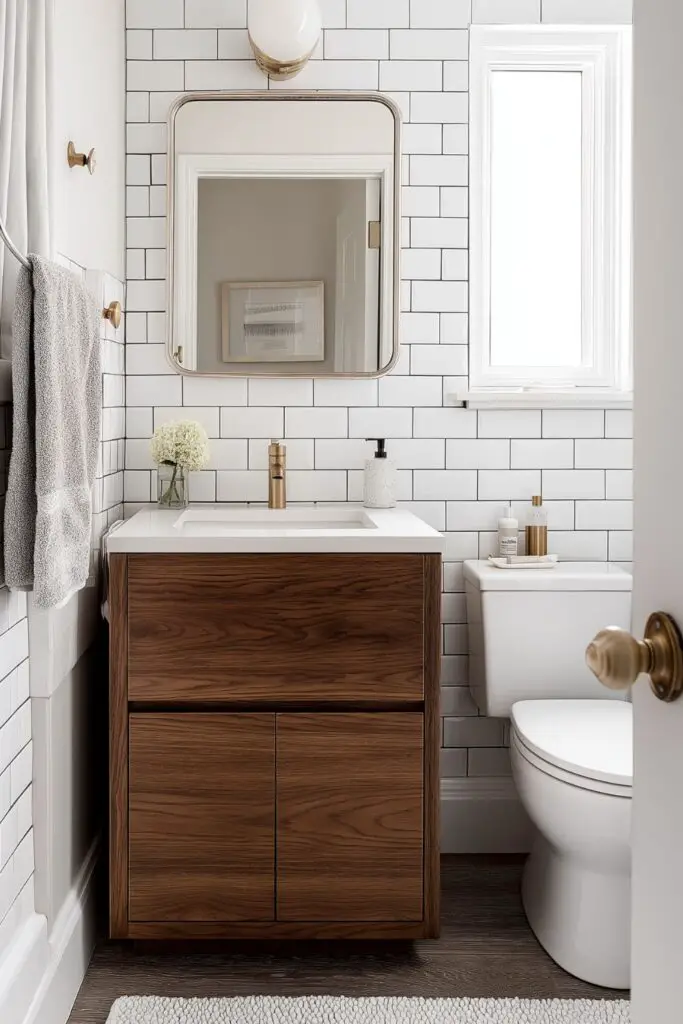
For small spaces, medium-sized tiles (3×6 subway, 4×4 ceramic) often work best. These tiles provide detail without overwhelming. Use thinner grout lines in neutral shades to streamline the look. A backsplash that spans just the sink area from countertop to mirror (typically 4 to 6 inches high) can pack a style punch without cluttering walls.
Visualize your height too. If your ceilings are low, vertical layouts—like stacked subway tile—can create a sense of height. Horizontal layouts elongate space, perfect for narrow vanities. Think of the backsplash as artwork: it should feel intentional and harmonious with the overall room scale.
Scale and Proportion Comparison Table
| Feature | Ideal Size/Style | Effect in Small Space |
|---|---|---|
| Tile Size | 3×6, 4×4, or 2×6 mosaic | Balanced visual scale without clutter |
| Grout Lines | Thin (1/16”–1/8”) | Clean, seamless look |
| Layout Direction | Horizontal or vertical | Horizontal widens, vertical heightens |
| Backsplash Height | 4–6 inches below mirror | Focused impact without engulfing space |
Select Materials That Reflect Light and Resist Moisture
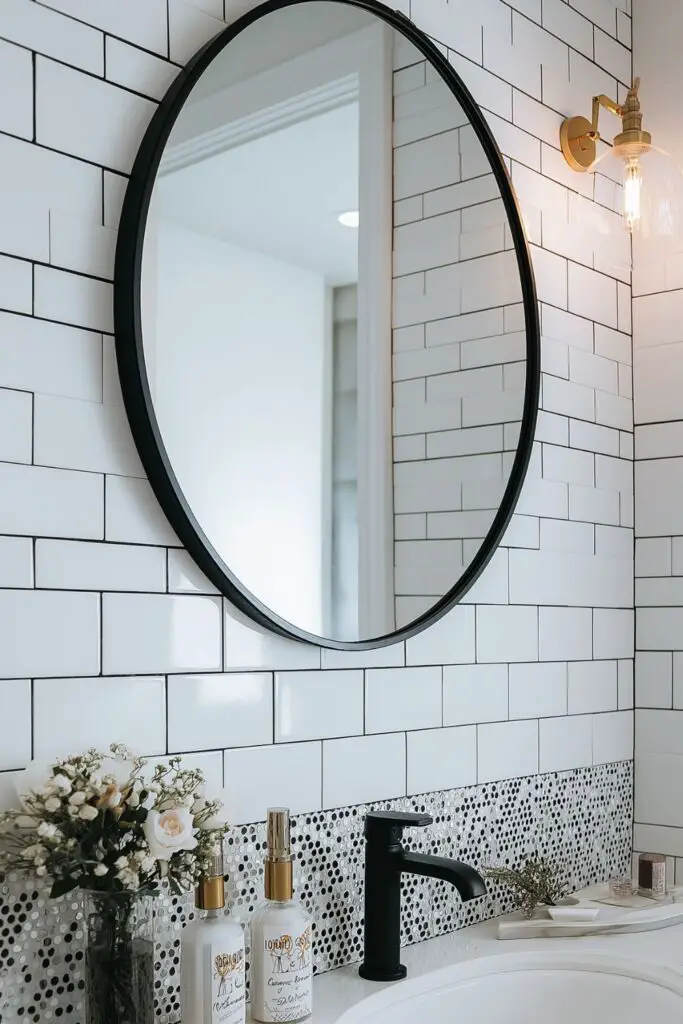
In small bathrooms, materials that brighten and defend against moisture are paramount. Ceramic and porcelain tiles are ideal, boasting durability, easy cleaning, and a wide range of finishes. Glossy finishes bounce light, making the space feel larger—perfect for low-light environments.
Glass tiles create vibrant reflections, though they require clean grout and frequent wiping to maintain shine. Consider using glass as accents amid ceramic or porcelain for visual interest without overwhelming the budget.
Natural stone (e.g., marble, travertine) brings luxury but requires sealing and maintenance. If you love stone’s texture, try thin slabs or porcelain replicas that mimic natural veining, offering drama without bulk.
Mosaic tiles—when used sparingly—can add pattern and personality. Consider using them as border accents or behind open shelving for depth without total wall coverage.
Material Properties Table
| Material | Moisture Resistance | Light Reflection | Maintenance |
|---|---|---|---|
| Ceramic | High | Matte to glossy | Low – wipe with AW |
| Porcelain | Very high | Matte or glossy | Low – stain and water resistant |
| Glass | High | Excellent | Medium – clean grout lines |
| Natural Stone | Moderate (sealed) | Subtle/reflections | Medium – seal and soap-only |
| Mosaic | High | Varies | Medium – careful cleaning |
Choose Color and Pattern That Enhance Space
Color and pattern choices play a major role in how spacious a bathroom feels. In small spaces, a carefully selected backsplash can visually expand the room and add character without overpowering.
Light, neutral palettes—soft whites, pale grays, sandy beiges—create an airy atmosphere, especially when paired with glossy finishes. These reflect light and make walls feel distant. Soft pastels—like blush, mint, or seafoam green—can add charm while maintaining openness.
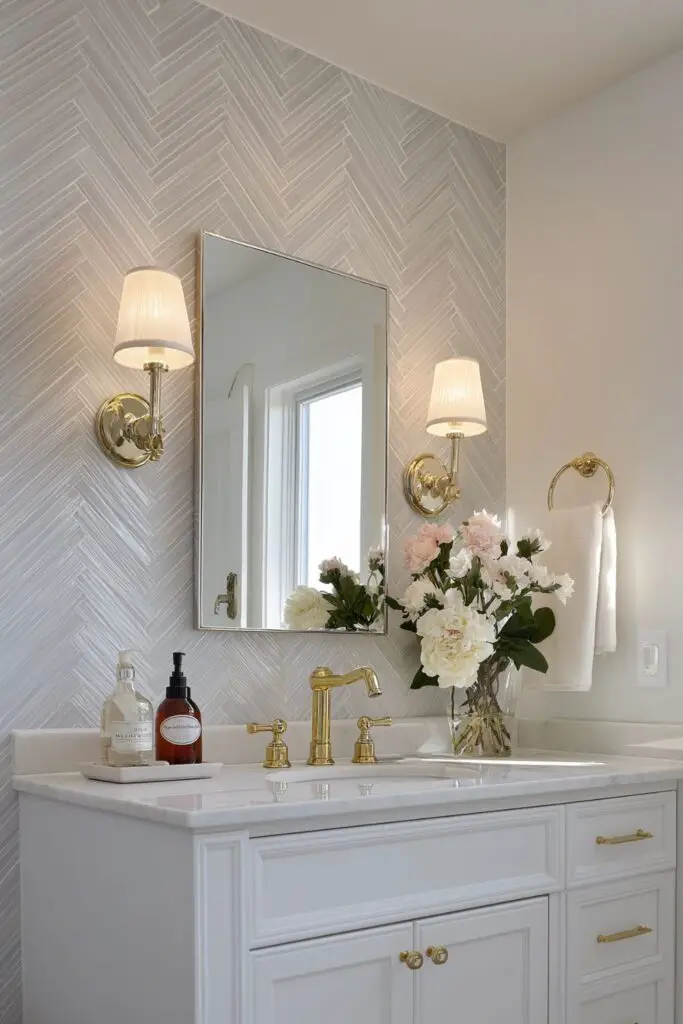
Bold patterns, such as chevron or herringbone, bring visual interest and clever directionality. A herringbone 4×4 set in a soft gray adds nuanced texture without introducing harsh lines. Use color sparingly: a single accent row of patterned tiles amid neutral backdrop can energize without overwhelming.
Monochrome palettes work wonders too. A single hue—white, charcoal, dusty blue—tiled top to bottom creates seamless flow and visual calm. You can add accents through towels or metal finishes without disrupting serenity.
Remember grout color’s impact. Light grout expands, dark contrast emphasizes patterns. Neutral grout blends patterns into the background, suitable for minimalist looks.
Color and Pattern Table
| Style Approach | Tile Color/Pattern | Visual Effect |
|---|---|---|
| Light Neutral | White or beige subway tile | Feels clean, open, and classic |
| Pastel Accent | Seafoam or blush 3×6 tile | Adds gentle charm without darkening space |
| Patterned Accent | Gray herringbone strip | Adds energy and direction without overpowering |
| Monochrome | Charcoal skull tile | Creates cohesive drama and visual depth |
| Bold Contrast | Navy tile with white grout | Stylish but risk of feeling smaller |
Layout and Installation Tips for Small Backsplashes
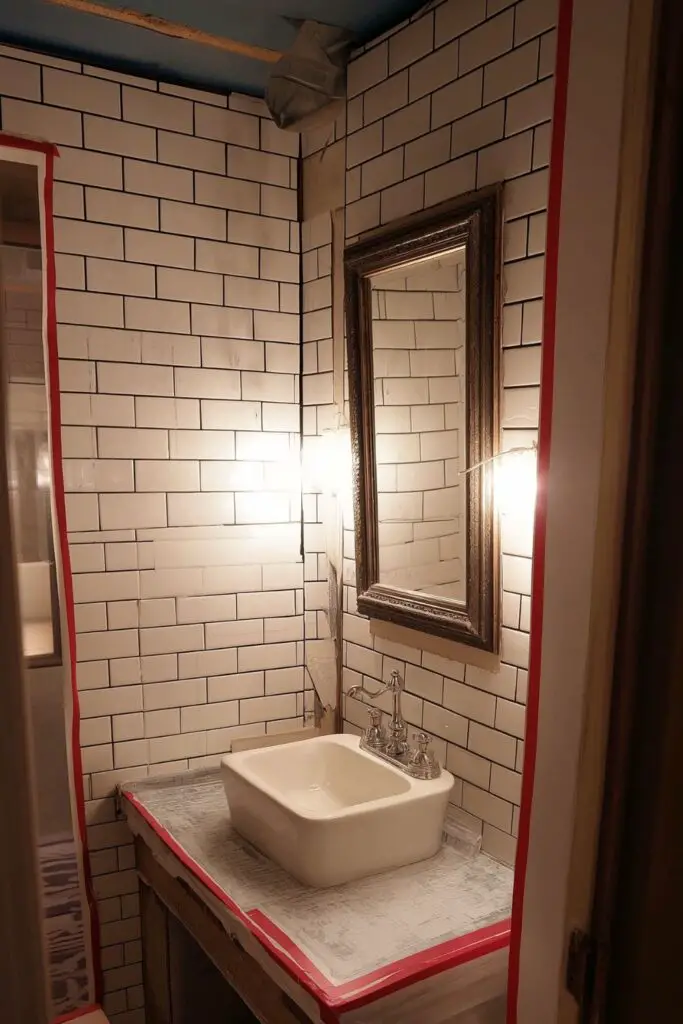
Proper installation layout ensures your backsplash looks intentional and proportional. Start by dry-laying or taping paper templates to visualize placement before committing.
Using a grid layout yields simplicity—the lines run straight and parallel to edges. A stacked arrangement aligns with vanity tops and mirrors for a clean modern look. A brick or offset (subway) pattern shapes horizontal flow and disguises grout lines.
Herringbone or diagonal layouts introduce movement and elegance but require more cutting and precision—factor time into your DIY if choosing these patterns. Don’t forget mitered corners or metal edging for neat transitions around vanity edges.
Sealing seams and caulking edges is crucial to prevent water damage. Use color-matched silicone caulk between vanity and tile to maintain a seamless look and protect against leaks.
Installation Layout Table
| Layout Type | Benefits | DIY Difficulty |
|---|---|---|
| Stacked Grid | Clean and minimal | Easy |
| Offset Subway | Classic and forgiving | Medium |
| Herringbone | Decorative, elegant | Harder – precision needed |
| Diagonal Tile | Widens visual space | Medium |
| Accent Strip | Style without full coverage | Easy – low material cost |
Maintain and Update Backsplash Over Time
A backsplash is an investment, but maintenance keeps it looking fresh and stylish. Clean tiles weekly with mild soap and a microfiber cloth—avoid abrasive cleaners that dull gloss or scratch stone.
Check grout lines periodically for mold or discoloration. A small brush and baking soda paste restore color. Re-sealing natural stone every 6–12 months helps prevent staining. For ceramic or glass tile, you can opt for epoxy grout that’s highly stain-resistant—though more expensive initially, it saves cleaning effort long-term.
Updating your backsplash doesn’t require retiling. Add a peel-and-stick accent strip, apply decorative decals, or switch art—keeping your space feeling refreshed at low cost.
Backsplash Maintenance Table
| Task | Frequency | Tip |
|---|---|---|
| Tile Wiping | Weekly | Use mild soap and soft cloth |
| Grout Cleaning | Monthly | Baking soda and warm water paste |
| Stone Sealing | Every 6–12 months | Use a penetrating sealer for protection |
| Caulk Inspection | Quarterly | Replace cracked caulk before mold sets |
| Style Update | As desired | Peel-and-stick accents or small tiling |
Conclusion
Choosing bathroom backsplash ideas for small spaces is an art in small-scale transformation. By prioritizing tile scale, reflective materials, light color palettes, thoughtful layouts, and practical maintenance, you can create a backsplash that enhances both style and functionality without crowding the bathroom.
With clean design choices—like mid-size tiles, minimal grout, strategic patterns, and smart material options—you can achieve a custom, high-end look that visually expands your space. And with care and occasional updates, your backsplash will continue to elevate your bathroom for years to come.

