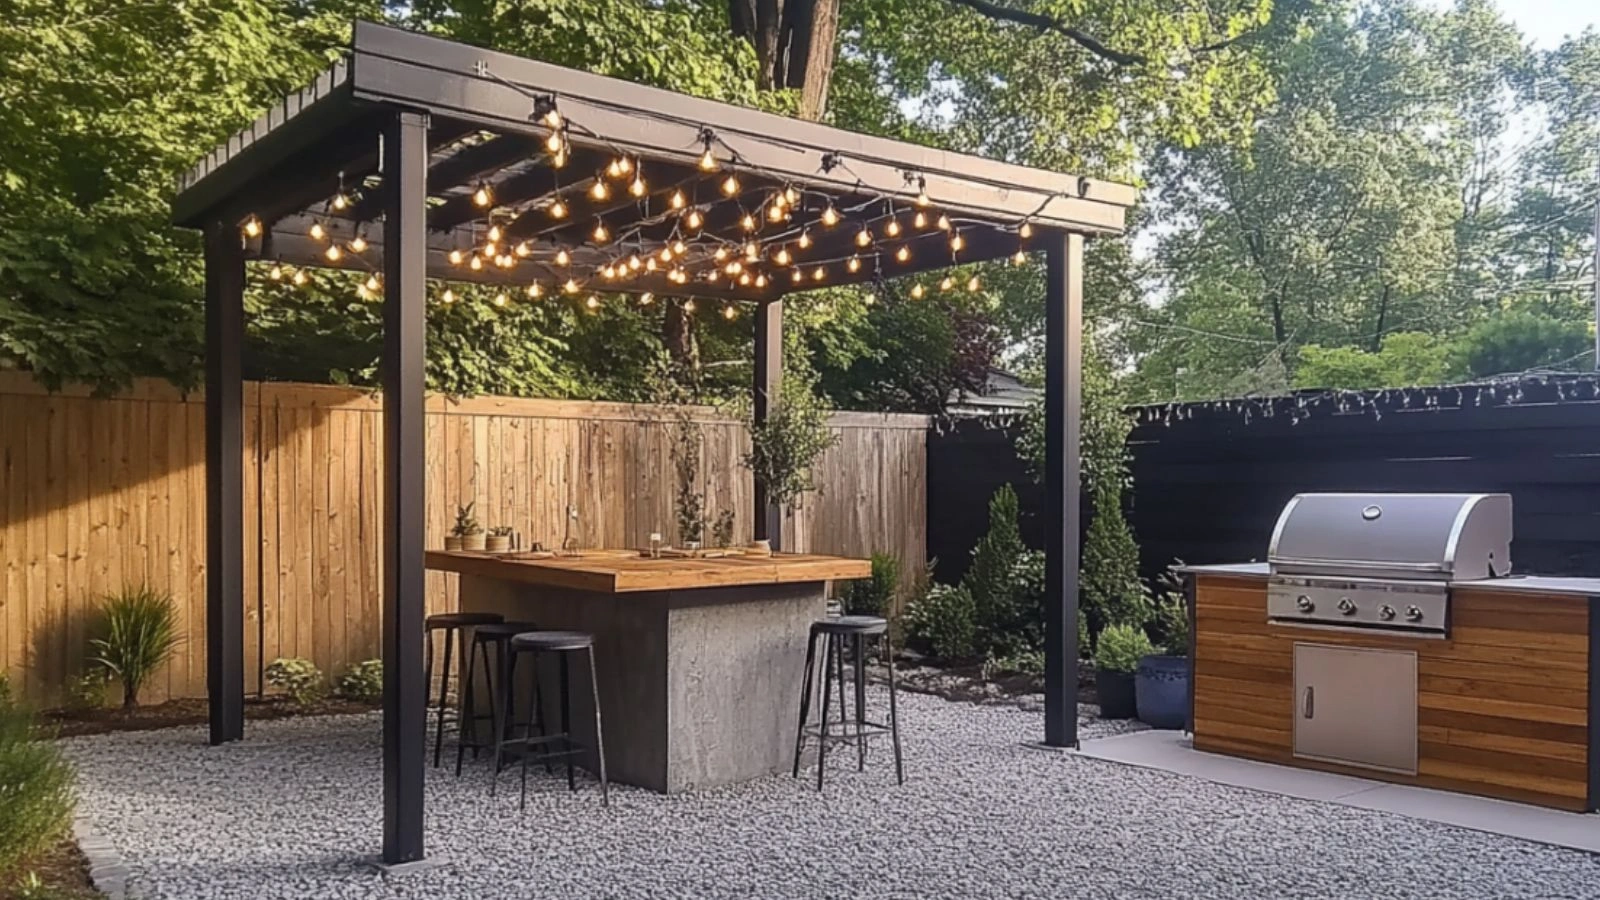
Modern & Cheap Outdoor Kitchen Setups You Can DIY for Style and Savings
Table of Contents
Outdoor kitchens used to be a luxury only seen in high-end homes or professionally designed patios. But thanks to smart planning, creative repurposing, and a rise in affordable materials, modern outdoor kitchens are now within reach—even for budget-conscious DIYers. According to recent home improvement trends, more homeowners are turning to their backyards to extend living space and add practical cooking zones that are both functional and stylish.
Whether you want a full grilling station, a simple prep counter, or a cozy serving area for weekend gatherings, building an outdoor kitchen doesn’t have to cost a fortune. With the right layout, a handful of tools, and a few smart design choices, you can create a beautiful, modern space for cooking and entertaining under the sun (or stars).
In this guide, we’ll explore affordable yet stylish outdoor kitchen setups that you can build yourself. From repurposed furniture and concrete countertops to compact layouts and open shelving, each idea blends sleek design with low-cost execution. Get ready to roll up your sleeves and transform your backyard into a functional and fabulous outdoor kitchen—without breaking your budget.
Pick the Perfect Location for Your Outdoor Kitchen
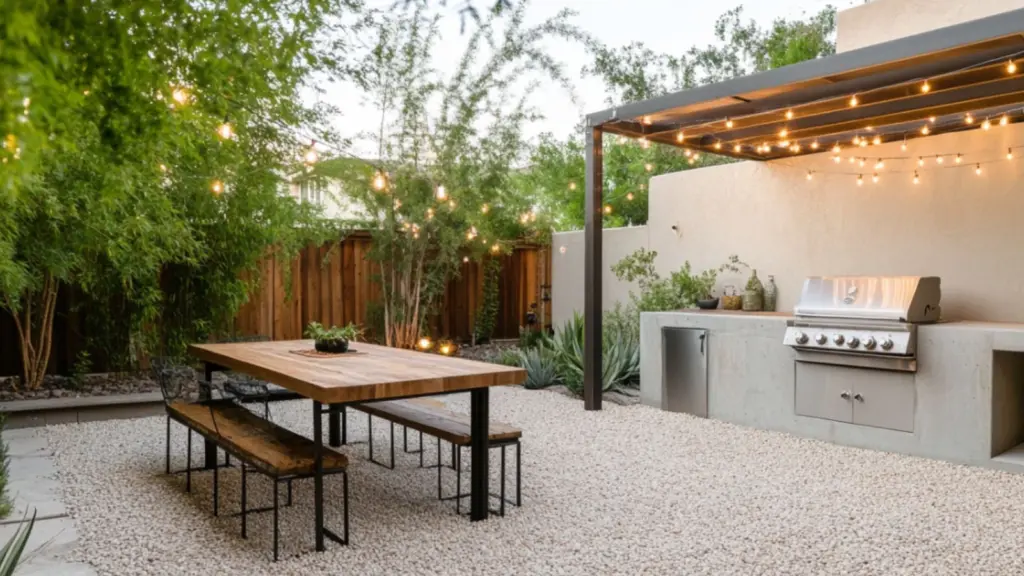
Before diving into materials and building plans, you need to select the right spot for your outdoor kitchen setup. The ideal location balances function, safety, and style—all while working with your available space.
If you already have a patio, deck, or gravel section, that’s a great place to start. These areas typically offer level surfaces, access to utilities, and proximity to indoor kitchens for easy prep. If you’re building from scratch, consider installing your kitchen close to the house to simplify water and electricity access, or near a seating area to create a seamless entertaining space.
Sun exposure and wind direction also matter. Aim for an area with partial shade or add a pergola or umbrella for comfort. Lastly, keep fire safety in mind—don’t place grills or open flames near overhangs, wood fences, or trees.
Outdoor Kitchen Placement Checklist
| Factor | Ideal Approach | Budget-Friendly Tip |
|---|---|---|
| Ground Surface | Level concrete, pavers, or gravel | Use large patio stones for DIY flooring |
| Shade and Sunlight | Partial shade or canopy coverage | Install shade sail or umbrella |
| Proximity to Indoors | Near house or existing patio | Use existing water hose or outlet access |
| Safety Considerations | Away from combustible materials | Place grill on a non-flammable base |
Use Concrete Blocks and Wood for a Sleek, Budget-Friendly Frame
When it comes to building the structure of your outdoor kitchen, few materials are as budget-friendly and modern-looking as concrete blocks and wood. This combination offers a clean, industrial aesthetic and can be assembled with basic tools and a small investment.
Start by laying a base with concrete cinder blocks. Stack and mortar them into a U-shape or L-shape structure to form counters, grills stands, and storage areas. Once set, add wood planks or stained boards on top to create a natural yet polished surface. Reclaimed wood or butcher block slabs work beautifully for countertops and shelving.
Seal all wood surfaces with a weatherproof finish, and add metal brackets or tension rods for reinforcement. The beauty of this setup lies in its flexibility—you can customize the dimensions, shapes, and finish to suit your space and style.
Concrete + Wood Build Components
| Element | Material Option | DIY Tip |
|---|---|---|
| Base Structure | Cinder blocks | Dry-stack first to test layout before mortaring |
| Countertop Surface | Butcher block, pine, cedar | Sand and seal for weather protection |
| Open Shelving | Wood planks + metal brackets | Store grill tools, trays, or plates |
| Grill Cutout Area | Leave block-free zone in center | Add concrete paver as heat barrier base |
Create a Stylish Cooking Station with Portable Grills
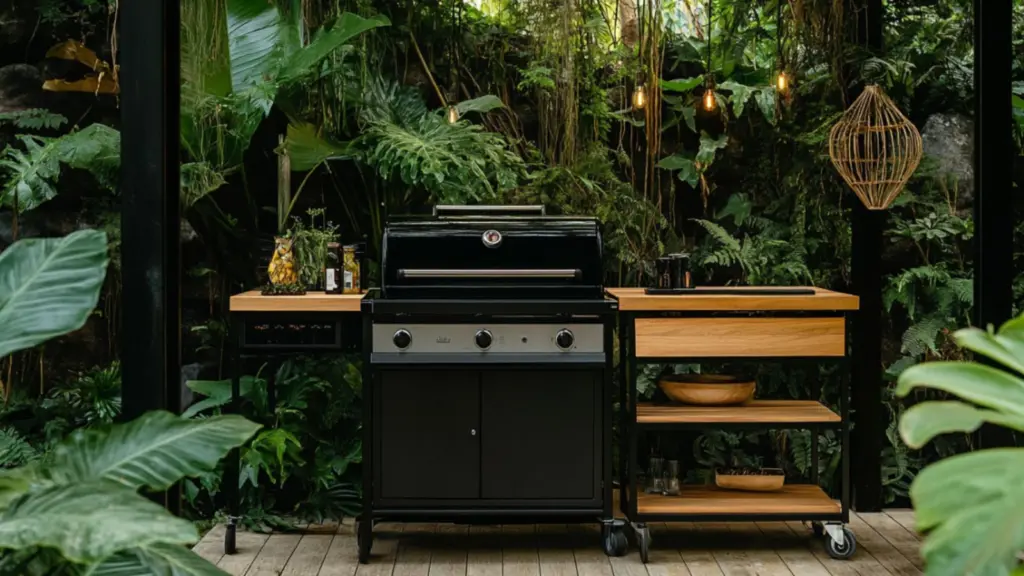
You don’t need a built-in gas line or a top-of-the-line smoker to have a functional cooking area. Modern outdoor kitchen setups can revolve around affordable, portable grills and compact cooktops. These are budget-friendly, easy to maintain, and can be upgraded over time.
Choose a quality freestanding charcoal or propane grill and build your prep space around it. Frame it with counters made of wood or metal to hold ingredients, serve trays, or prep bowls. If you’re using a small balcony or patio, opt for a tabletop grill that fits within your surface layout.
Use a rolling cart, metal shelf unit, or repurposed cabinet as a portable cooking station. You can outfit it with utensil hooks, spice racks, and storage bins. Add a heat-resistant tile or stone slab under your grill to protect surfaces and increase fire safety.
For added polish, style your cooking zone with modern finishes like black metal, galvanized steel, or bamboo cutting boards. Keep a compact trash bin and towel hook nearby to streamline cleanup.
Portable Grill Station Setup Tips
| Setup Element | Equipment or Material | Functional Add-On |
|---|---|---|
| Freestanding Grill | Charcoal or propane | Built-in thermometer or side burner |
| Prep Counter | Wood slab or steel surface | Add hooks for spatulas or tongs |
| Rolling Cart | Metal or wood with wheels | Store condiments, tools, and cutting boards |
| Fire-Safe Surface Pad | Stone or tile slab | Protects patio or wood decking |
Incorporate Open Shelving and Hanging Storage
Storage is a key component in any kitchen, indoor or outdoor. But in an outdoor setup, it has to be practical, weather-resistant, and easy to access. Open shelving is a sleek and affordable solution that also enhances the modern, minimalist look of your space.
Mount shelves directly onto your structure using treated lumber or metal grates. Store non-perishables in lidded containers and keep dishware, utensils, and serving trays within arm’s reach. To protect from rain or wind, consider placing shelves under an awning or using covers when not in use.
Hanging storage is another smart option. Install hooks, pegboards, or magnetic strips for items like grill tools, ladles, and skewers. These features not only save space but keep your kitchen looking organized and visually interesting.
Outdoor Kitchen Storage Breakdown
| Storage Option | Best Use | DIY or Store-Bought Idea |
|---|---|---|
| Open Shelves | Plates, bowls, spice jars | Build with reclaimed wood and stain |
| Hooks or Pegboard | Grill utensils, oven mitts | Screw into wall backing or block face |
| Closed Bins | Charcoal, seasonings, cleaning tools | Use stackable plastic with lids |
| Magnetic Strip | Knives, bottle openers, scissors | Mount behind counter or under shelf |
Add Style with Tile, Paint, and Decorative Accents
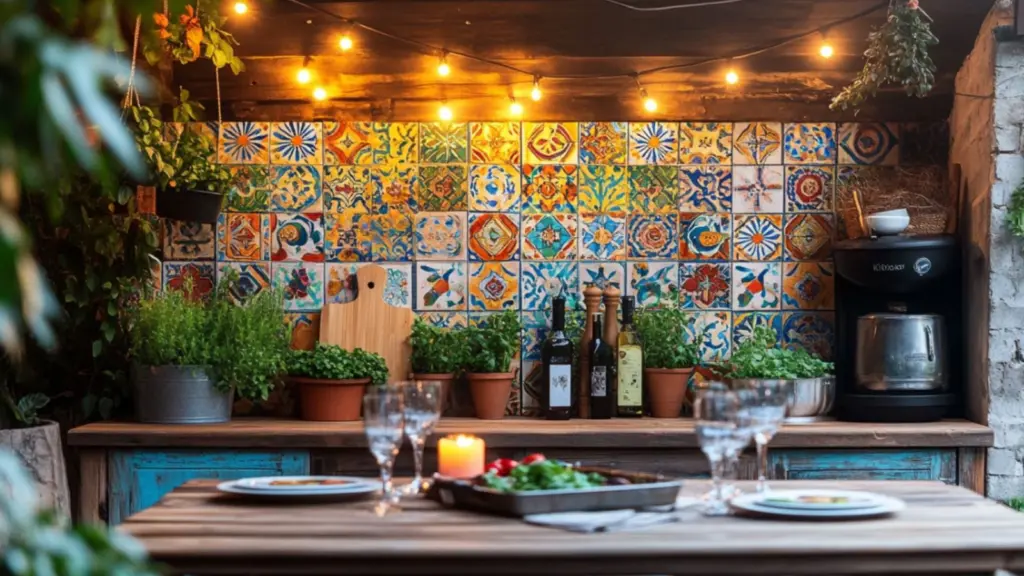
Even a DIY outdoor kitchen deserves a designer touch. By incorporating affordable finishes like peel-and-stick tiles, weatherproof paint, or accent trims, you can elevate the look of your setup without adding major cost.
For a bold visual statement, use patterned tile on backsplash areas or prep counters. Peel-and-stick options designed for outdoor use are easy to apply and resistant to moisture. If tile isn’t your thing, paint goes a long way—try a two-tone color scheme for cabinets or add a black chalkboard wall to list menus or recipes.
Finish your setup with small decorative touches like string lights, planters, or outdoor-safe rugs. These cozy details make your space more inviting and create ambiance for evening meals or weekend gatherings.
Low-Cost Decorative Enhancements
| Element | Visual Benefit | Material Tips |
|---|---|---|
| Backsplash Tile | Adds texture and color | Choose peel-and-stick outdoor tile |
| Painted Finishes | Defines style or zones | Use oil-based outdoor paint |
| String Lighting | Ambient, cozy evening glow | Install along pergola or under counters |
| Planters or Herbs | Natural texture + fragrance | Use hanging pots or railing baskets |
Build a Compact Outdoor Sink Station
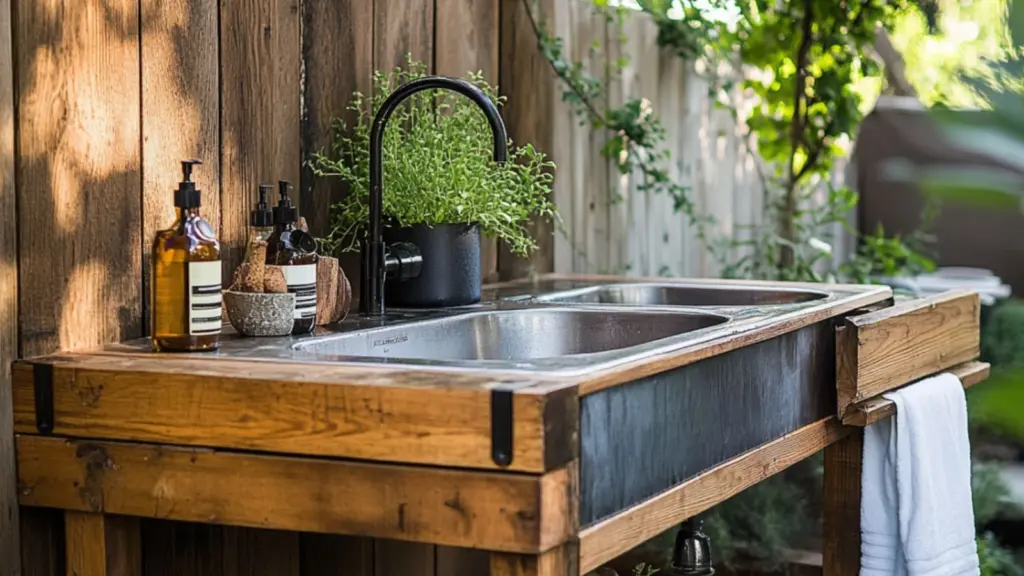
While a full plumbing setup may not be realistic for all DIYers, incorporating a simple sink station can make your outdoor kitchen far more functional. From rinsing veggies to washing hands, a compact sink adds practical value without too much complexity.
If you have hose access nearby, install a cold-water-only system with PVC piping that drains into a bucket or planter bed. Use a stainless steel or galvanized tub as your sink basin and mount it onto a wood or metal frame. If drainage is a concern, a foot-pump sink kit is an excellent alternative for water flow without electrical or permanent plumbing.
Place your sink next to the prep station to streamline food handling. Surround it with a towel rack, soap dispenser, and drying shelf for ease of use. Use waterproof caulking and silicone to seal joints and prevent water damage over time.
Outdoor Sink Station Guide
| Component | Material or Feature | DIY Tip |
|---|---|---|
| Sink Basin | Stainless steel or galvanized tub | Mount into wood frame or repurpose cart |
| Water Supply | Garden hose or foot pump system | Use quick-connect fittings for easy setup |
| Drainage | Bucket or garden bed runoff | Elevate slightly for gravity-based draining |
| Accessories | Rack, drying tray, soap jar | Attach with command hooks or brackets |
Conclusion
Creating a modern and cheap outdoor kitchen setup doesn’t require a massive renovation or hefty investment. With thoughtful planning, clever DIY techniques, and a few stylish touches, you can design a functional and inviting space that enhances your backyard and expands your cooking options.
From repurposed materials and portable grills to smart storage and decorative finishes, every element can be tailored to your space and budget. The result is a personalized outdoor kitchen that’s as practical as it is beautiful—perfect for everything from casual weeknight grilling to lively weekend gatherings. Whether you’re working with a spacious patio or a cozy corner, these ideas prove that outdoor culinary dreams are absolutely DIY-able.

