Simple Ways to Elevate Your Apartment Kitchen Aesthetic on a Budget
Table of Contents
Ever find yourself staring at your apartment kitchen and dreaming of something more stylish, but feel stuck due to space, budget, or rental limitations? You’re not alone. Studies show that over 70% of renters would love to upgrade their kitchens but feel held back by cost or lease restrictions. The good news? You don’t need a full remodel to transform your workspace into a beautiful, functional hub.
Elevating your kitchen aesthetic doesn’t have to involve tearing out cabinets or mezzanine-level counters. With the right combination of targeted changes—like smart color pops, coordinated tools, strategic lighting, and curated accessories—you can give your apartment kitchen a designer-level glow-up. What’s better, many upgrades are temporary, renter-friendly, and easy to reverse.
This guide walks you through simple, impactful ways to elevate your apartment kitchen aesthetic. From refreshing surfaces and styling command centers to adding greenery and maximizing lighting, you’ll find practical steps and beautiful visuals to make your kitchen feel elevated and cozy. Whether you cook every night or use your kitchen primarily as a staging area for Instagram-worthy meals, these ideas will help bring personality and polish to your space—no contractors needed.
Refresh Walls and Backsplash with Removable Solutions
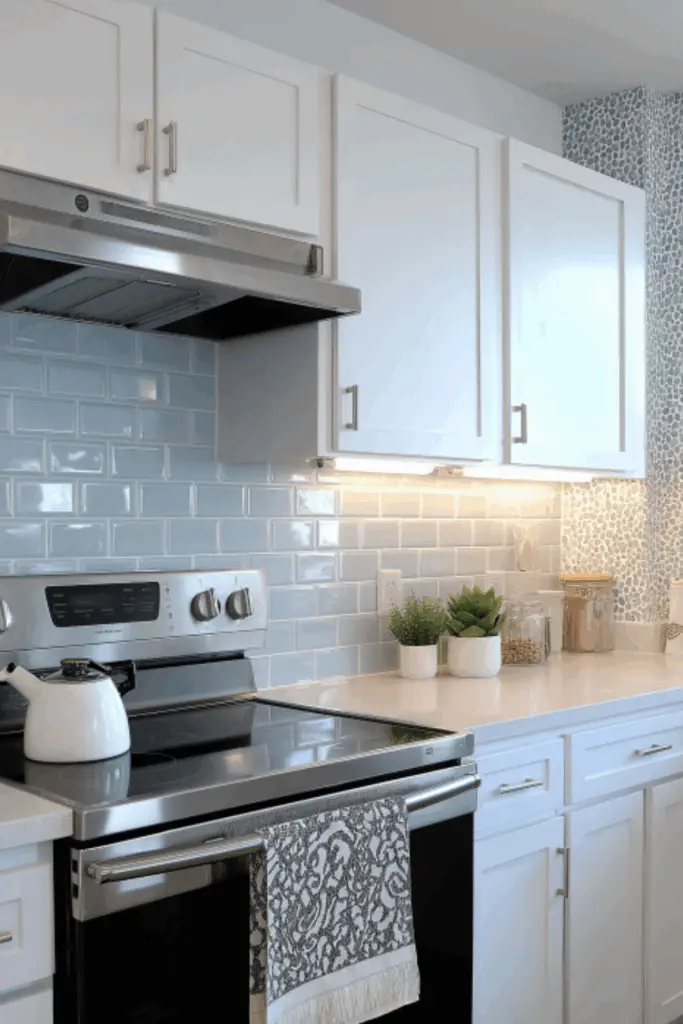
A fresh backsplash or wall treatment instantly uplifts any kitchen, especially in apartments. Peel-and-stick tiles, wallpaper, and removable decals offer stylish updates without damaging rental walls.
Peel-and-stick tiles replicate subway tile, marble, or herringbone patterns and resist moisture. They’re easy to clean and simple to remove when your lease ends. Wallpaper with kitchen-friendly vinyl coating adds personality—think bold geometric prints or subtle texture. Removable decals allow you to create a faux gallery wall above your countertop or fridge, turning bland walls into focal points.
To prevent damage, always use manufacturer-approved installation methods and remove materials slowly with gentle heat from a hair dryer. This approach lets you personalize your space quickly—without permanent commitment.
Table: Removable Wall Solutions at a Glance
| Product Type | Visual Effect | Installation Tip |
|---|---|---|
| Peel‑and‑stick tile | Glossy, upscale backsplash | Clean surface first; press firmly |
| Vinyl wallpaper | Bold pattern or monochrome texture | Smooth from top down to avoid bubbles |
| Removable decals | Layered art or menu board | Peel slowly with warm air |
| Washi tape border | Subtle frame or accent line | Use for edge detailing; remove carefully |
Upgrade Fixture Finishes Without Replacing Hardware
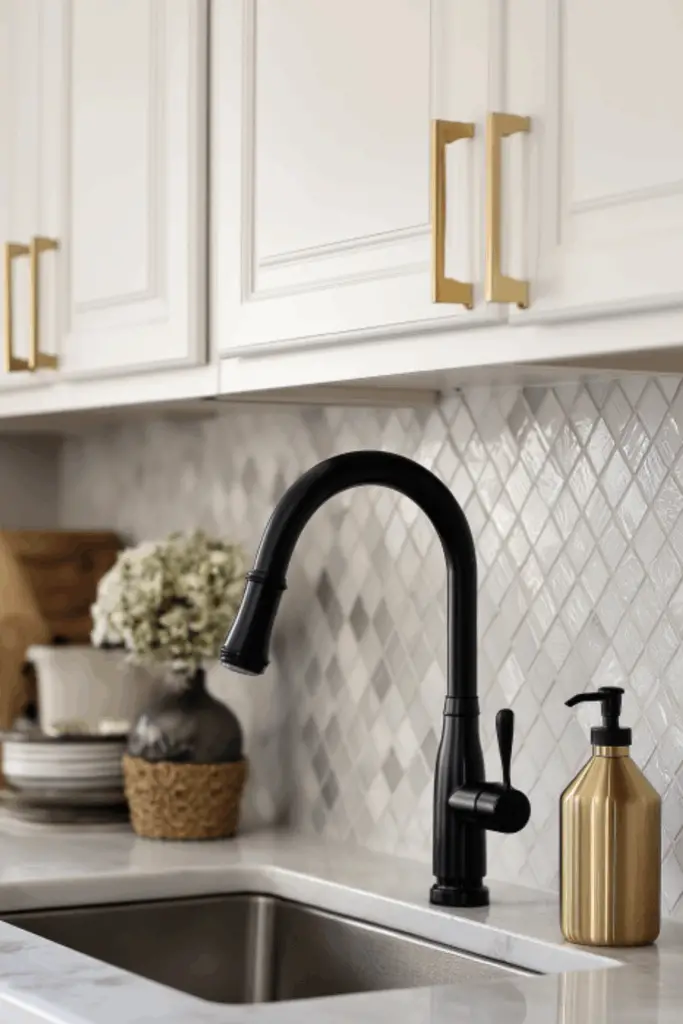
Swapping out kitchen hardware and fixtures is one of the easiest renter-approved refreshes. You don’t have to overhaul plumbing—make cosmetic swaps that visually elevate the space.
Swap out cabinet knobs, drawer pulls, and sink faucets. Matte black, aged brass, or brushed nickel instantly feel high-end against neutral or white units. Look for magnetic pull covers that sit flush—no drilling required. Peel-and-stick metal sheets applied over cabinet doors and fridge panels mimic premium surfaces like stainless steel or brass.
Even smaller touches like a new soap dispenser, magnetic knife holder, or tool rack can elevate the countertop without major upgrades.
Table: Hardware and Fixture Styling Breakdown
| Fixture Type | Finish Options | Easy Swap Idea |
|---|---|---|
| Cabinet knobs/pulls | Brushed brass, matte black | Replace with adhesive-to-screw sets |
| Faucet handles | Black or satin nickel | Change just handles if full swap isn’t possible |
| Soap dispenser | Glass, brass, or ceramic | Add a designer touch by the sink |
| Magnetic sheets | Stainless or brass look | Trim to size and apply to small panels |
Add Open Shelving with Style and Function
Open shelving brightens up small spaces, adds visual interest, and gives you a place to display curated items. You can install lightweight floating wooden or metal shelves using removable brackets or adhesive-heavy supports.
Use these shelves to showcase stylish mugs, cookbooks, glassware, or a single potted plant. Keep items grouped and consistent—choose two to three accent colors or materials (like wood and white ceramic). Less-is-more is key, so avoid overstuffing shelves. Instead, aim for balance with decorative objects interspersed between functional items.
Floating shelves also come in tiered sets or corner formats, ideal for dense areas without crowding.
Table: Open Shelf Styling Tips
| Item Type | Styling Idea | Volume for Visual Balance |
|---|---|---|
| Glassware | Arrange by height or tint (green/clear) | 4–6 pieces per shelf |
| Cookbooks | Stack horizontally or vertically | 3–5 books, with decorative object |
| Plants & greenery | Small succulents or trailing vines | Max two per shelf |
| Decorative accents | Ceramic ramekin or stone jar | Between functional objects, minimal |
Optimized Section for Detailed Expansion
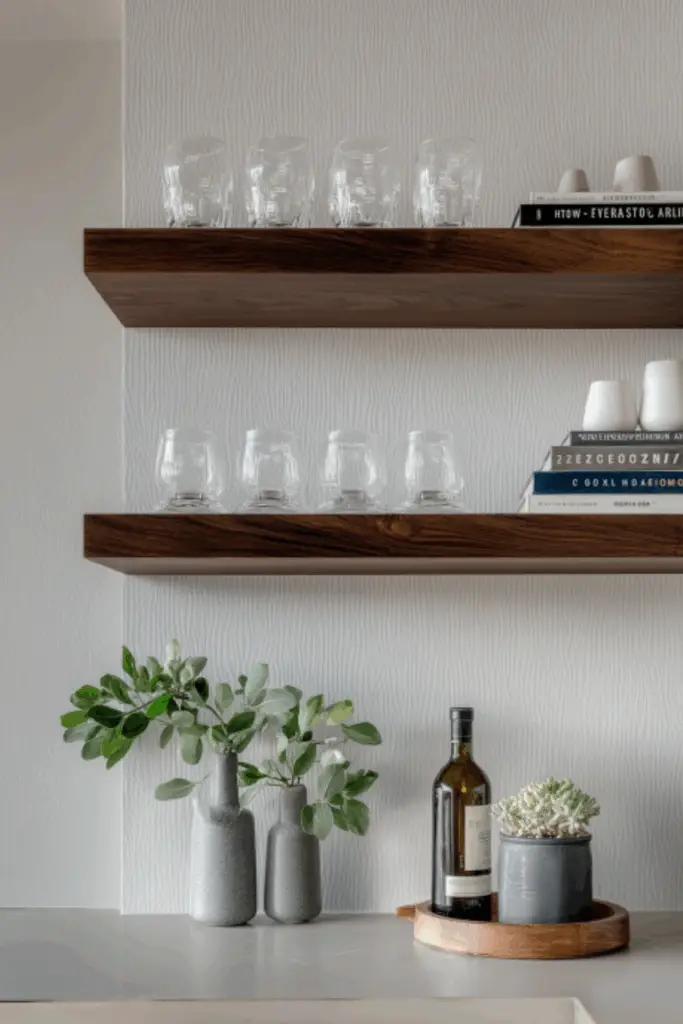
Your kitchen counters are a natural stage for style—without clutter. Clear off non-essentials and let the beauty of minimalism elevate your countertop area.
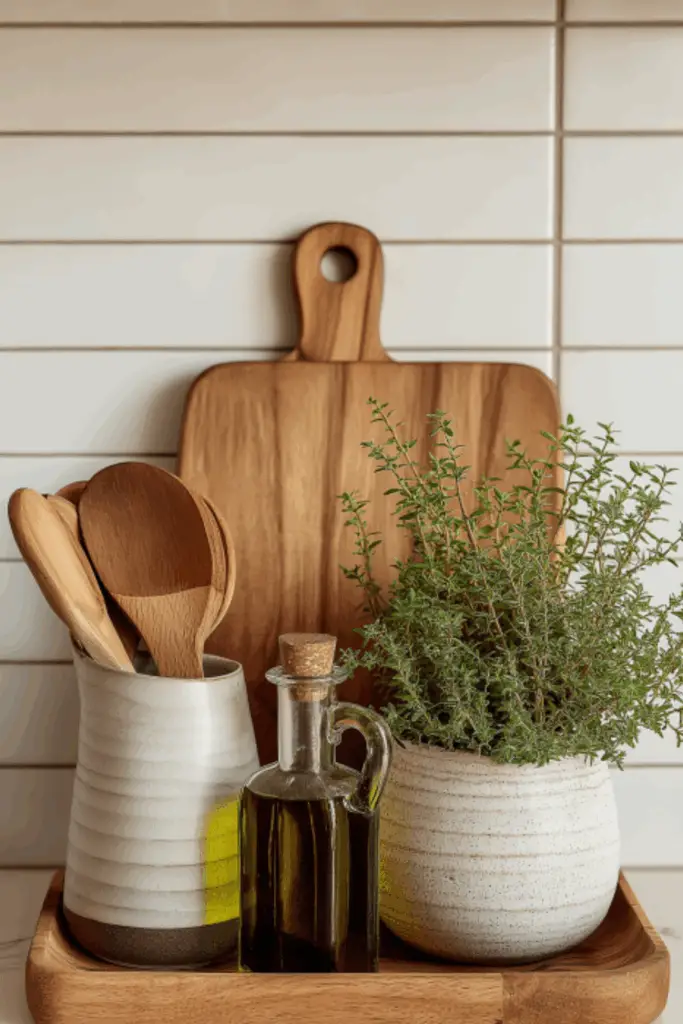
Start with a beautiful tray that anchors your most-used cooking essentials: olive oil bottles, salt grinder, wooden spoon in a neutral crock. This grouping gives a processed polish that feels intentional rather than messy.
Add a ceramic utensil holder and a cutting board propped against the backsplash to add texture and organic warmth. Keep a small potted herb (like basil or rosemary) nearby to add greenery, fragrance, and instant life.
If there’s room, complete the vignette with a small cookbook stand or tablet holder for recipe display. The result is purposeful décor that remains functional and easy to maintain.
Table: Countertop Styling Components
| Style Element | Role | Placement Tip |
|---|---|---|
| Decorative tray | Collects daily essentials | 18″ tray centered near cooking zone |
| Cutting board | Adds wood texture | Lean against backsplash behind the stove |
| Utensil crock | Organizes tools | Place near prep area |
| Potted herb | Brings color and scent | Near sink or window for light |
Use Greenery to Add Life and Softness
Plants breathe life into any kitchen aesthetic—especially in compact spaces where every element matters. Real or faux, greenery adds warmth, color, and a sense of calm.
Choose compact or vertical plants like snake plants, pothos, succulents, or small herbs on your windowsill. Use light-colored ceramic pots, woven baskets, or elegant hanging planters to complement the aesthetic. If you’re worried about care, choose low-light friendly varieties or switch to realistic faux options that don’t require upkeep.
Group plants with other decor elements—like oils, jars, or cutting boards—to create curated vignettes. Even a minimal cluster of two or three plants can feel intentional and fresh.
Table: Greenery Placement in Small Kitchens
| Location | Plant Type | Styling Tip |
|---|---|---|
| Windowsill | Herbs or small succulents | Use matching pots for cohesion |
| Corner countertop | Vertical snake plant | Place on a riser or coaster |
| Hanging above sink | Trailing pothos | Use neutral macramé or metal planter |
| Shelf accent | Globe fern or air plant | Pair with art or utensil jars |
Enhanced Section for Detailed Expansion
Lighting sets mood—and makes a big difference in small spaces. Apartment kitchens often rely solely on overhead fluorescent lights, which can wash out styling efforts. Layering in accent and task lighting creates depth and emphasizes your aesthetic updates.
Under-cabinet LED strip lights provide soft, even glow over countertop work zones. They’re easy to install with adhesive backing and run off USB or plugin sources. Overhead, consider replacing a dated fixture with a statement pendant—something black metal, rattan, or globe-style that complements your palette and adds personality.
Add small puck lights inside shelves (floating or glass-fronted) to highlight decor pieces. For warmth and intimacy in the evenings, plug in a compact LED lamp on an open shelf or counter corner. Dimmable options give you control—bright for cooking, dim and cozy for night-time vibes.
Table: Layered Lighting Plan for Apartment Kitchens
| Lighting Level | Fixture Type | Effect |
|---|---|---|
| Task lighting | Under-cabinet LED strip | Bright prep light with a modern aesthetic |
| Ambient lighting | Statement pendant | Adds style and diffused ceiling glow |
| Accent lighting | Puck lights or lamp | Highlights decor and creates depth |
| Dimmable control | Dimmer switch or smart bulbs | Transitions between cooking and mood time |
Conclusion
Elevating your apartment kitchen aesthetic doesn’t require major renovations or big budgets—it’s about making strategic, renter-friendly updates that layer style, warmth, and functionality. By refreshing walls, updating hardware, incorporating shelves, styling countertops, adding greenery, and optimizing lighting, you’ll create a space that feels modern, curated, and truly yours.
The beauty of these simple upgrades is how seamlessly they work together. Each element contributes to a cohesive kitchen aesthetic that feels elevated without sacrificing everyday living. Whether you’re cooking, entertaining, or just brewing your morning coffee, your kitchen will feel inviting, stylish, and distinctly well-designed.
Use these ideas as a launchpad—start small, mix elements over time, and let your personality shine through. After all, every great kitchen tells a story—and now yours will be one worth savoring.

