This Pantry Organization Makeover Is Pure Goals: Clever Storage and Stylish Solutions
Table of Contents
Is your pantry a space you avoid unless absolutely necessary? You’re not alone. According to a recent survey by Houzz, nearly 57% of homeowners cite their pantry as one of the most cluttered areas in their home. And yet, it’s one of the most frequently used. The problem isn’t just storage—it’s strategy. But the solution? A beautifully organized pantry that’s as functional as it is photo-worthy.
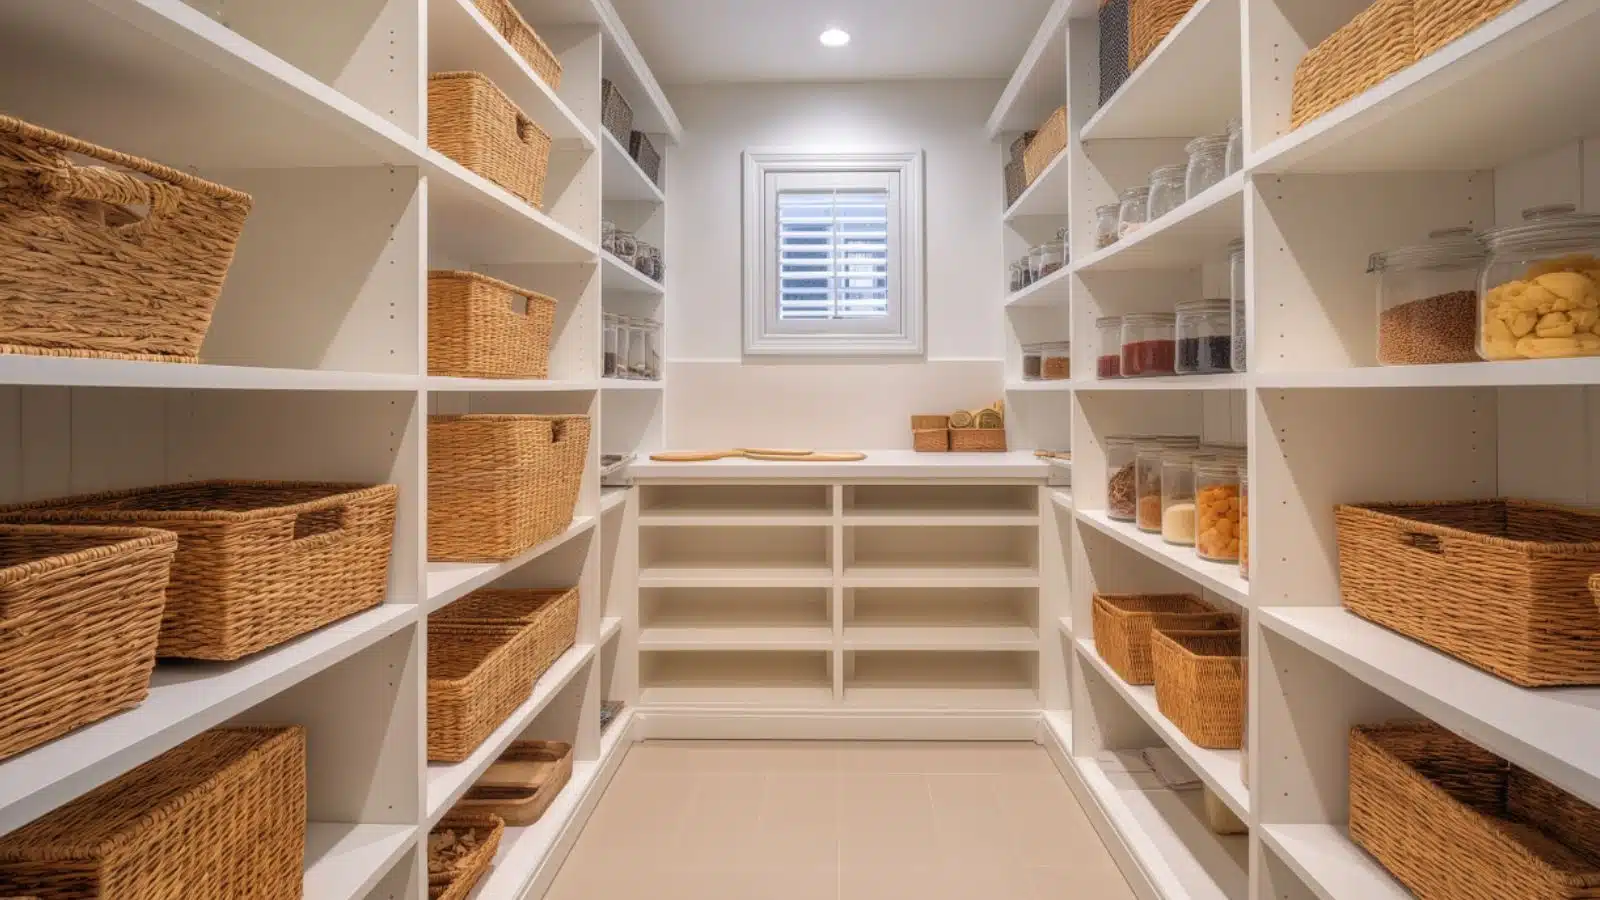
Enter this pantry organization makeover: a transformation so satisfying and stylish, it’s pure goals for anyone dreaming of a more peaceful, practical kitchen space. By rethinking containers, layout, and labeling—and embracing a clean, cohesive aesthetic—this makeover turns an ordinary storage space into an extension of home decor.
In this post, we’ll walk you through the most impactful tips, tricks, and takeaways from this dreamy pantry redo. From decanting essentials and adding layered storage to making space for snacks, cans, and backstock items, these ideas are easy to implement and completely transformative. Whether you have a spacious walk-in or a small cabinet-style pantry, these solutions scale beautifully to fit your needs and your style.
Get ready to be inspired—and maybe even a little obsessed with pantry organization.
Start with a full reset: clear everything out
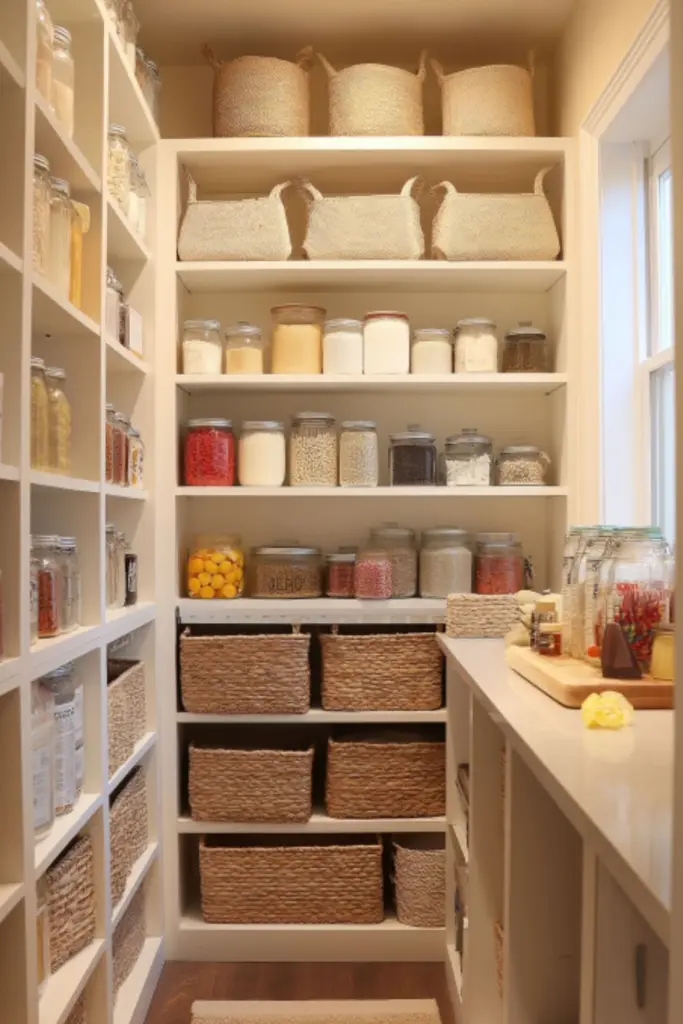
The foundation of any successful pantry makeover is a clean slate. That means removing every single item—from cans and spices to half-used snack bags—and giving the entire space a deep clean. Not only does this give you a fresh surface to work with, but it also allows you to assess what you actually have versus what’s expired or unused.
Once everything is out, group your items into general categories: baking, snacks, breakfast items, canned goods, spices, grains, etc. This step makes it easier to visualize how much space each category will need and to spot any duplicates.
This is also the ideal time to take measurements of your pantry. Measure the height, width, and depth of each shelf to guide your future container purchases or DIY solutions. You might discover that adjustable shelves, under-shelf baskets, or even a rolling cart could fit better than your current setup.
Pantry Reset Checklist
| Step | Purpose |
|---|---|
| Remove all contents | Start fresh, spot expired or unused items |
| Group items by category | Helps with future organization layout |
| Deep clean surfaces | Wipe shelves, vacuum crumbs, disinfect bins |
| Measure shelf space | Plan your storage solutions accurately |
| Discard expired food | Clear clutter and free up prime real estate |
Decluttering before you reorganize ensures you’re not designing a beautiful system for things you don’t even want or need.
Choose matching containers to unify the look
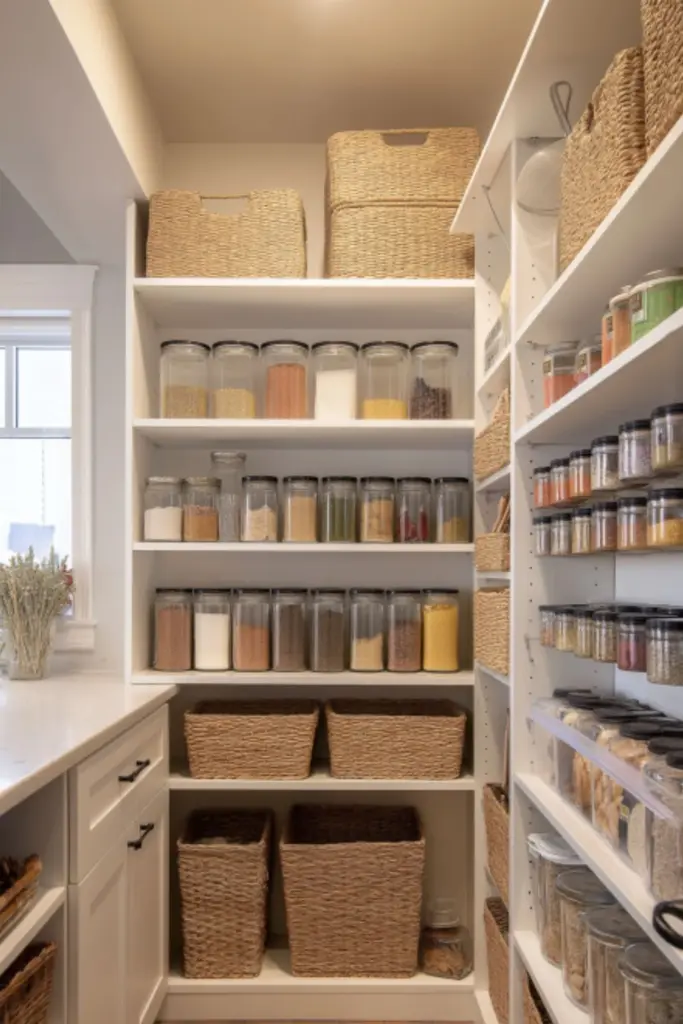
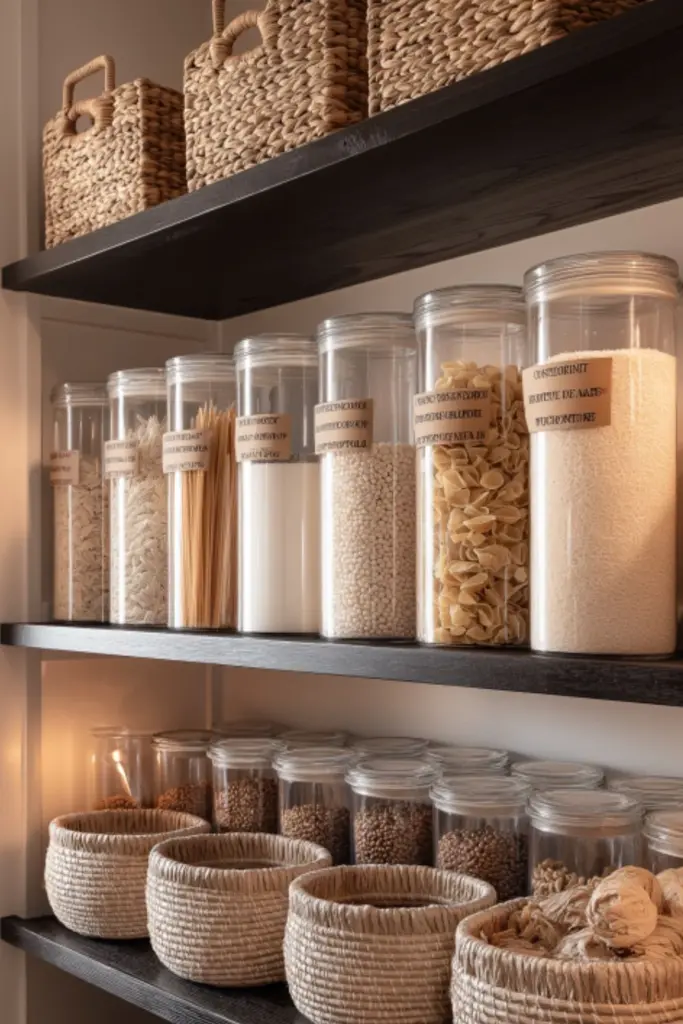
One of the most visually transformative steps in this pantry makeover was swapping out mismatched packaging for cohesive, labeled containers. It not only creates a cleaner aesthetic, but also helps keep food fresher and easier to access.
Clear acrylic or glass containers are perfect for dry goods like flour, sugar, oats, pasta, and rice. Stackable bins and baskets—either plastic, metal, or woven—work well for grouping snacks, packaged items, or overflow goods. Uniformity is key, but function comes first: always choose containers that suit your pantry size and your household’s habits.
Investing in a label maker or printable pantry labels adds both charm and clarity. Labels prevent the “what’s this mystery flour?” dilemma and make it easier for the whole household to maintain the system.
Container Style and Use Table
| Container Type | Ideal For | Aesthetic Benefit |
|---|---|---|
| Glass Jars | Grains, baking staples | Clean, timeless look |
| Acrylic Canisters | Pasta, cereal, rice | Sleek and stackable |
| Woven Baskets | Snacks, bagged items | Adds warmth and texture |
| Plastic Bins with Lids | Bulk items, backstock | Stackable and airtight |
Consistency in container style makes even a modest pantry look organized, intentional, and design-forward.
Designate zones for each food category
Just like a well-organized closet or drawer, a pantry benefits from smart zoning. By assigning dedicated areas to specific categories—like breakfast, baking, snacks, canned goods, and grab-and-go—you make it easier to maintain order and keep track of what’s on hand.
Start by placing your most-used items at eye level for easy access. Reserve higher shelves for backstock or less frequently used items (like holiday baking supplies). Kids’ snacks can be placed on a lower shelf so they can serve themselves, while heavier items like cases of sparkling water can go on the bottom.
Labeling shelves or bins according to their zone helps everyone in the home stay consistent, especially during busy mornings or grocery restocking.
Pantry Zone Layout Guide
| Zone | Shelf Placement | Common Items |
|---|---|---|
| Everyday Essentials | Eye-level | Pasta, cereal, grains |
| Snacks | Lower shelf (kid-accessible) | Crackers, bars, chips, fruit snacks |
| Baking Supplies | Middle or top shelves | Flour, sugar, cocoa, baking soda |
| Canned & Jarred | Mid to lower shelves | Soups, beans, sauces |
| Overflow/Backstock | Highest shelf or baskets | Bulk goods, extras, rarely used items |
Defined zones help reduce food waste, streamline meal prep, and eliminate the dreaded pantry scavenger hunt.
Maximize vertical space with clever solutions
Most pantries have unused vertical space just waiting to be put to work. Whether you’re dealing with shallow shelves or a tall walk-in, vertical organization is the key to making your pantry feel larger and more efficient.
Stackable bins are the MVPs of vertical organization. Use them for packaged goods like crackers or dried fruit, where layering helps avoid clutter. Consider pull-out drawers or risers for canned goods and spice jars, allowing you to see every item at a glance.
Over-the-door storage can be a game-changer in cabinet-style pantries. Use clear pockets for spice packets, seasonings, or even snacks. Alternatively, add adhesive hooks or small shelves to store light items like grocery bags, measuring spoons, or reusable wraps.
Tension rods or under-shelf baskets can create bonus storage where nothing existed before. Slide one under a shelf to hold foil and parchment rolls, or use rods to create “files” for cutting boards or trays.
Vertical Storage Tools and Uses
| Tool | Best For | Installation Type |
|---|---|---|
| Shelf Risers | Canned goods, small jars | No tools, adjustable |
| Stackable Bins | Snacks, pouches, dried goods | Freestanding, easy to rearrange |
| Under-Shelf Baskets | Paper products, wraps | Clip-on design |
| Over-the-Door Racks | Small pantry items, condiments | Hook or adhesive-mounted |
When every inch counts, going vertical is the smartest way to expand your pantry without remodeling.
Add a chalkboard or dry erase board for inventory tracking
Keeping track of what’s in your pantry can feel like a guessing game—especially when life gets busy. That’s why adding a visual inventory system like a chalkboard or dry erase board can be a game-changer for busy households.
Mount a small chalkboard or board on the inside of the pantry door or adjacent wall. Use it to jot down items that need restocking (e.g., “low on oats”) or to track expiration dates of perishables like flour or bulk spices. You can also use it for meal planning: note which pantry ingredients need to be used soon and plan recipes accordingly.
For a more polished look, opt for a framed glass dry erase board or a peel-and-stick blackboard decal. Add magnetic clips or hooks nearby for holding coupons, shopping lists, or measuring tools.
Pantry Command Center Essentials
| Element | Use Case | Design Suggestion |
|---|---|---|
| Chalkboard Panel | Inventory tracking | Rustic farmhouse vibe |
| Dry Erase Board | Meal planning, reminders | Clean and modern aesthetic |
| Magnetic Strip | Attach notes, recipes, tools | Functional and compact |
| Pocket Organizer | Hold grocery lists, labels, or pens | Keep tools accessible |
A visual command center transforms your pantry into a planning station, not just a storage closet.
Make it beautiful: styling matters too
Function is key—but don’t underestimate the power of a beautiful pantry. After all, you’re more likely to keep it tidy if it brings you joy every time you open the door.
Incorporate aesthetic touches that align with your overall home decor. This could be matching woven baskets, a neutral color palette, or gold-accented jars. Choose labels with fonts and colors that feel intentional. Even something as small as adding a vase of faux greenery or a stylish stool for high shelves adds warmth and personality.
Try to hide bulk packaging when possible and decant into clean containers. If you need to keep large bags, store them in matching bins or baskets to reduce visual clutter.
Pantry Styling Touches Table
| Design Element | Impact | Example Use |
|---|---|---|
| Coordinated Labels | Clean visual flow | White script labels on clear containers |
| Textural Baskets | Warmth and softness | Rattan or seagrass bins |
| Soft Lighting | Inviting and practical | Battery LED puck lights or strip lights |
| Decorative Accents | Adds charm | Mini sign, framed print, faux plant |
A styled pantry is the cherry on top of a well-organized system—beauty meets utility.
Conclusion
A truly inspiring pantry makeover doesn’t just tidy up shelves—it redefines how you interact with your kitchen. From smart zones and matching containers to vertical hacks and personal touches, every layer of this transformation brings together form and function in a way that feels elevated and effortless.
This pantry organization makeover proves that a well-ordered space can also be warm, stylish, and full of personality. Whether you’re starting from scratch or tweaking what you already have, these tips offer a roadmap to a pantry that’s not only practical but genuinely delightful to use.
Because when your pantry works hard and looks good doing it, the rest of your kitchen just seems to fall into place.
