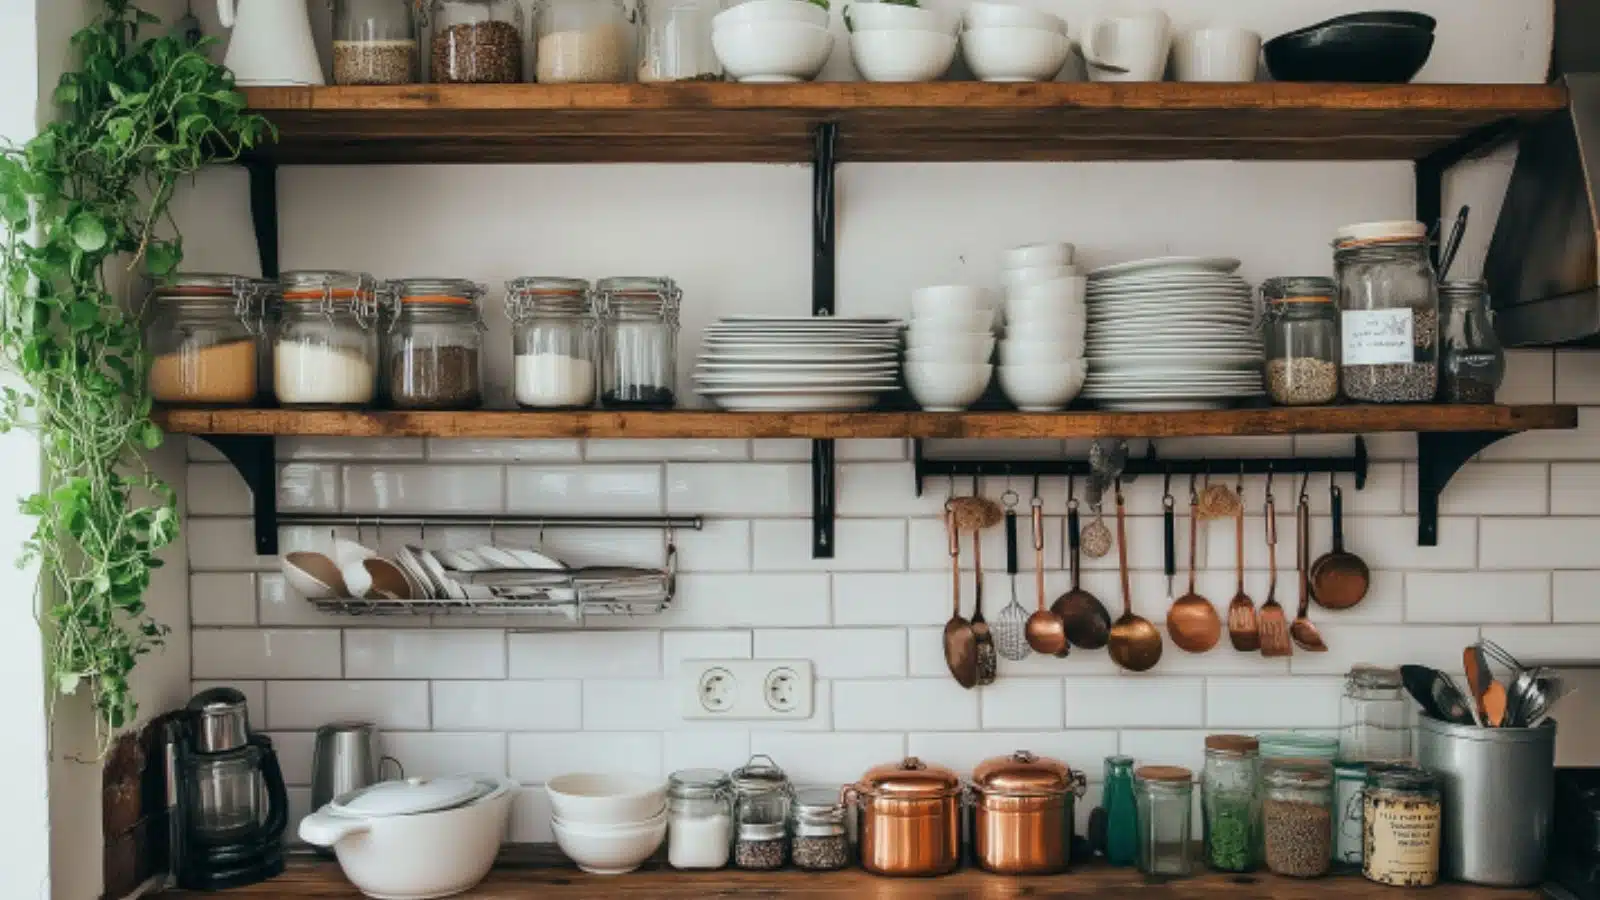
Tiny Kitchen Design Upgrades You Can DIY This Weekend for a Big Style Impact
Table of Contents
Tiny kitchens come with unique challenges—but they also offer an incredible opportunity for impactful, budget-friendly transformations. If you’ve ever felt like your small cooking space was cluttered, outdated, or just uninspiring, you’re not alone. According to real estate studies, kitchens are one of the most valued spaces in the home—but also among the most neglected when they’re compact.
The good news? You don’t need a gut renovation or a big budget to see real change. With just a few thoughtful upgrades, you can breathe new life into your kitchen in as little as two days. DIY-friendly, renter-approved, and completely customizable, these weekend projects are designed to give your tiny kitchen a fresh, stylish feel—without overwhelming your wallet or schedule.
In this guide, we’ll explore several tiny kitchen design upgrades you can DIY this weekend. From space-saving storage hacks to statement backsplash updates and modern lighting swaps, these ideas will help you fall back in love with your small space.
Install a Peel-and-Stick Backsplash for Instant Style
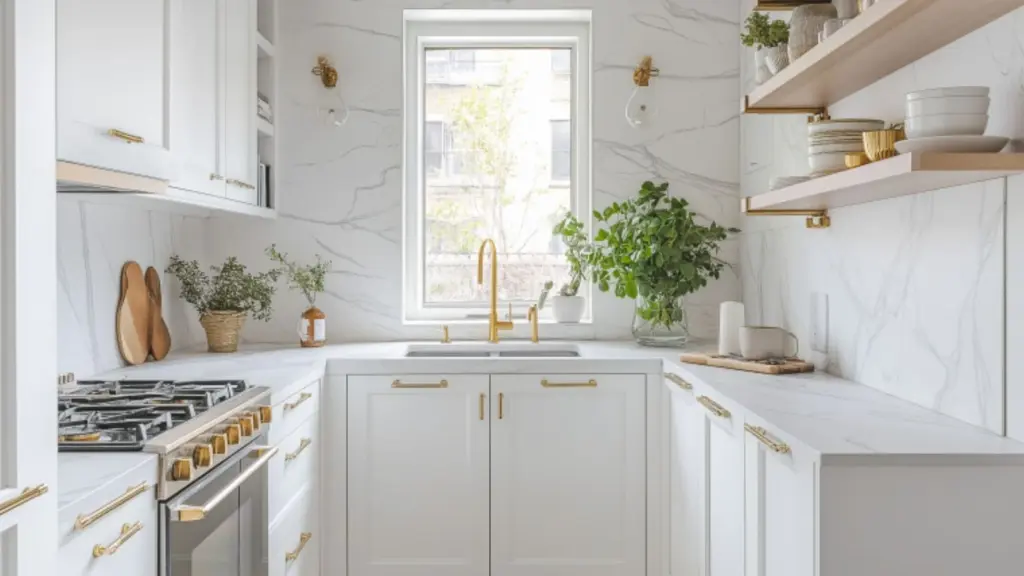
Backsplashes set the tone for your kitchen’s visual appeal, and in a small space, even a minor change can dramatically elevate the entire room. Peel-and-stick tile is one of the easiest DIYs you can complete in a single afternoon.
Choose a Modern Look
Opt for subway tile, herringbone patterns, or even bold geometric designs in shades that complement your existing cabinetry. Peel-and-stick backsplashes come in a wide range of textures and finishes, including faux marble, metallic, and glass.
Easy Application
Most options require only a clean wall, a ruler, and a utility knife. The adhesive backing sticks to painted drywall or existing tile, making this upgrade perfect for renters.
Transform Without Commitment
This upgrade provides the satisfaction of a high-end look without the permanence of grout and mortar.
Table: Popular Peel-and-Stick Backsplash Styles
| Style | Best For | Estimated Time |
|---|---|---|
| White Subway Tile | Classic, timeless look | 2–3 hours |
| Faux Marble | Luxe appeal on a budget | 2 hours |
| Bold Geometrics | Modern, trend-forward spaces | 3–4 hours |
| Brushed Metal | Industrial or sleek kitchens | 2–3 hours |
Add Open Shelving for Both Storage and Style
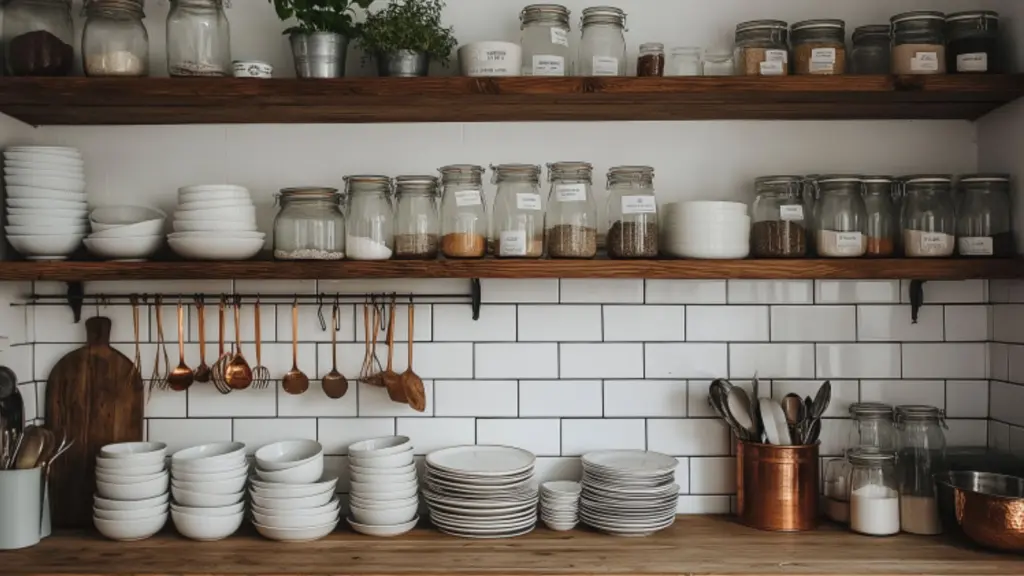
Open shelves instantly make a kitchen feel more open while offering a chance to display your most beautiful essentials. They’re also a smart way to utilize vertical space in tight quarters.
Install Floating Shelves
Look for wall-mounted floating shelves made from wood, metal, or painted MDF. These are often sold in sets and can be installed with just a power drill and wall anchors.
Curate Your Display
Keep it minimal. Use the shelves for attractive dishware, small potted herbs, or storage jars with dry goods. This balances function with aesthetics.
Add Under-Shelf Hooks
Maximize utility by adding hooks underneath for mugs or utensils—great for renters or anyone looking to add convenience without hardware changes.
Table: Open Shelving DIY Overview
| Shelf Material | Best For | Weight Capacity | Ideal Placement |
|---|---|---|---|
| Wood | Warm, rustic look | 20–40 lbs | Above sink/stove |
| Metal | Industrial or modern | 30–50 lbs | Near prep area |
| Painted MDF | Affordable + chic | 15–30 lbs | Coffee station area |
Upgrade Cabinet Hardware for a Modern Touch
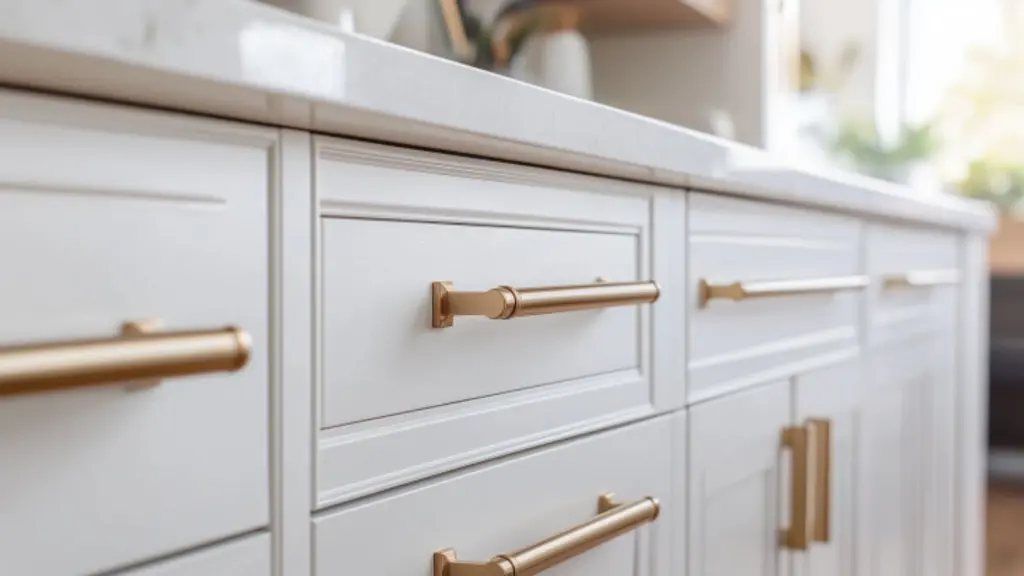
Replacing old cabinet knobs and pulls is one of the fastest ways to give your kitchen an updated, modern feel. It’s also renter-safe and tool-light.
Choose Stylish Hardware
Matte black, brushed gold, oil-rubbed bronze—today’s hardware choices can turn even basic cabinets into custom-looking ones. Choose a finish that contrasts with your cabinet color for impact.
Measure and Match
Measure existing hole spacing before purchasing. Most knobs and pulls follow standard sizes, so a quick swap is usually all that’s needed.
Add Backplates for a High-End Look
To cover imperfections or just add a luxe detail, install backplates behind the knobs. These are easy upgrades that offer added polish.
Table: Popular Cabinet Hardware Finishes
| Finish | Ideal Cabinet Colors | Style Vibe |
|---|---|---|
| Matte Black | White, wood, sage green | Modern, bold |
| Brushed Brass | Navy, black, gray | Elegant, warm |
| Oil-Rubbed Bronze | Cream, beige, natural wood | Rustic, traditional |
| Polished Nickel | Cool-toned cabinets | Sleek, contemporary |
Paint Your Cabinets or Walls to Brighten the Space
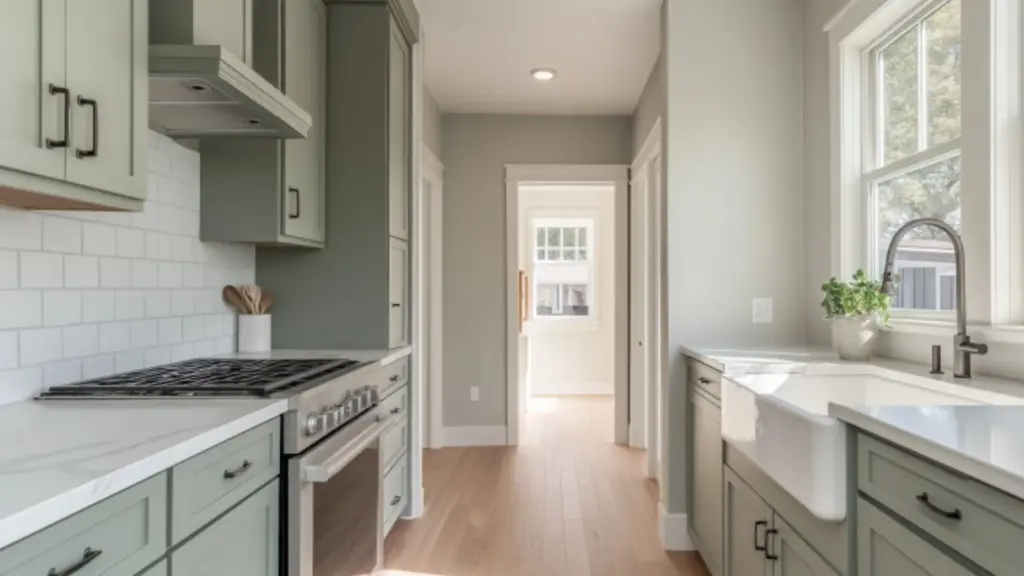
A fresh coat of paint can do wonders in a tiny kitchen. Whether you’re painting the cabinets, walls, or both, this project is manageable in a weekend—and makes a huge impact.
Cabinet Painting Basics
If your cabinets are in good shape structurally but look dated, painting them can give a completely new look. Choose soft neutrals like warm white, light gray, or muted sage for a fresh, modern feel. Use a degreaser, lightly sand, prime, then apply 2–3 coats of cabinet paint.
Wall Paint Tips
Painting the walls a light, reflective color can open up the space. Avoid stark whites; instead, opt for creamy hues, soft greens, or cool-toned grays that add dimension without closing in the room.
Pro Touches
Consider painting just the lower cabinets or an island a darker shade for contrast. Use painter’s tape for clean lines and invest in a good angled brush for corners and trim.
Table: Paint Color Ideas for Tiny Kitchens
| Paint Area | Suggested Shades | Mood Created |
|---|---|---|
| Cabinets | Soft Sage, Warm White | Airy and clean |
| Walls | Pale Gray, Creamy Beige | Calm and open |
| Island/Base | Navy, Deep Olive | Contrast and drama |
| Trim | Crisp White or Matching | Sharp, modern edges |
Create a DIY Coffee or Prep Station
Small kitchens benefit from zones. Creating a designated coffee or prep area helps reduce clutter and makes the space feel more intentional.
Use a Cart or Slim Cabinet
Repurpose a bar cart or narrow console table to hold mugs, a coffee maker, tea bags, or spices. Add a tray on top to corral daily-use items.
Install Wall-Mounted Racks
Above the cart or cabinet, hang a simple peg rack or floating shelf for mugs, measuring spoons, or small décor items like artwork or a dried flower bundle.
Add Charm with Personal Touches
Use labeled jars, a linen towel, or a chalkboard menu for café-inspired flair.
Table: Elements for a DIY Coffee Station
| Item | Purpose | Placement Tip |
|---|---|---|
| Narrow Cart | Holds coffee machine + mugs | Near outlet + morning light |
| Floating Shelf | Extra storage or décor | Mount 18–24 inches above surface |
| Tray + Canisters | Organize sugar, beans, tea | Group items for visual order |
| Peg Rack | Hang mugs or accessories | Match hardware tone |
Improve Lighting with Affordable Fixtures and Bulbs
Lighting can make or break how your kitchen feels—especially in a small space. Luckily, there are plenty of DIY-friendly upgrades that can brighten and modernize your space.
Swap Out Old Fixtures
Replacing a dated ceiling fixture with a modern pendant or flush mount can change the entire vibe. Look for styles in matte black, brass, or glass to match your cabinet hardware.
Add Under-Cabinet Lighting
Stick-on puck lights or LED strips are easy to install and make a huge difference when prepping meals. Some models are rechargeable or motion-sensor activated—no hardwiring required.
Use Warmer Bulbs
Cool white bulbs can feel harsh. Opt for warm white (2700K–3000K) to create a cozy, inviting glow.
Table: Lighting Upgrades for Small Kitchens
| Lighting Type | Best Placement | DIY Level |
|---|---|---|
| Pendant or Flush Mount | Ceiling center or above sink | Easy |
| LED Strip Lights | Under upper cabinets | Moderate |
| Stick-On Puck Lights | Shelves or dark corners | Very Easy |
| Wall Sconces | Coffee station or corner nook | Moderate |
Conclusion
Tiny kitchen design upgrades don’t need to be overwhelming. With just a weekend and a few smart choices, you can create a space that feels more functional, stylish, and uniquely yours. Whether you’re adding a backsplash, painting cabinets, installing shelves, or improving the lighting, these DIY-friendly ideas are all about big impact with minimal time and effort.
The key is to focus on thoughtful changes that reflect your style and simplify your space. In the end, it’s not about square footage—it’s about smart design and personal touches that make your kitchen a joy to use every day.

